Dark Kitchen Cabinets: A Designer’s Guide to Creating Dramatic & Inviting Spaces
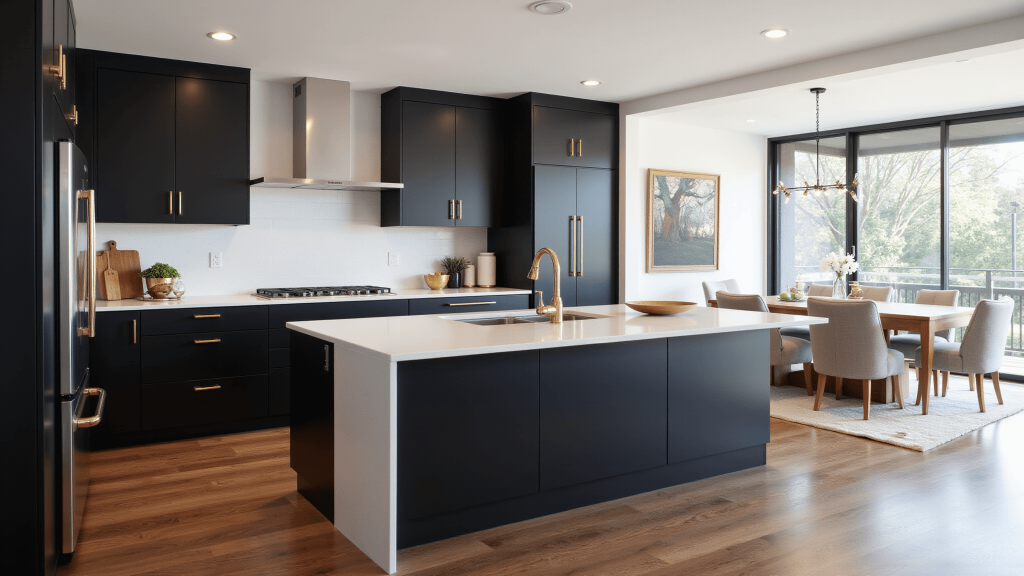
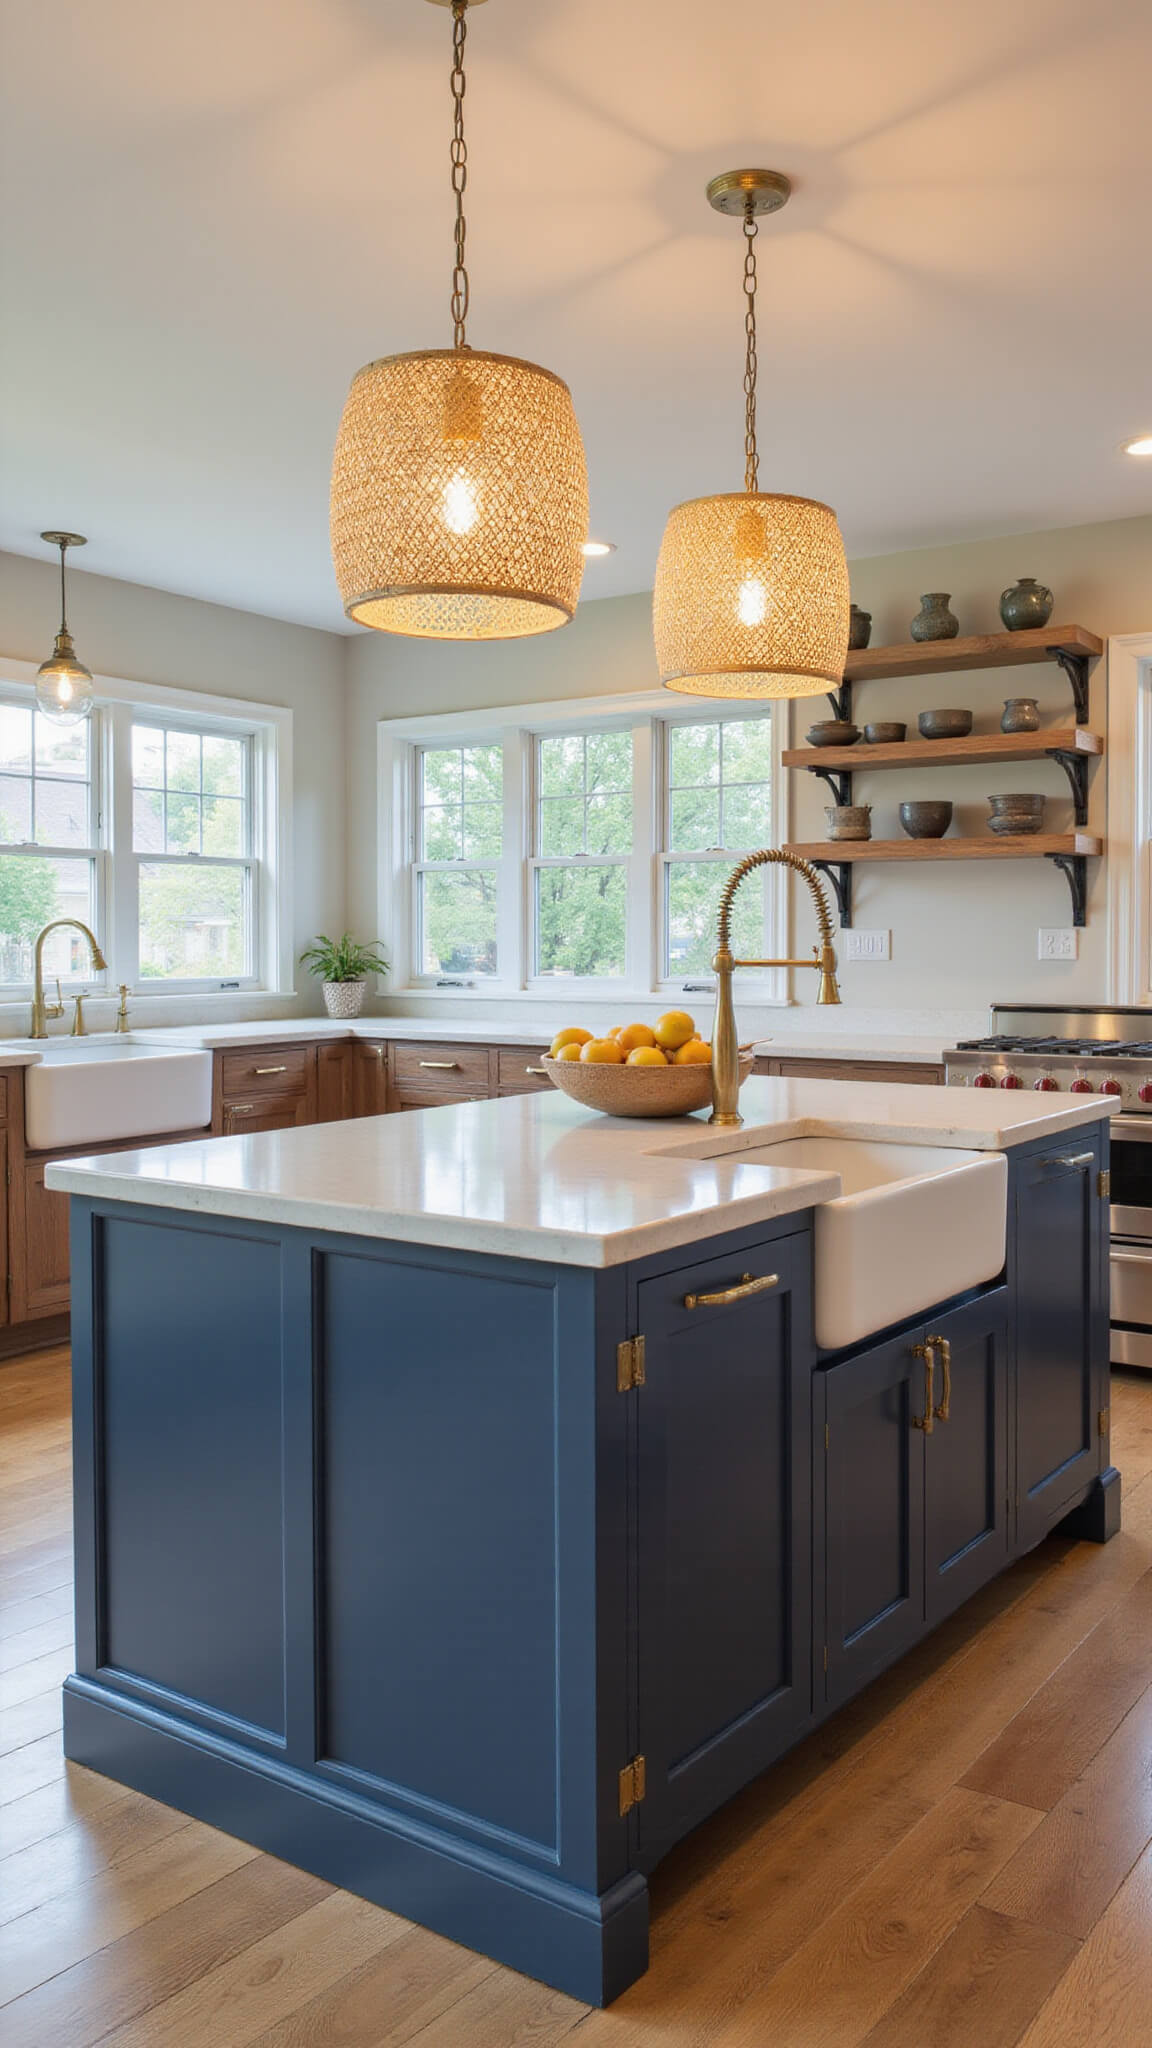
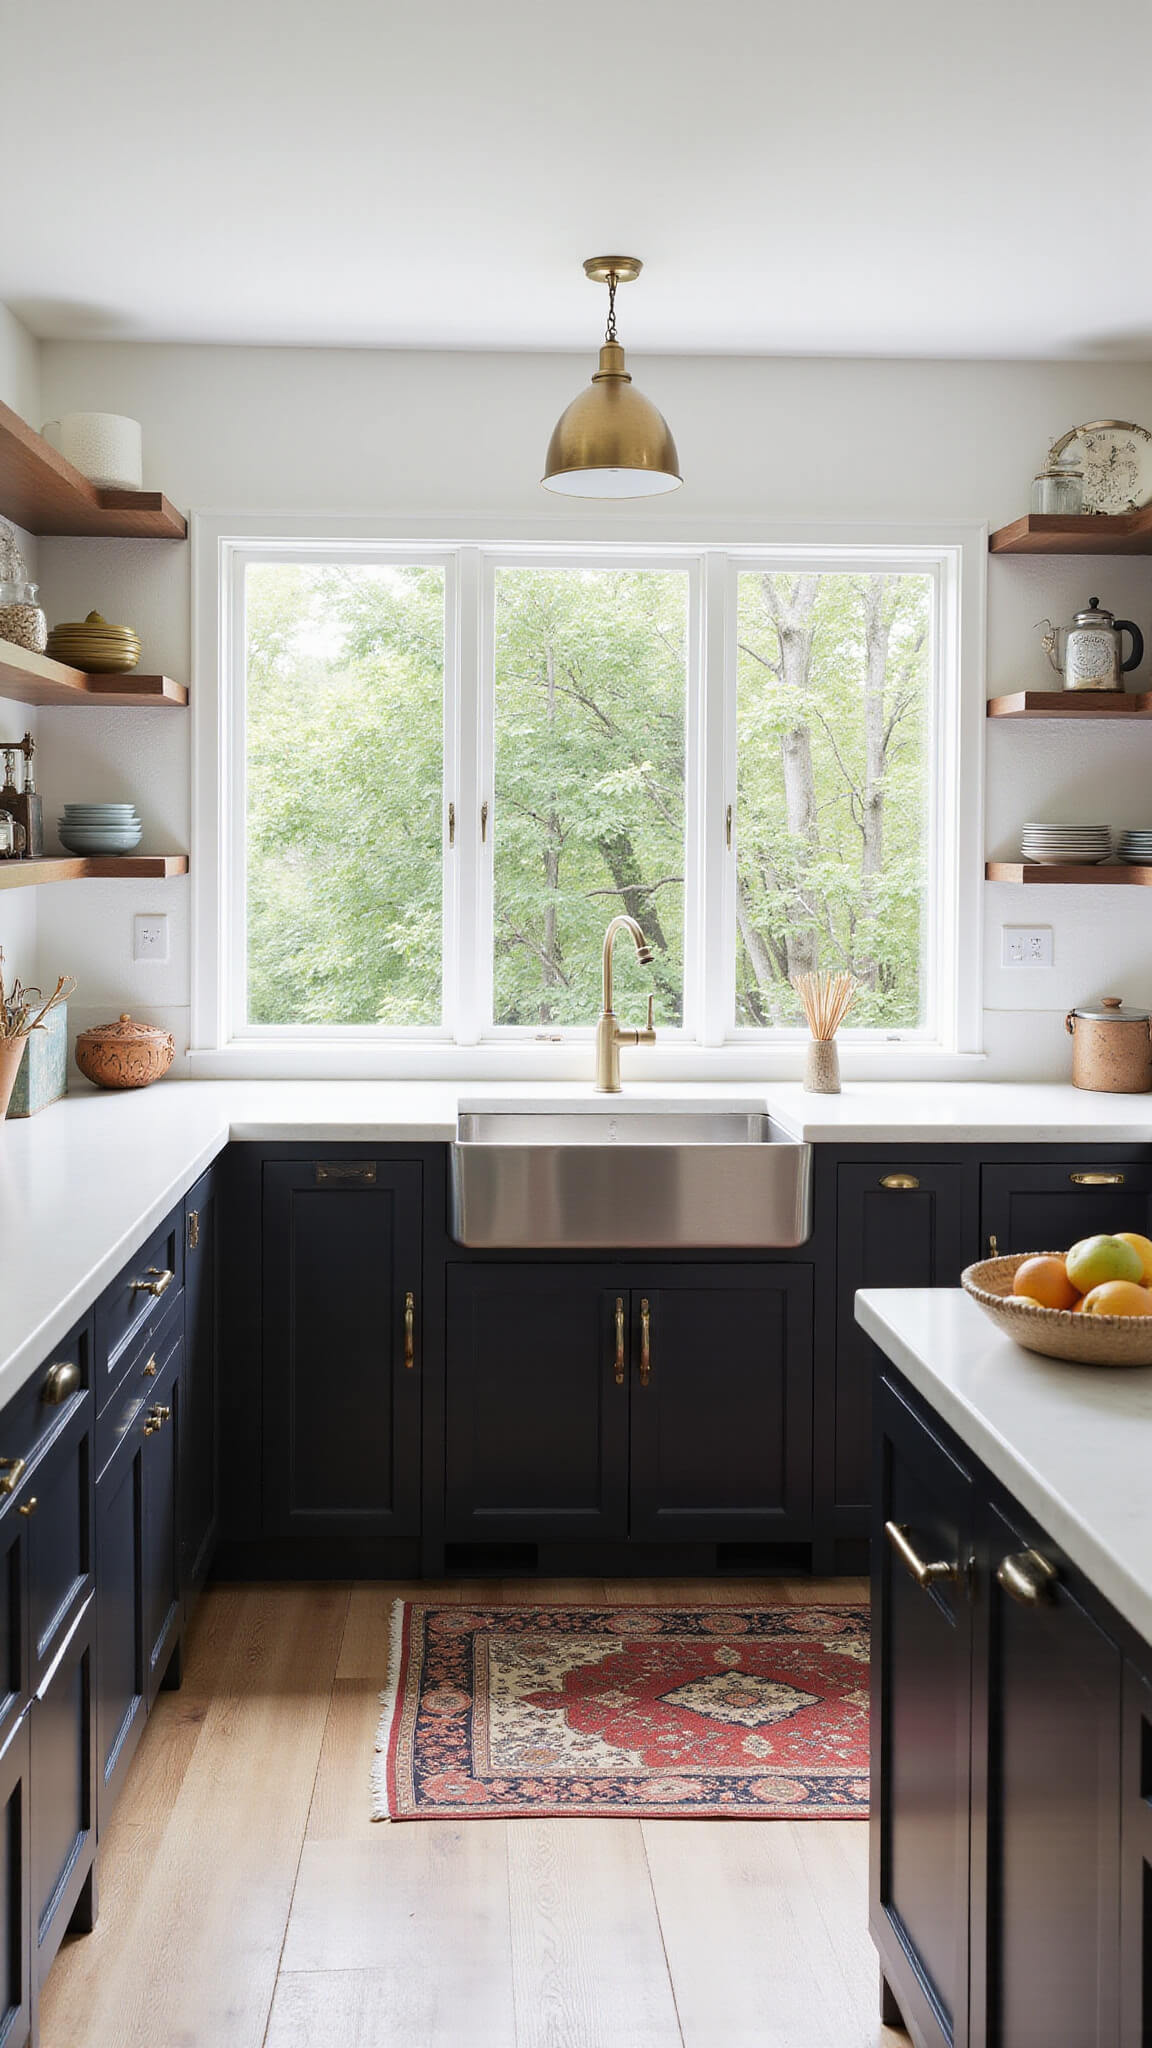
I chose a client’s cabinets in a deep espresso and the kitchen finally felt anchored. Dark kitchen cabinets work because the dark base grounds the room while the uppers stay light, so the space reads as steady instead of heavy.
Let me tell you, when I first suggested dark cabinets to clients, they’d look at me like I’d lost my mind. “Won’t it make my kitchen feel like a cave?” they’d ask. But trust me, when done right, dark cabinets create the most sophisticated, head-turning kitchens you’ve ever seen.
Essential Elements for Success
Before you commit to the dark side (pun intended), here’s what you need to nail:
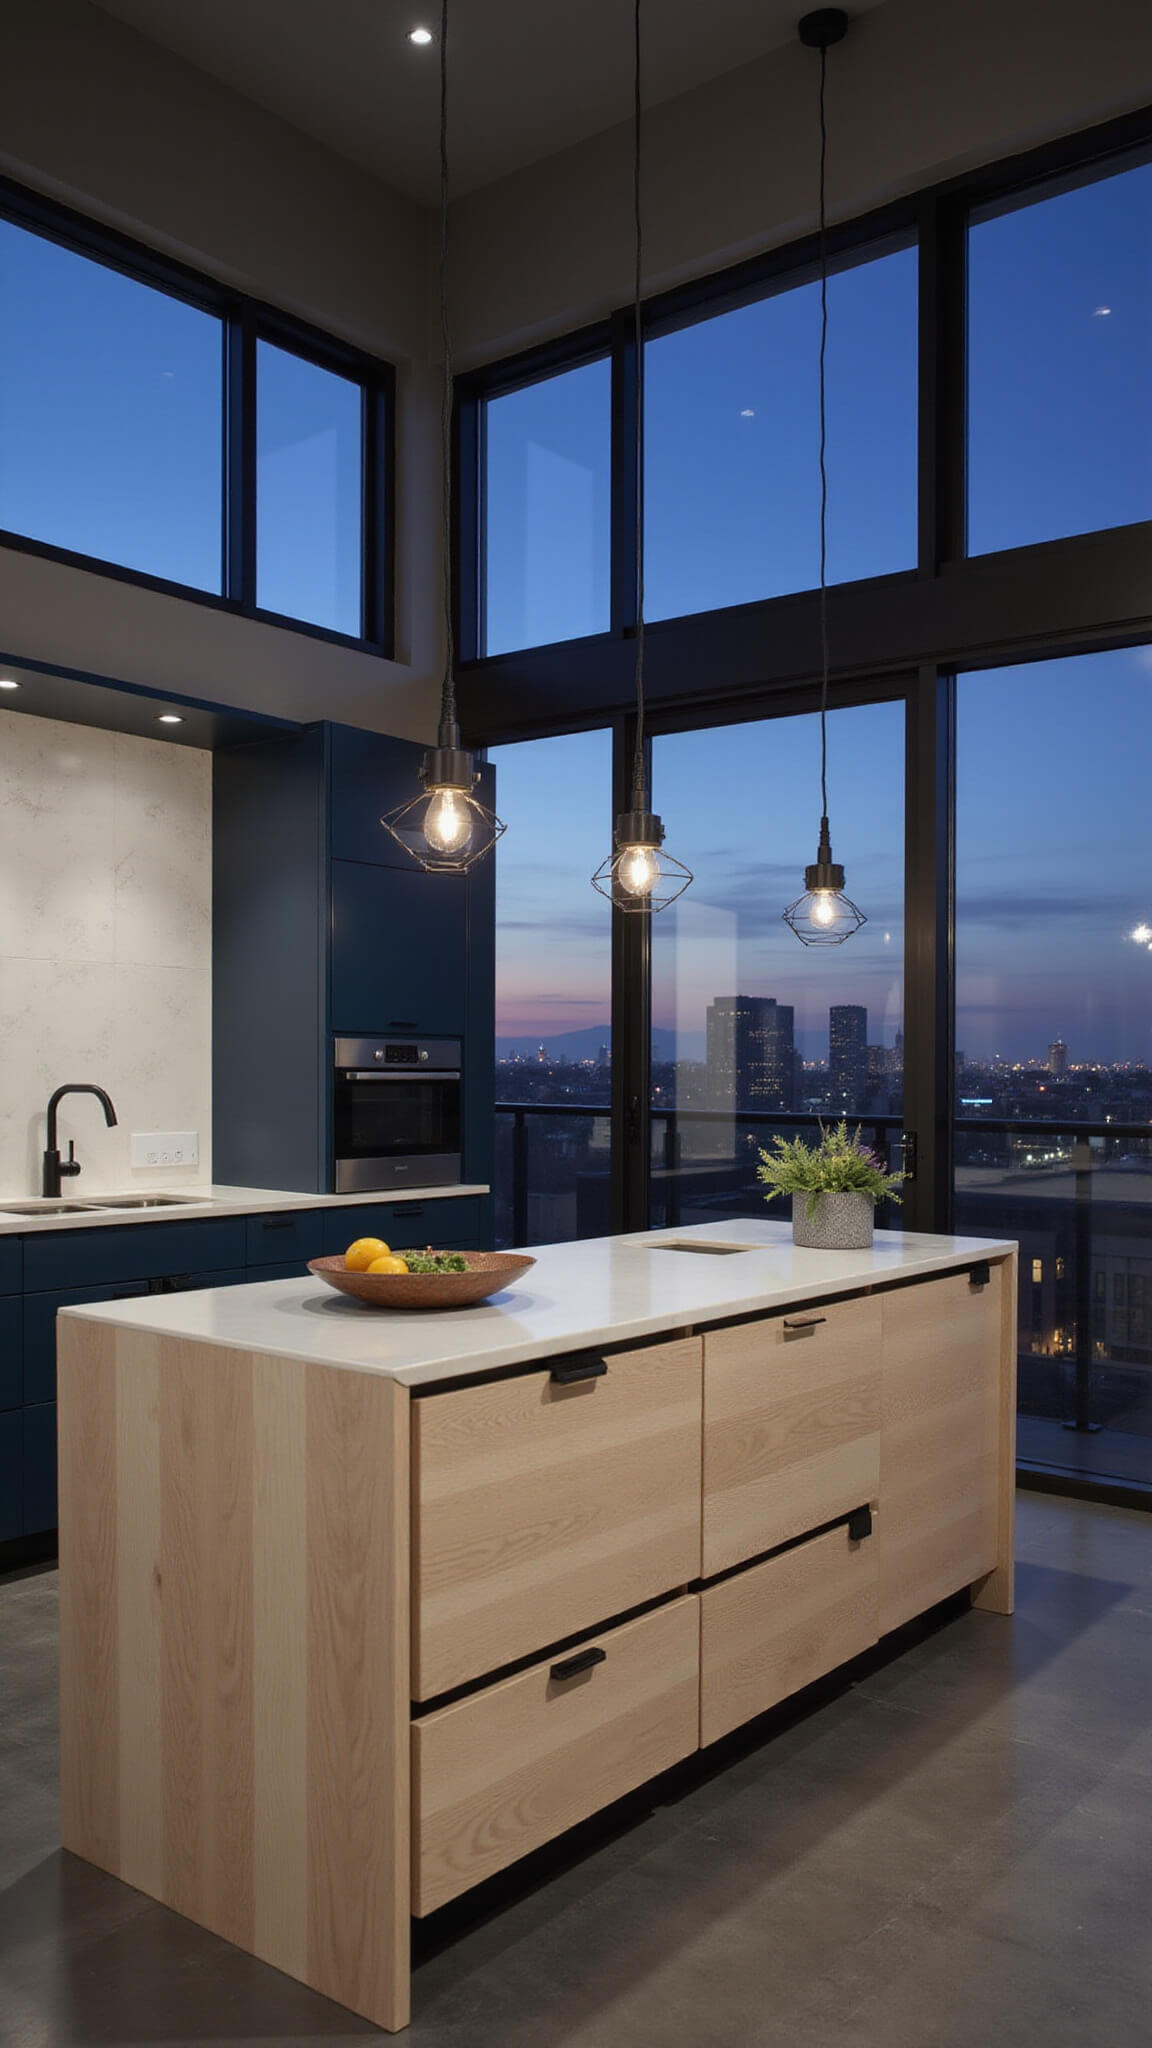
- Lighting: Natural light is your best friend
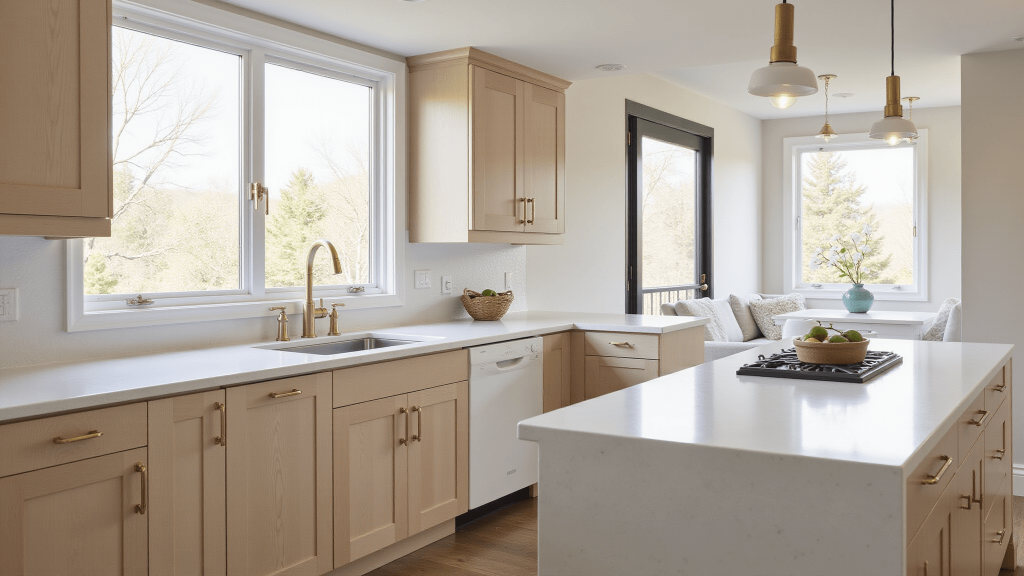
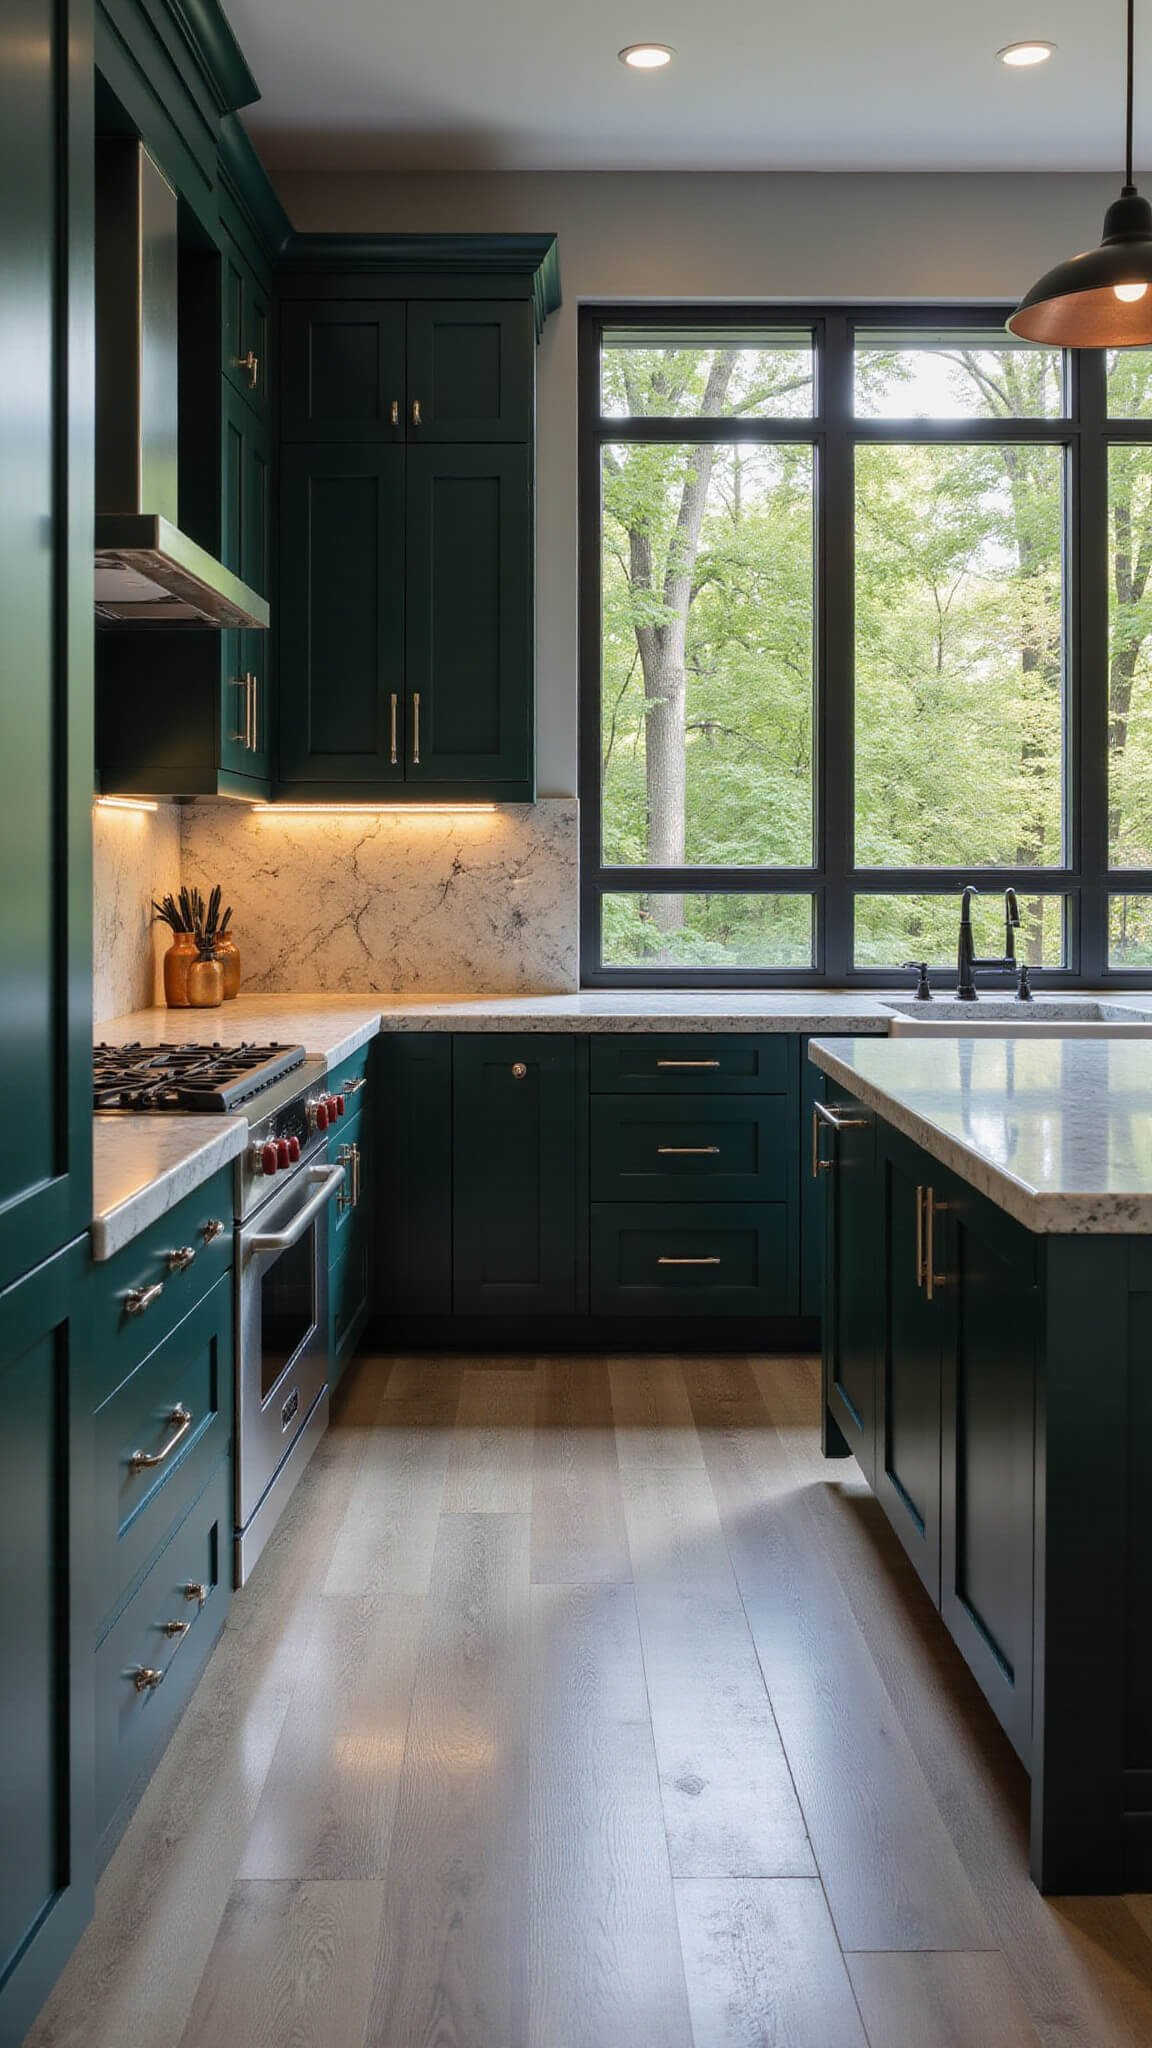
- Contrast: Light countertops and backsplashes are crucial
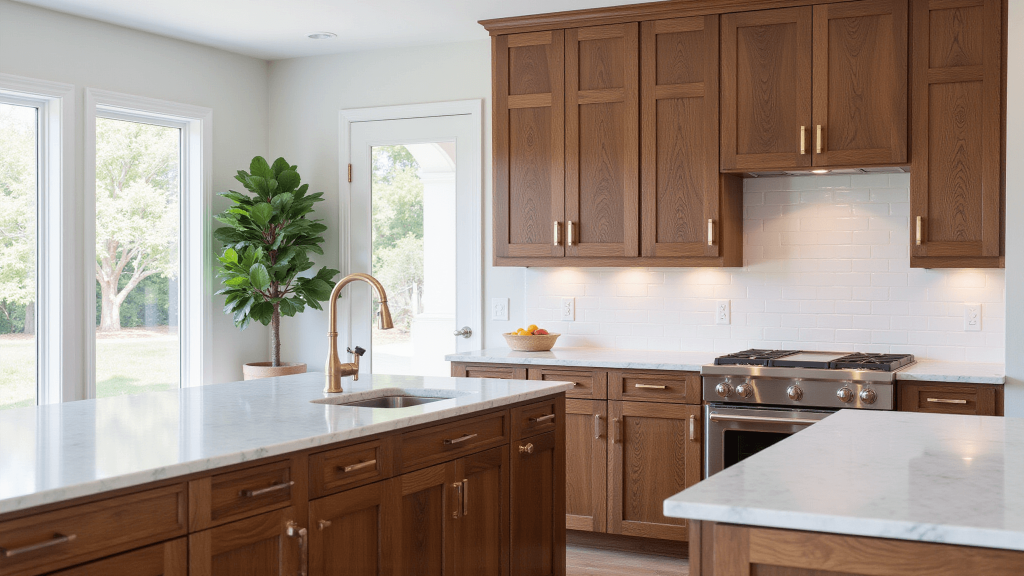
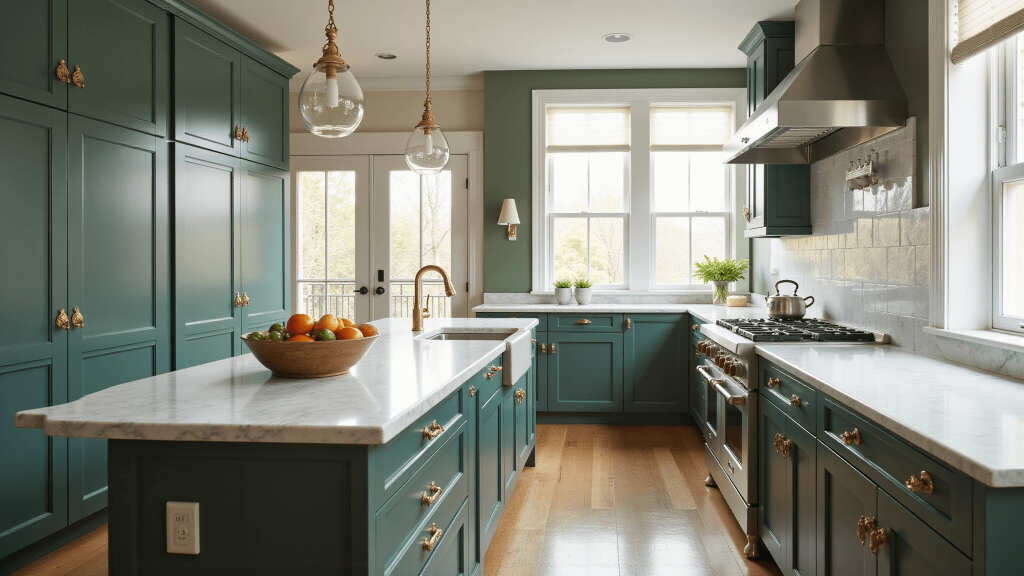
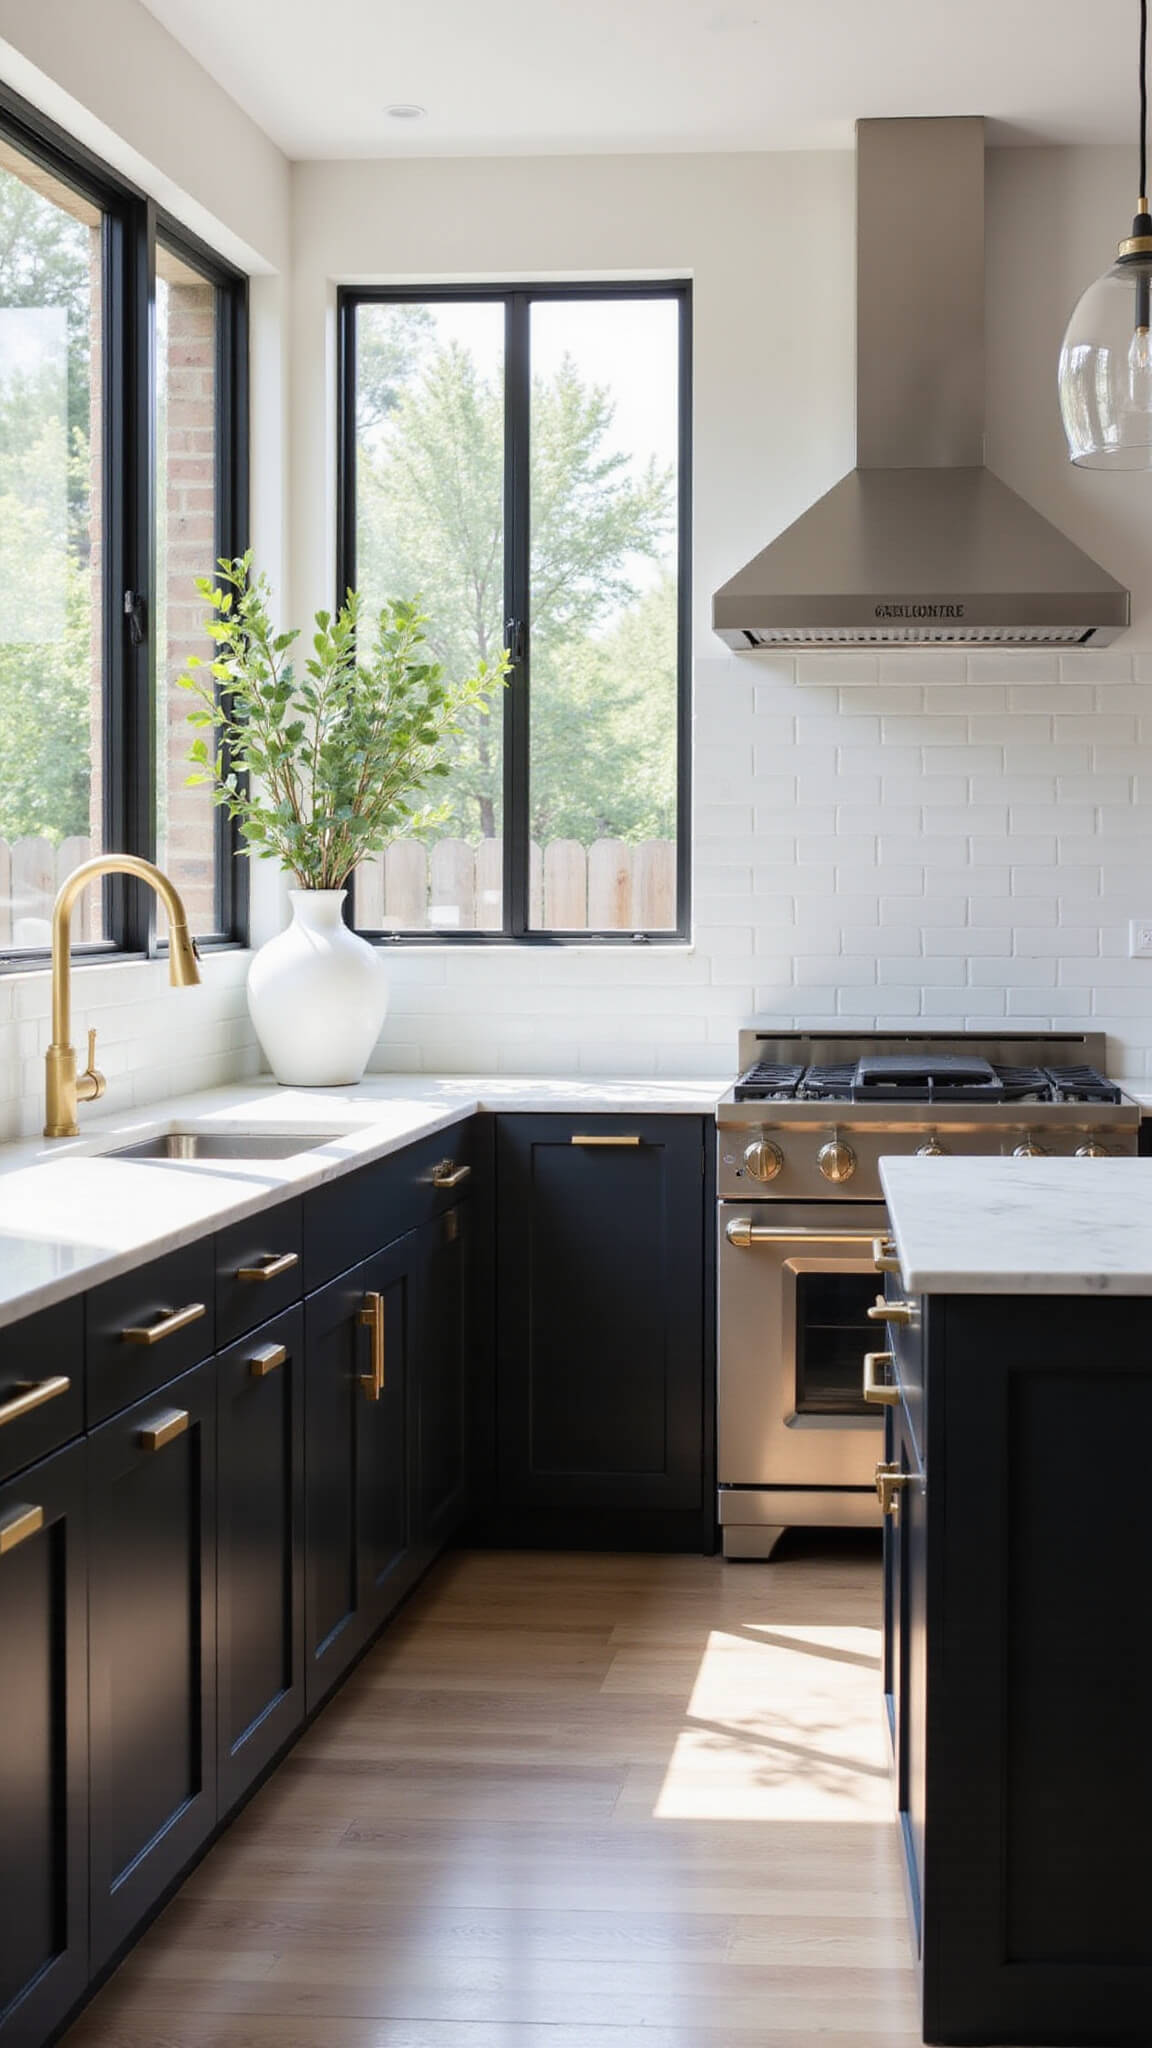
- Balance: Mix in metallic hardware and warm wood tones
- Texture: Layer different materials to add depth
The Perfect Color Palette
I’ve found these dark cabinet colors work magic:
- Deep Navy (my personal favorite)
- Rich Espresso
- Matte Black
- Dark Forest Green
- Deep Burgundy
Smart Money-Saving Tips
Listen, I know budget matters. Here’s how to get the look without breaking the bank:
- Paint existing cabinets instead of replacing them
- Update hardware instead of entire cabinet fronts
- Install under-cabinet lighting (game-changer on a budget)
- Use peel-and-stick backsplash tiles temporarily

Styling Secrets
Here’s what I always tell my clients about styling dark cabinets:
- Keep countertops light and clutter-free
- Add plants for life and contrast
- Use metallic accents sparingly
- Incorporate glass-front cabinets for visual breaks

Common Mistakes to Avoid
Trust me, I’ve seen these mistakes too many times:
- Skipping proper lighting planning
- Using dark countertops with dark cabinets
- Forgetting about reflective surfaces
- Overcrowding the space
Time-Saving Pro Tips:
Just last month, I helped a client transform their kitchen, and here’s what worked best:
- Test paint samples in different lighting
- Take photos at different times of day
- Use painters tape to visualize hardware placement
- Start with upper cabinets first
Remember, dark cabinets aren’t just a trend – they’re a classic choice that can completely transform your kitchen’s personality. The key is balancing drama with function, and I promise you’ll love the results.
Got questions about your dark cabinet project? Drop them in the comments below – I’m always here to help fellow design enthusiasts create their dream kitchens!
Bonus Tip:
Keep the counters pale and the hardware simple. Dark kitchen cabinets feel right when the floor is warm and the one dark color stays below the eye.