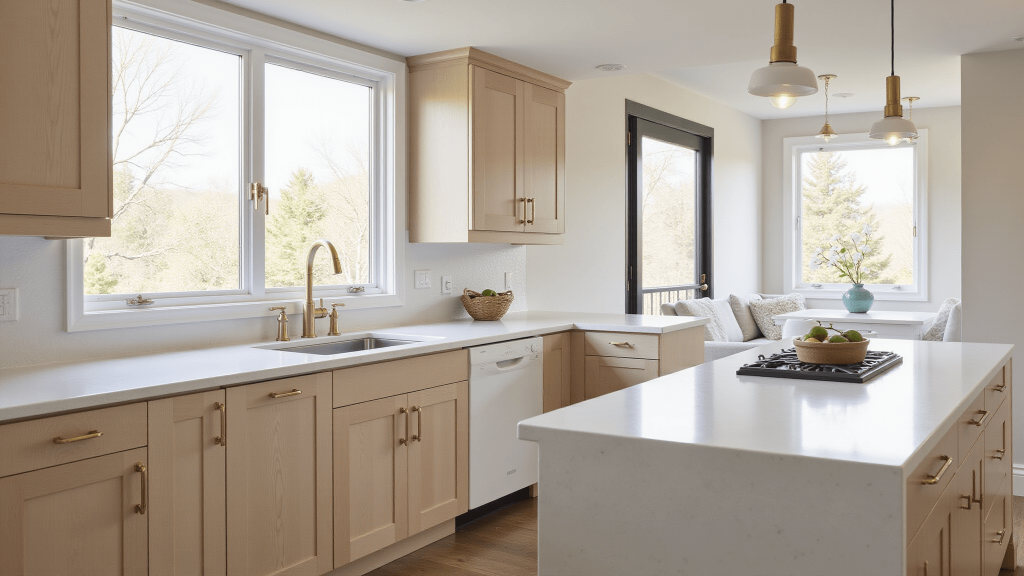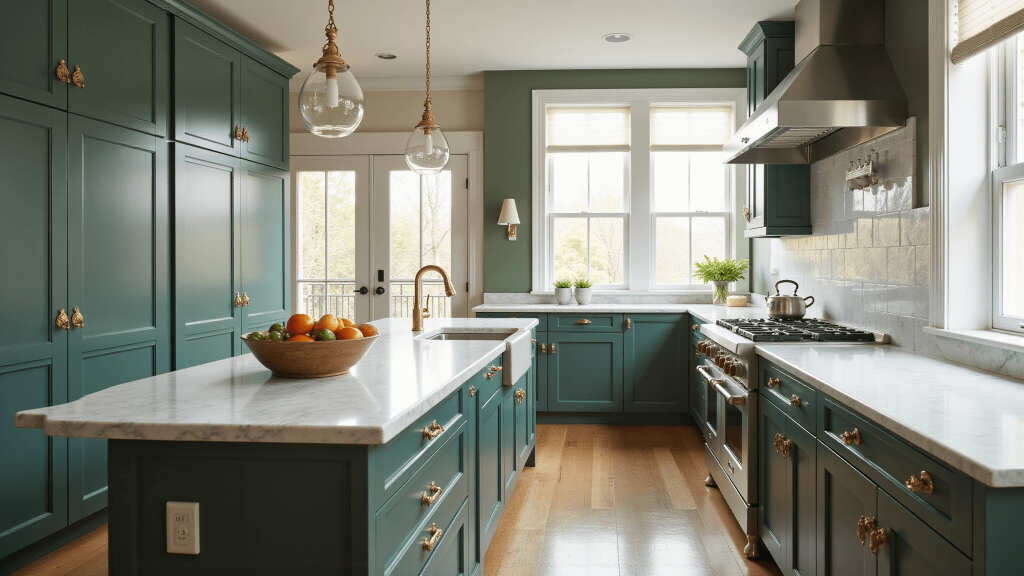
The Ultimate Guide to Shaker Style Cabinets: Everything I Learned After Installing Hundreds
I fitted a client’s laundry and pantry with Shaker-style fronts, and the whole house finally felt consistent without matching every room. Shaker style cabinets work because the recessed panel is plain enough to sit in any space, so the look reads as settled rather than themed.
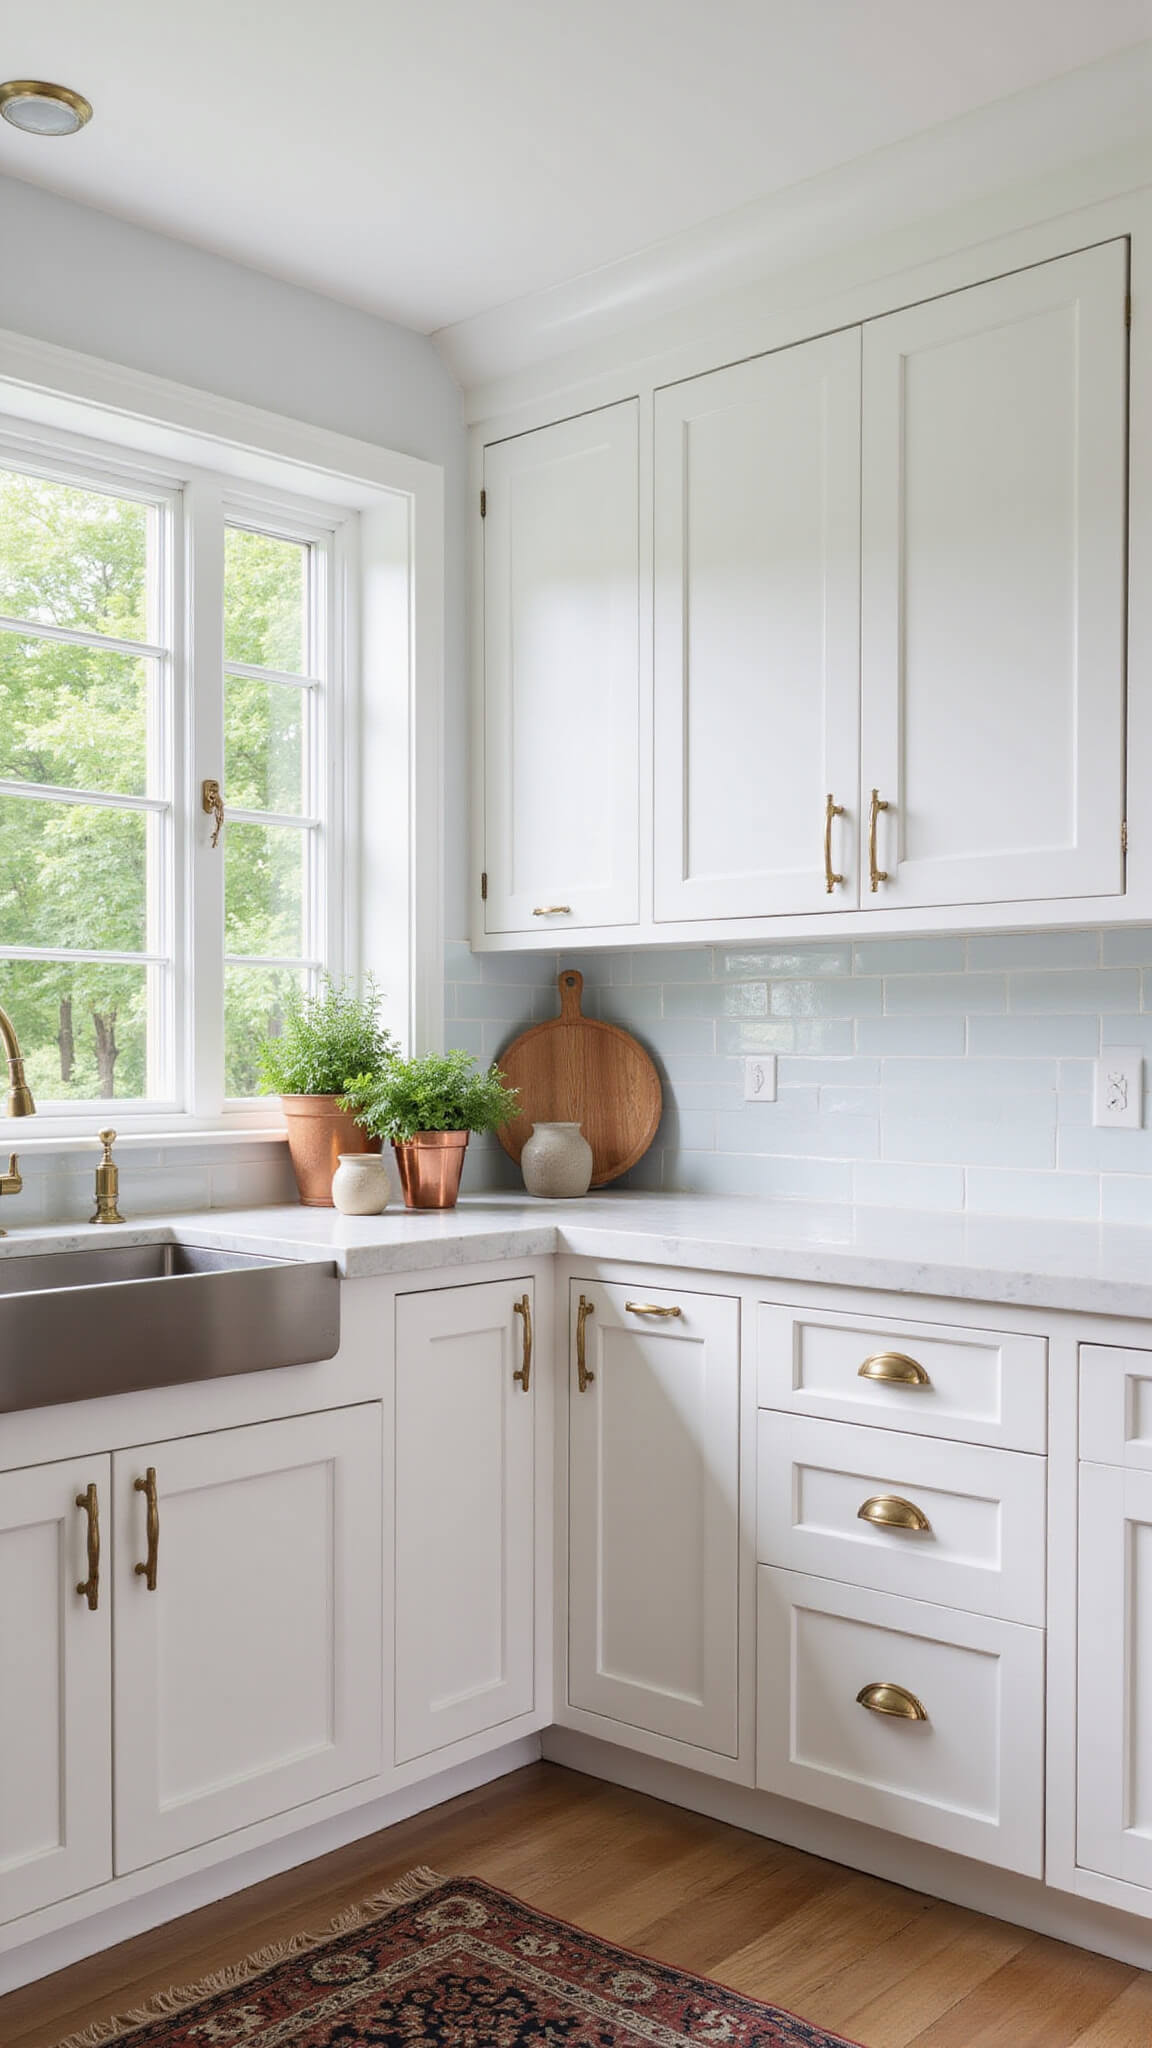
Why You’ll Love Shaker Cabinets
I remember my first Shaker cabinet installation like it was yesterday – I was terrified I’d mess it up. Now, after working with hundreds of kitchens, I can tell you these cabinets are practically foolproof.
The Magic of Shaker Style:
- Clean, simple lines that never go out of style
- Works with literally any decor (I’ve seen them rock everything from ultra-modern to farmhouse)
- Crazy durable (my own Shaker cabinets have survived 3 kids and a golden retriever)
Cost Breakdown (What Nobody Tells You):
- Budget-friendly RTA (Ready-to-Assemble): $1,800-$2,500
- Mid-range pre-assembled: $2,500-$4,000
- Premium solid wood: $4,000-$5,000+
Pro tip: Don’t let anyone tell you RTA means cheap. Some of my best-looking installs were RTA.
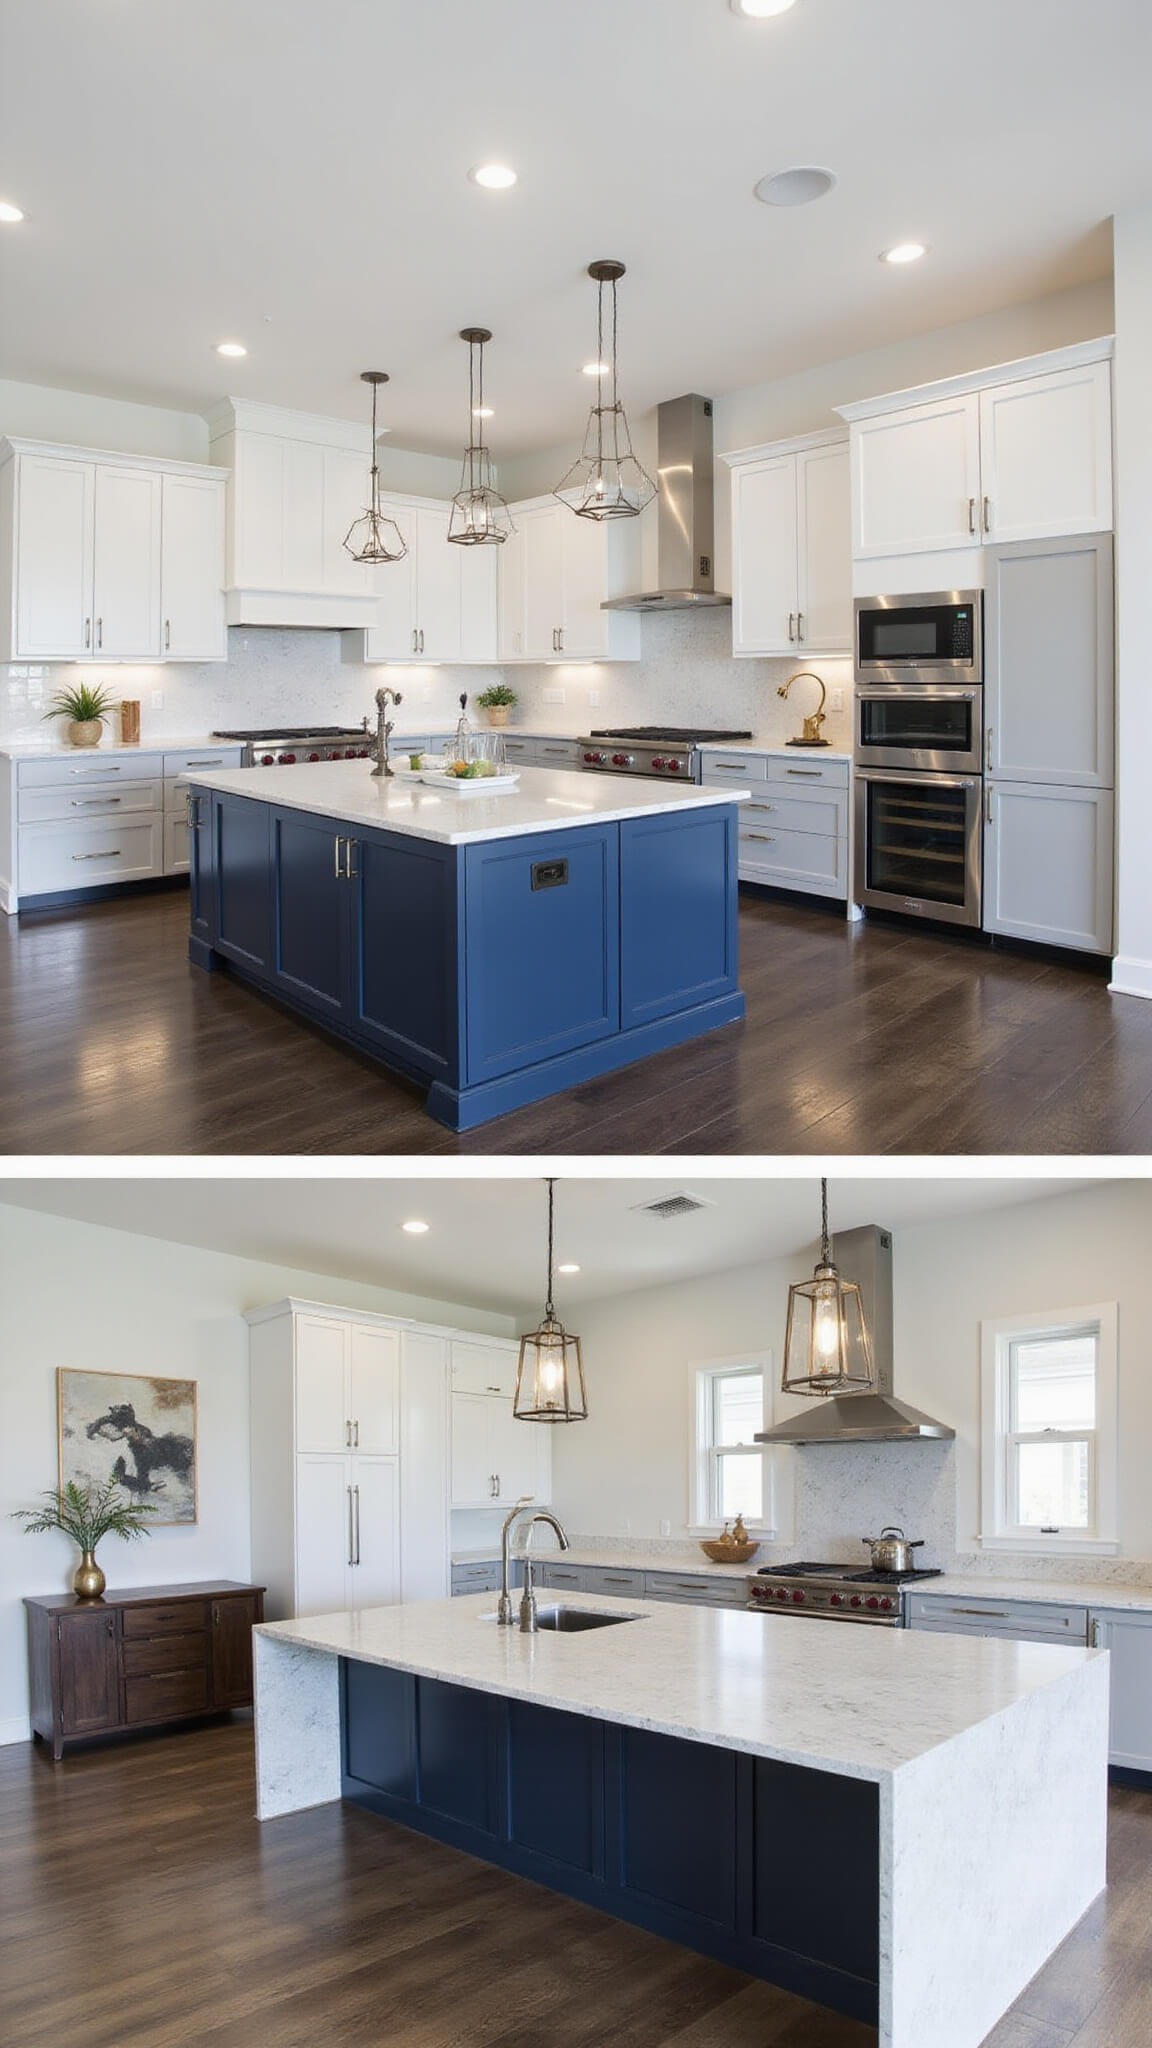
Choosing Your Perfect Shaker Cabinet
Here’s what actually matters:
Material Options:
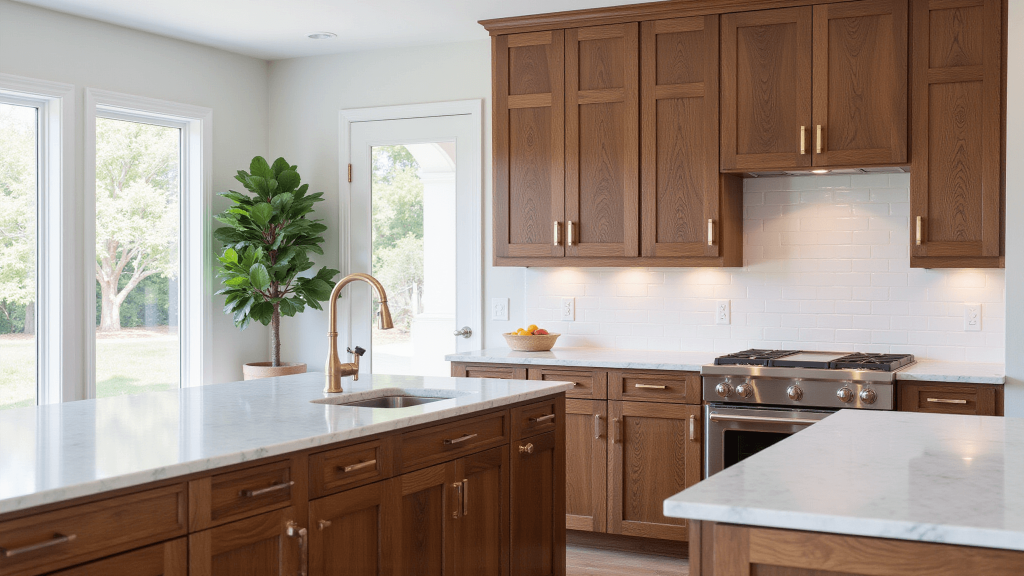
- Solid wood (most expensive but lasts forever)
- MDF with wood veneer (my go-to for painted finishes)
- Thermofoil (budget-friendly but can peel in humid areas)
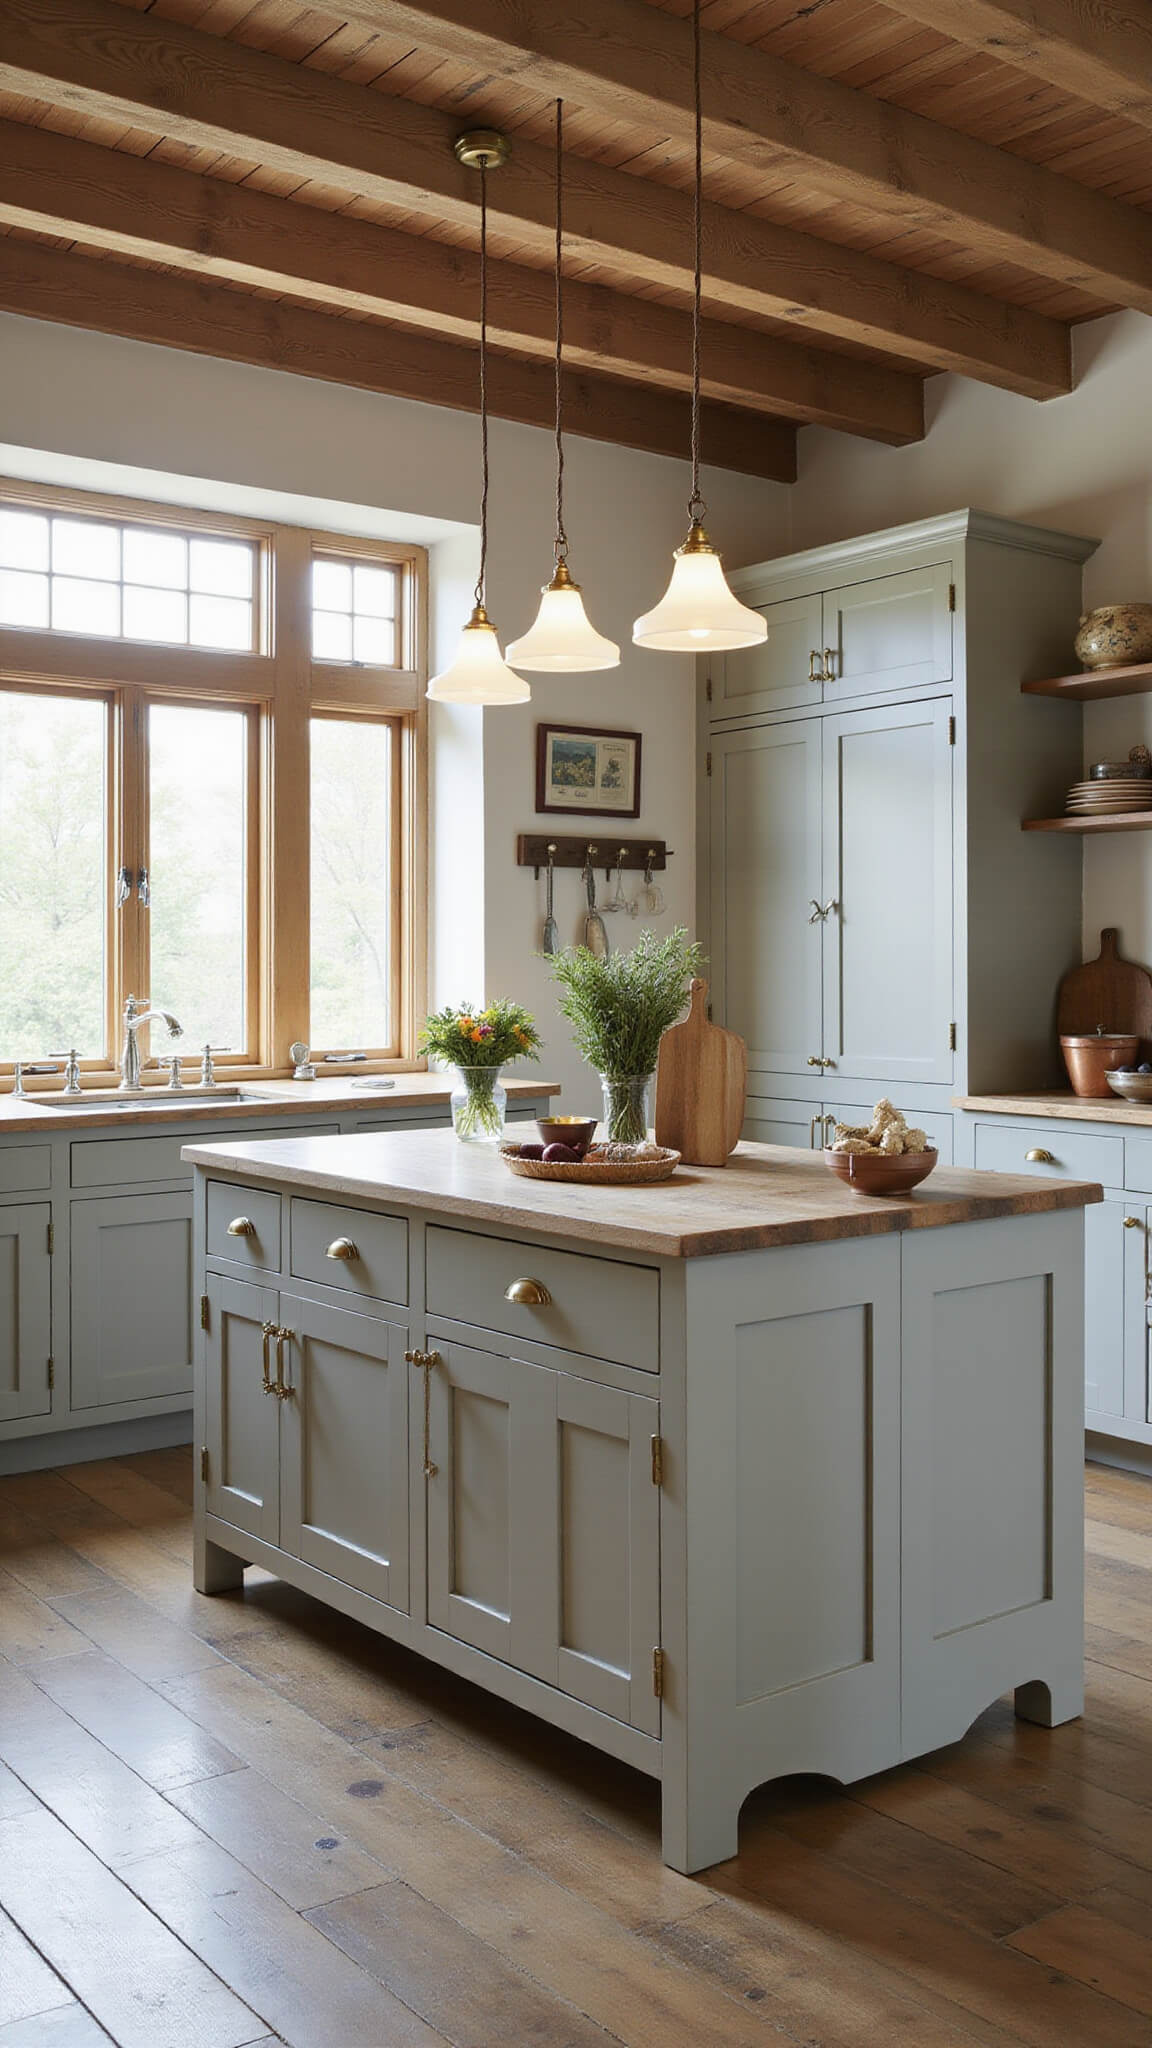
Popular Colors That Won’t Make You Cringe Later:
- Classic white (still #1 after all these years)
- Warm gray (my personal favorite)
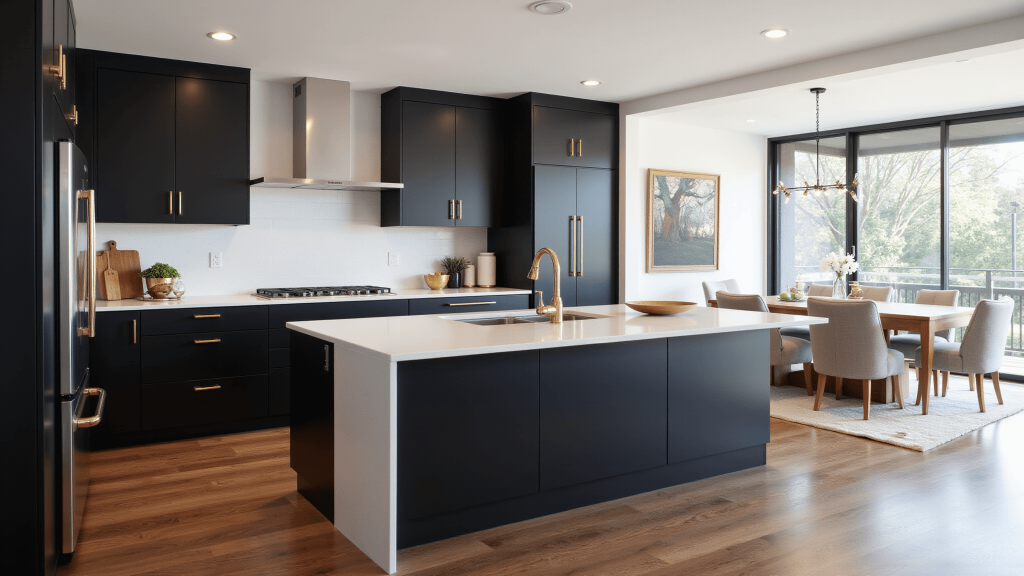
- Navy blue (surprisingly versatile)
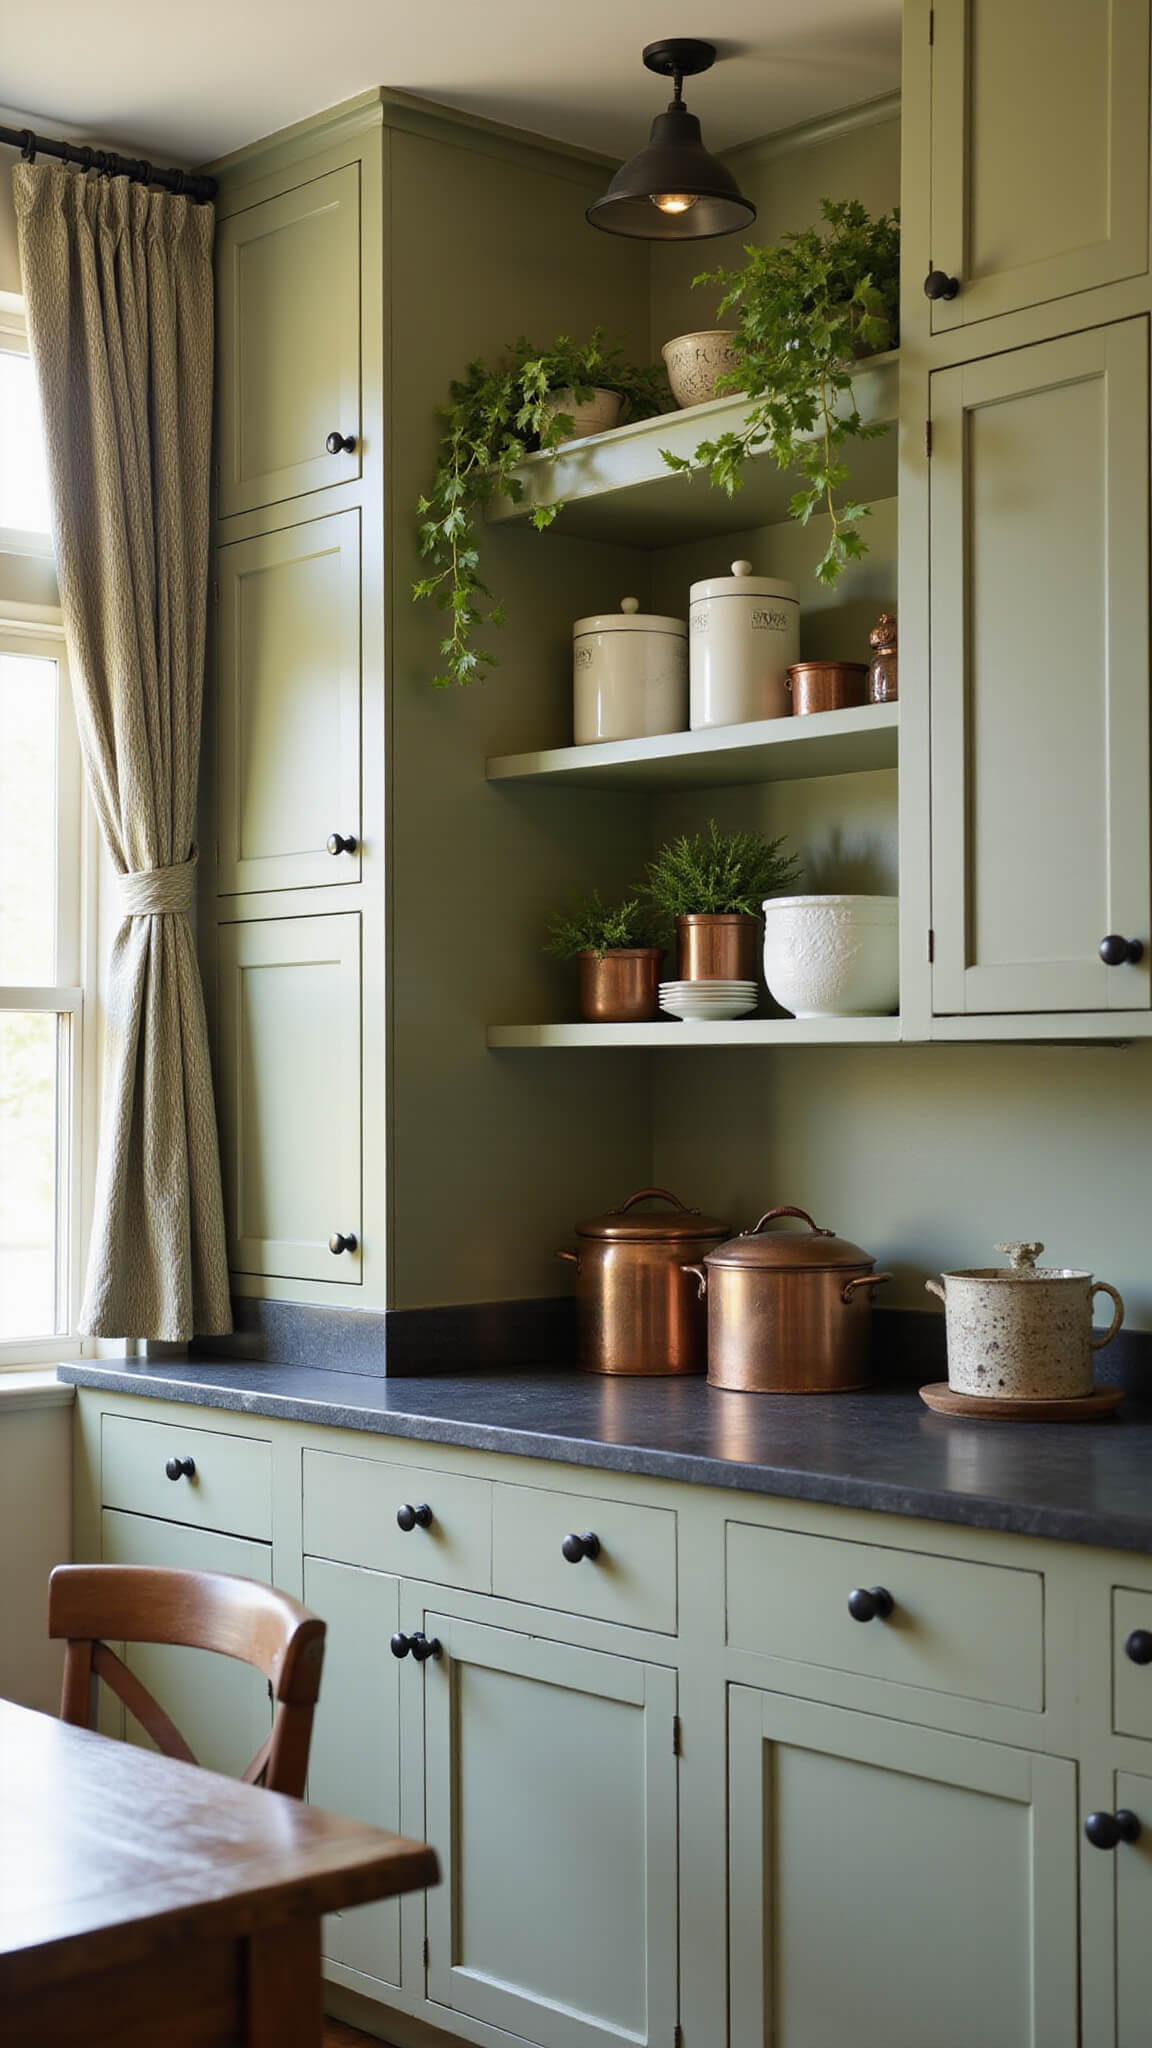
- Sage green (trending but timeless)
Hardware That Works:
- Brushed nickel pulls (can’t go wrong)
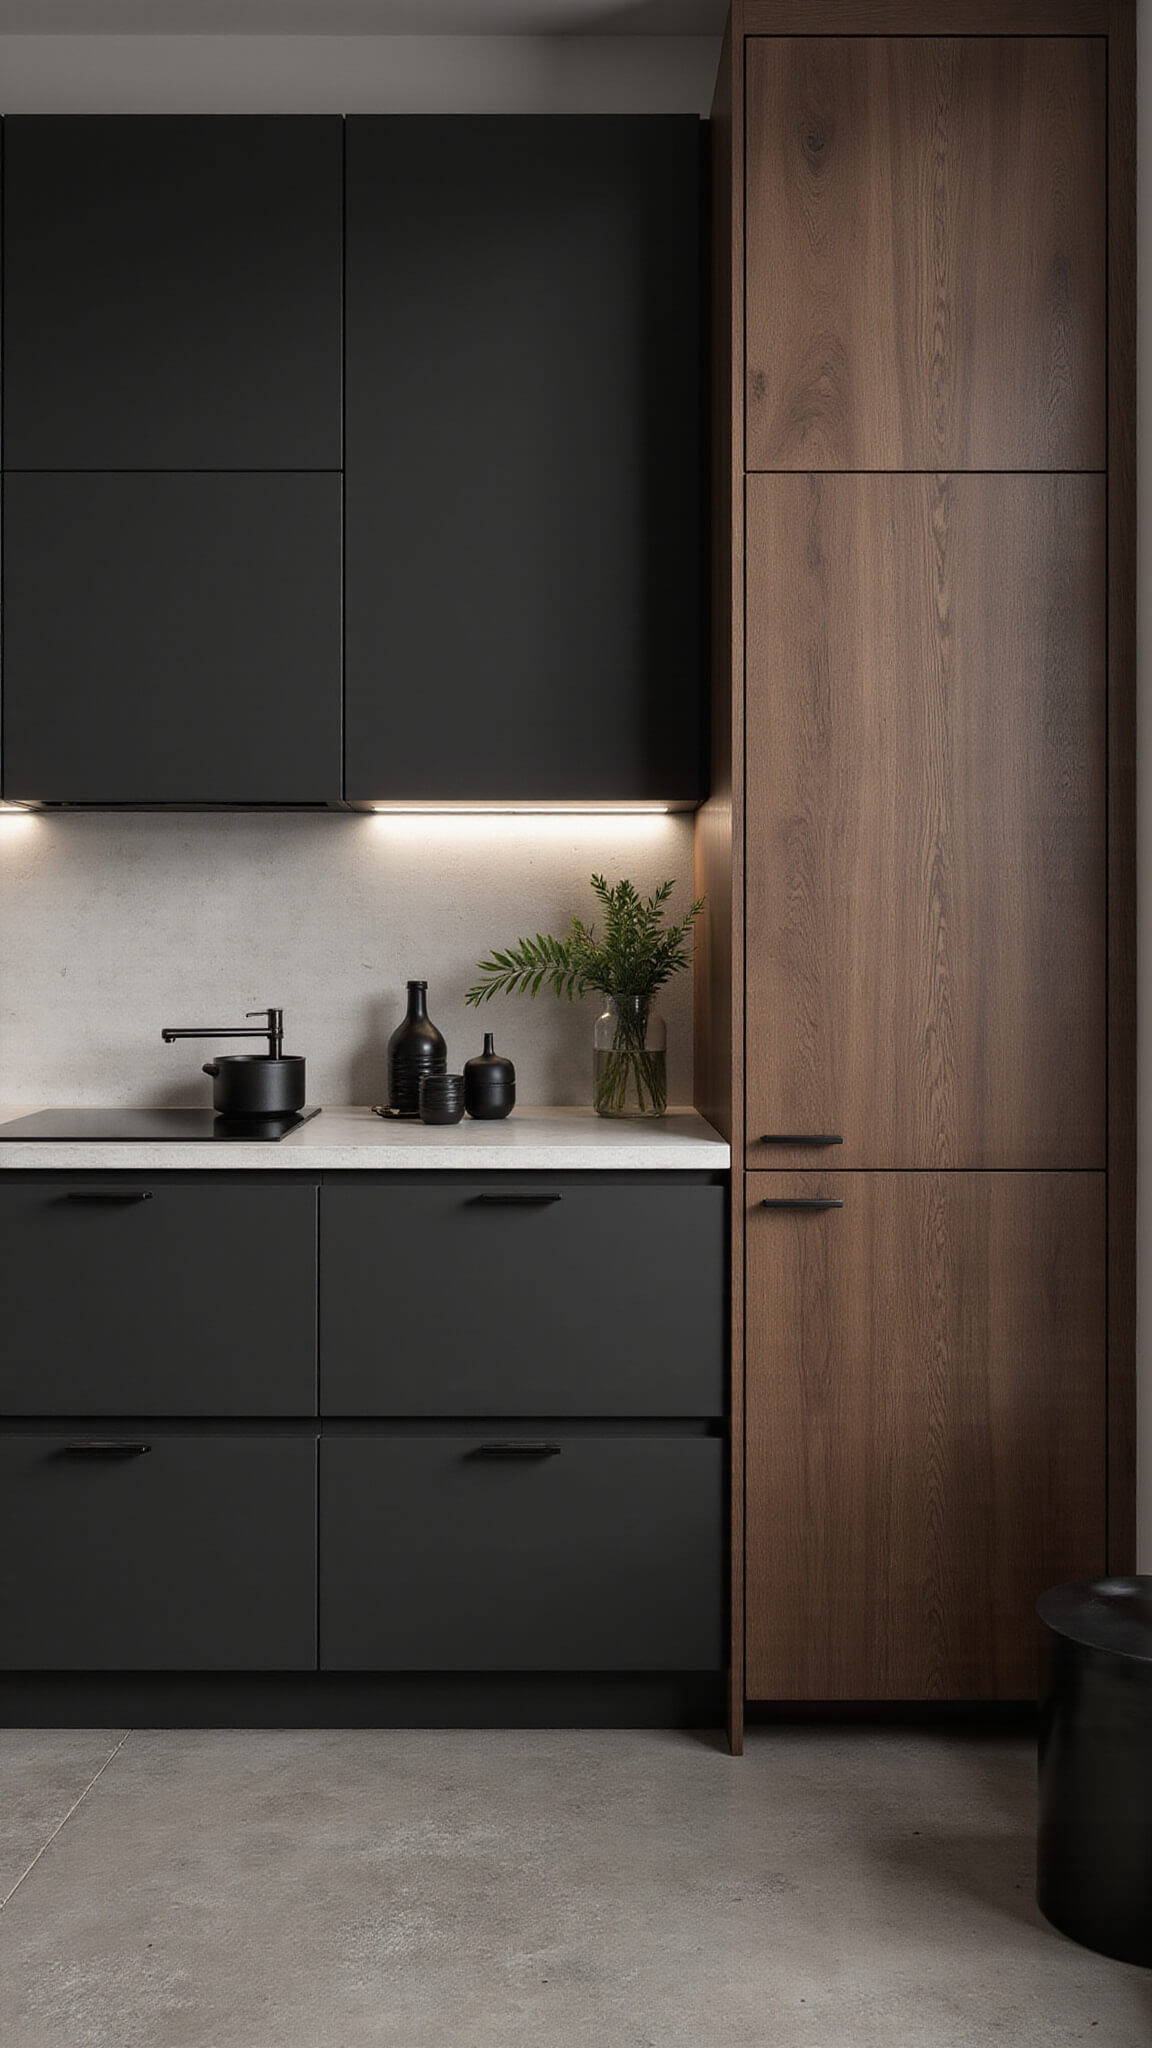
- Matte black (modern vibe)
- Aged brass (adds warmth)
Save this article
Enter your email and we'll send it straight to your inbox.
Installation Tips (From My Mistakes)
Trust me, I’ve made every mistake possible. Here’s what I learned:
Critical Steps:
- Level everything obsessively
- Use a cabinet jack (your back will thank me)
- Install upper cabinets first
- Always pre-drill your holes
Common Mistakes to Avoid:
- Skipping the wall prep (biggest regret ever)
- Rushing the leveling process
- Forgetting about door clearance
- Using cheap hardware (it shows)
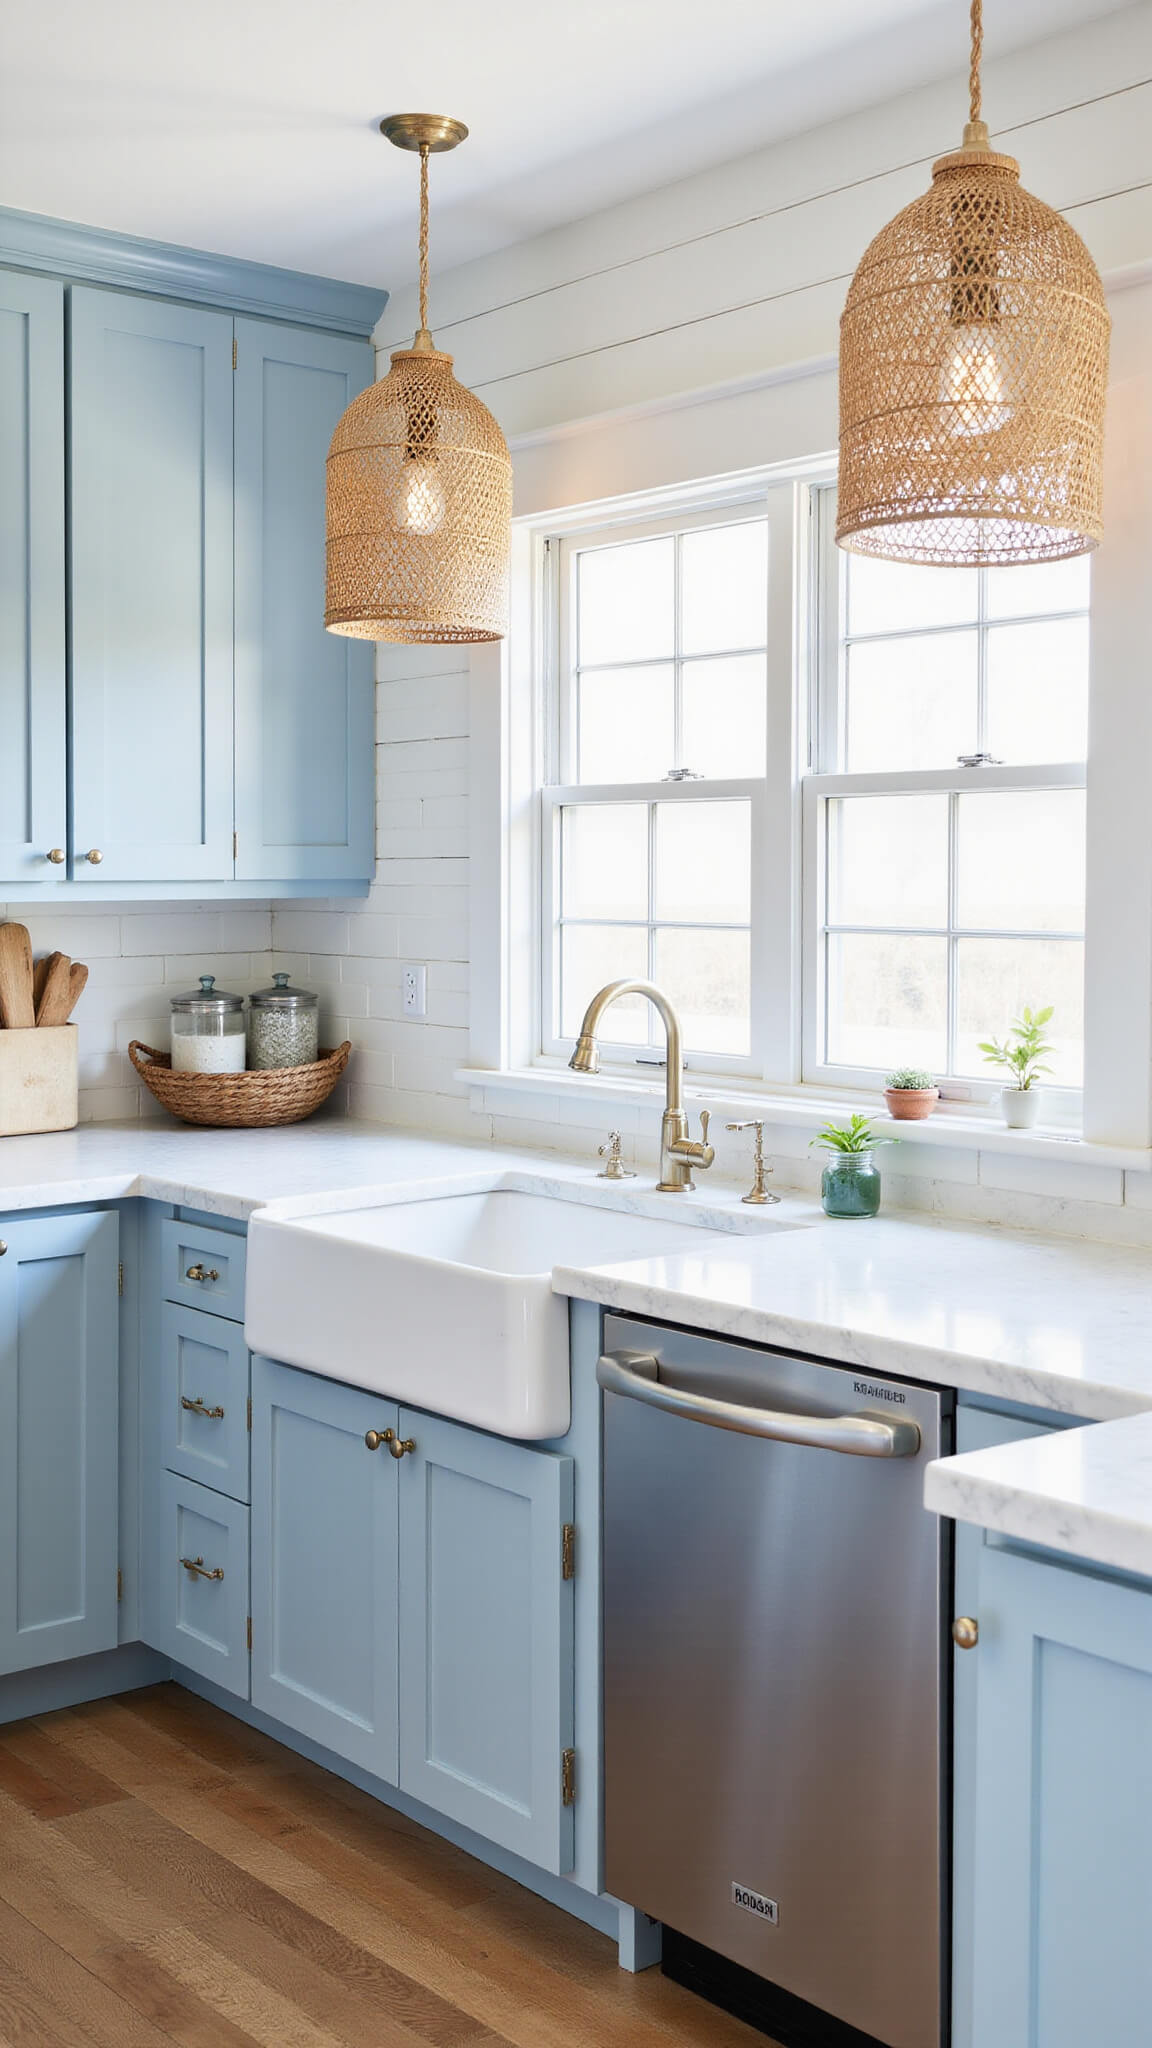
Styling Your Shaker Cabinets
Less is more – I learned this the hard way after over-styling countless photo shoots.
Best Styling Combos:
- Light counters + dark hardware
- White cabinets + wooden accents
- Two-tone cabinets (uppers/lowers)
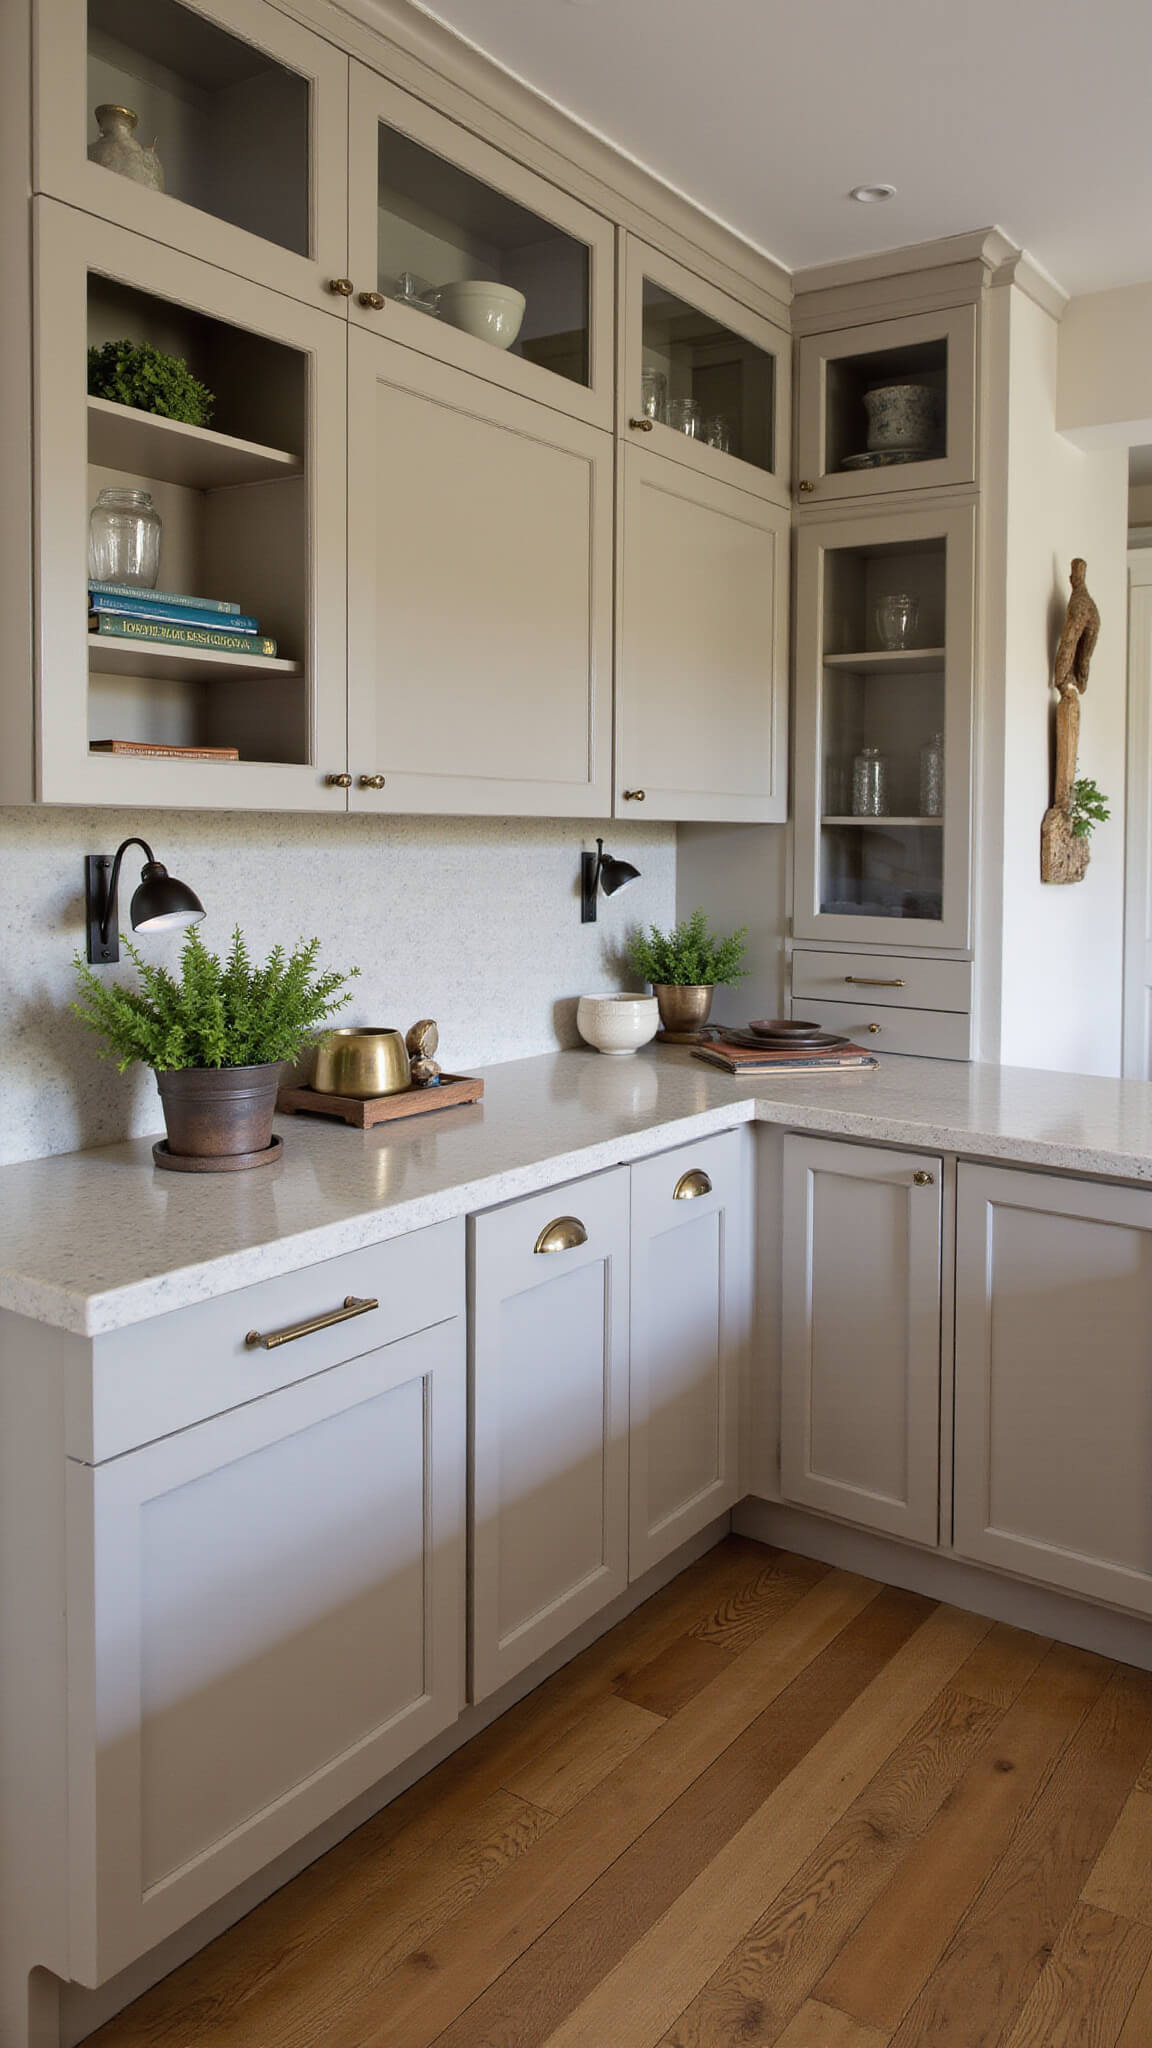
Real-Life Durability Tips:
- Use cabinet bumpers (they’re lifesavers)
- Clean with mild soap only
- Touch up paint every 2-3 years
- Tighten hardware seasonally
The Bottom Line
After years in the business, I can honestly say Shaker cabinets are the most versatile, practical choice for most homes. They’re like the perfect little black dress of kitchen design – they never let you down.
Keep the surrounding trim simple so the doors lead. Shaker style cabinets feel right when the finish is matte and the pulls are small, so the room stays quiet.
Save this article
We'll email you the link so you can come back to it.