Creating a Cozy Rustic Kitchen: A Photographer’s Guide to Stunning Decor
Hey there! I’m Sarah, an interior photographer specializing in rustic and farmhouse spaces. Let me walk you through creating that perfect, Pinterest-worthy rustic kitchen you’ve been dreaming about.
The Heart of Rustic Appeal
I’ve learned that rustic kitchens aren’t just about looks – they’re about creating a soul-warming atmosphere that makes everyone want to gather around.
Getting Started: The Foundation
First things first – let’s nail down those essential elements:
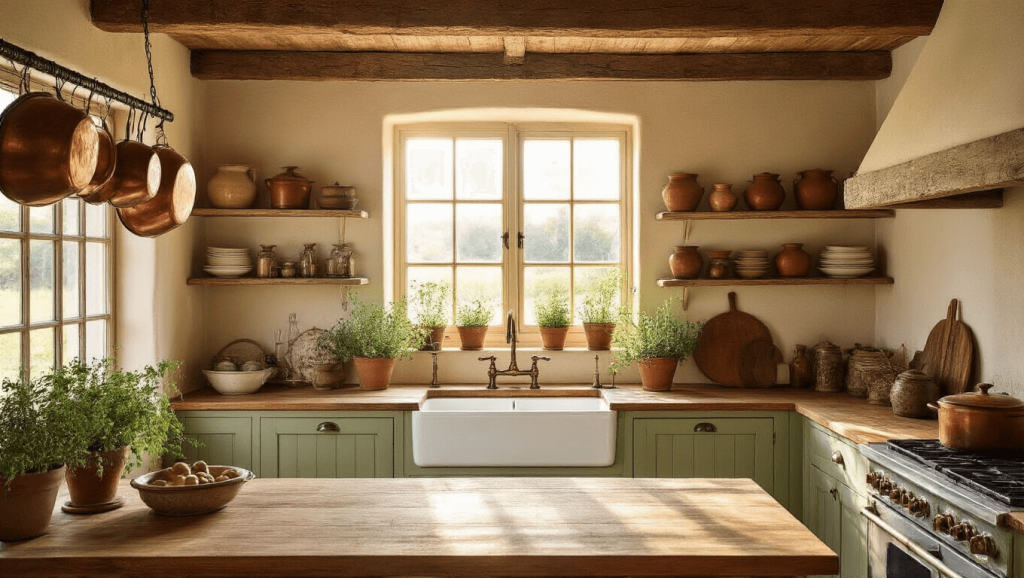
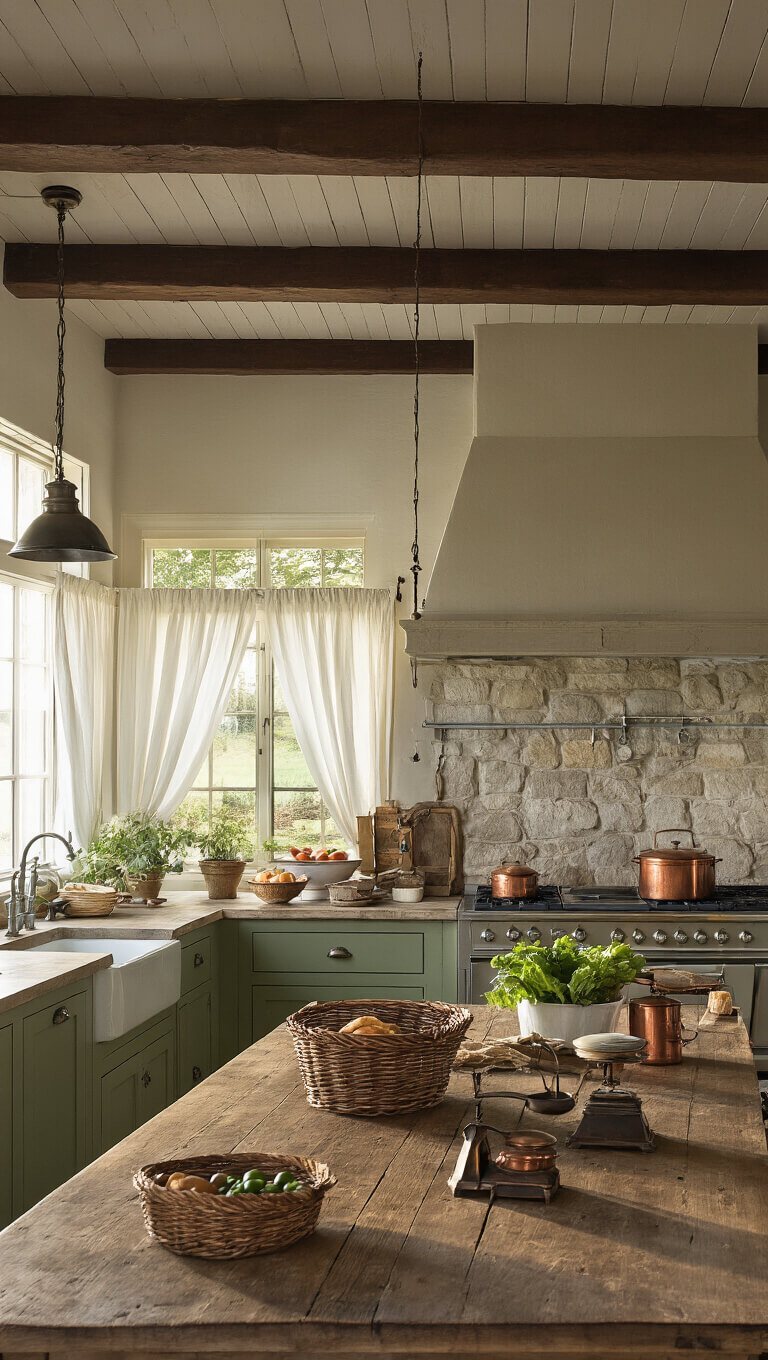
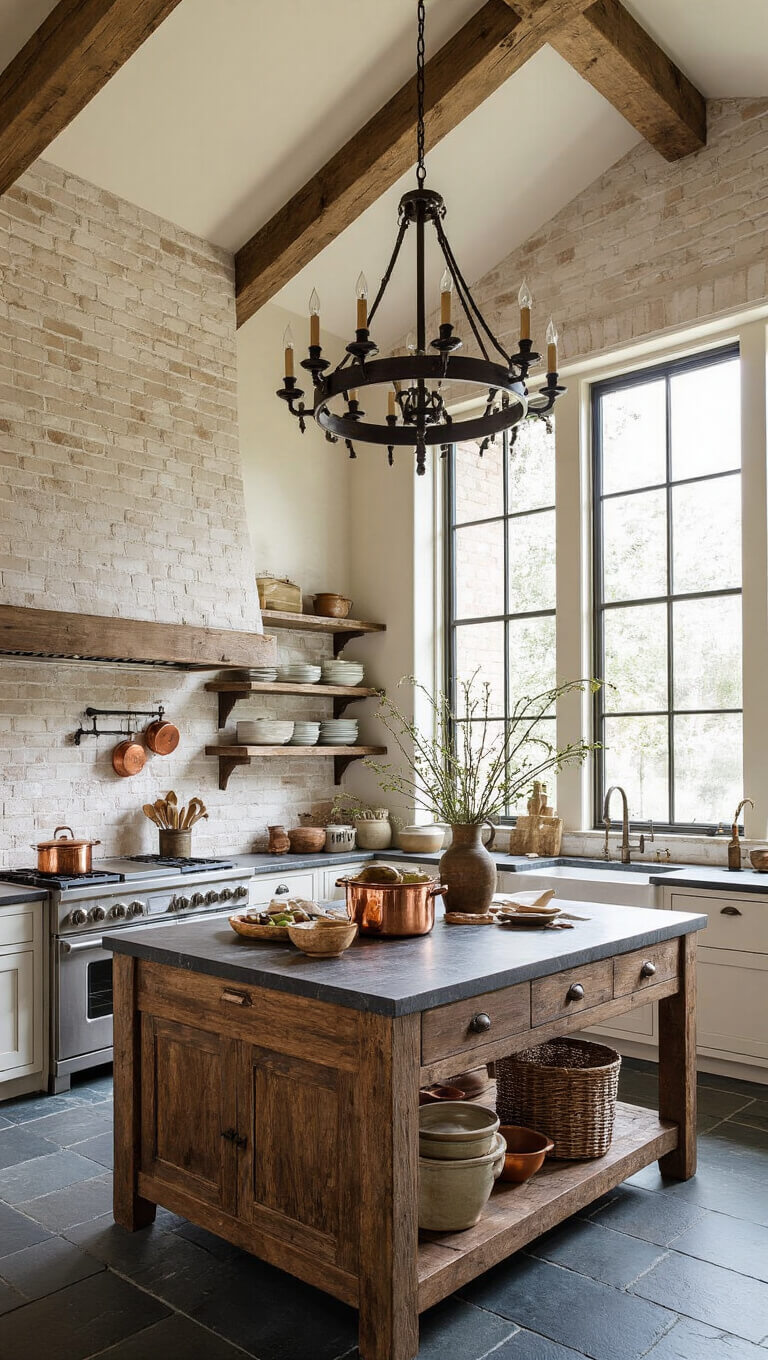
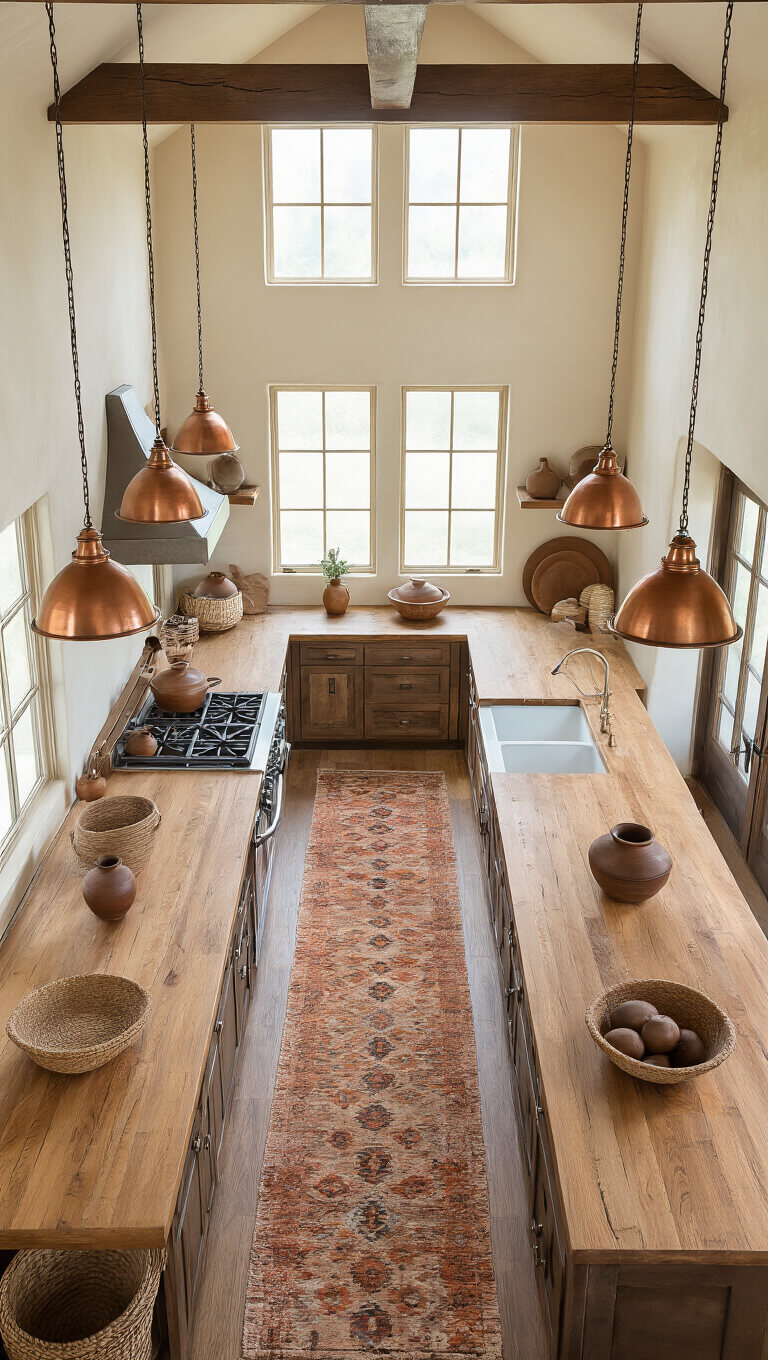
- Natural wood elements (think exposed beams or butcher block counters)
- Stone or brick features
- Weathered or distressed finishes
- Warm, earthy color palette
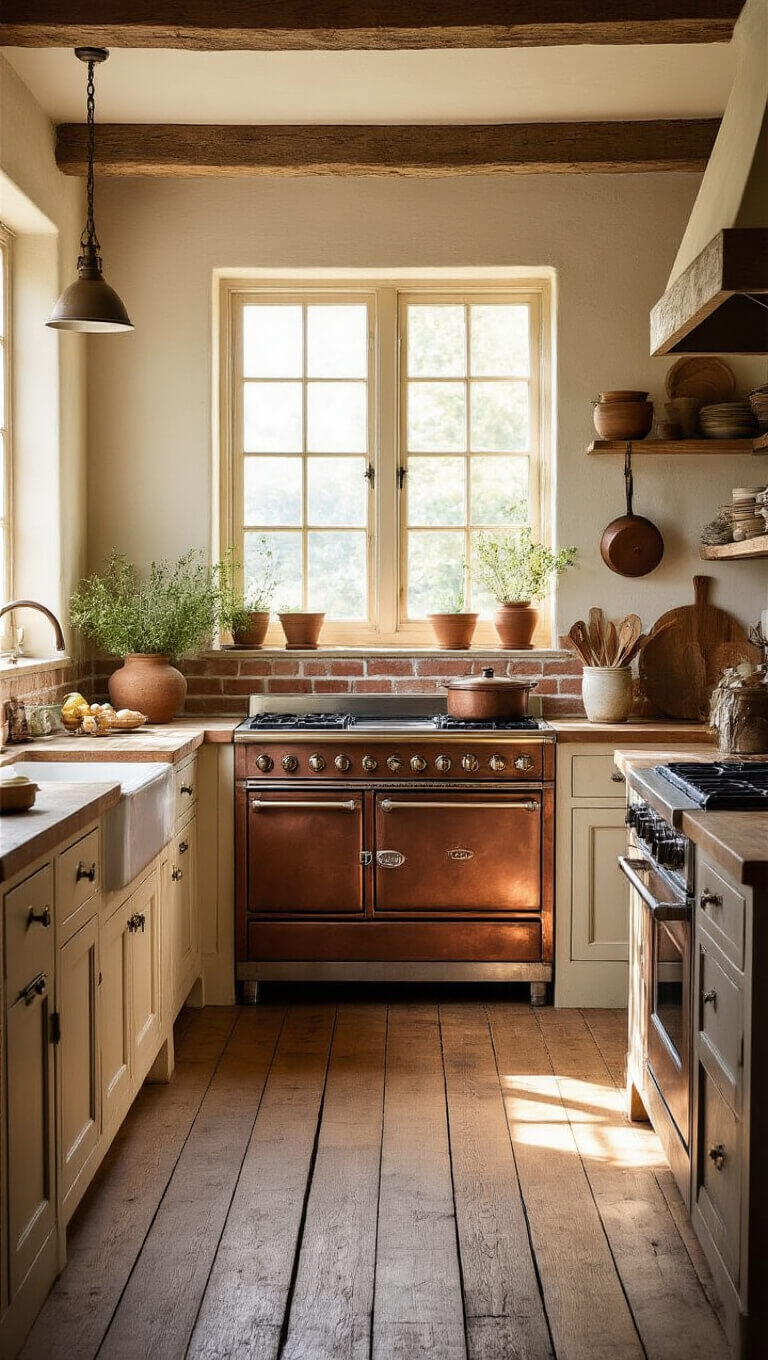
Pro Tip: Start with one statement piece. For me, it’s usually a farmhouse sink or a vintage stove – these anchor the whole look.
The Perfect Color Palette
Here’s my tried-and-true rustic kitchen color combo:
- Deep browns
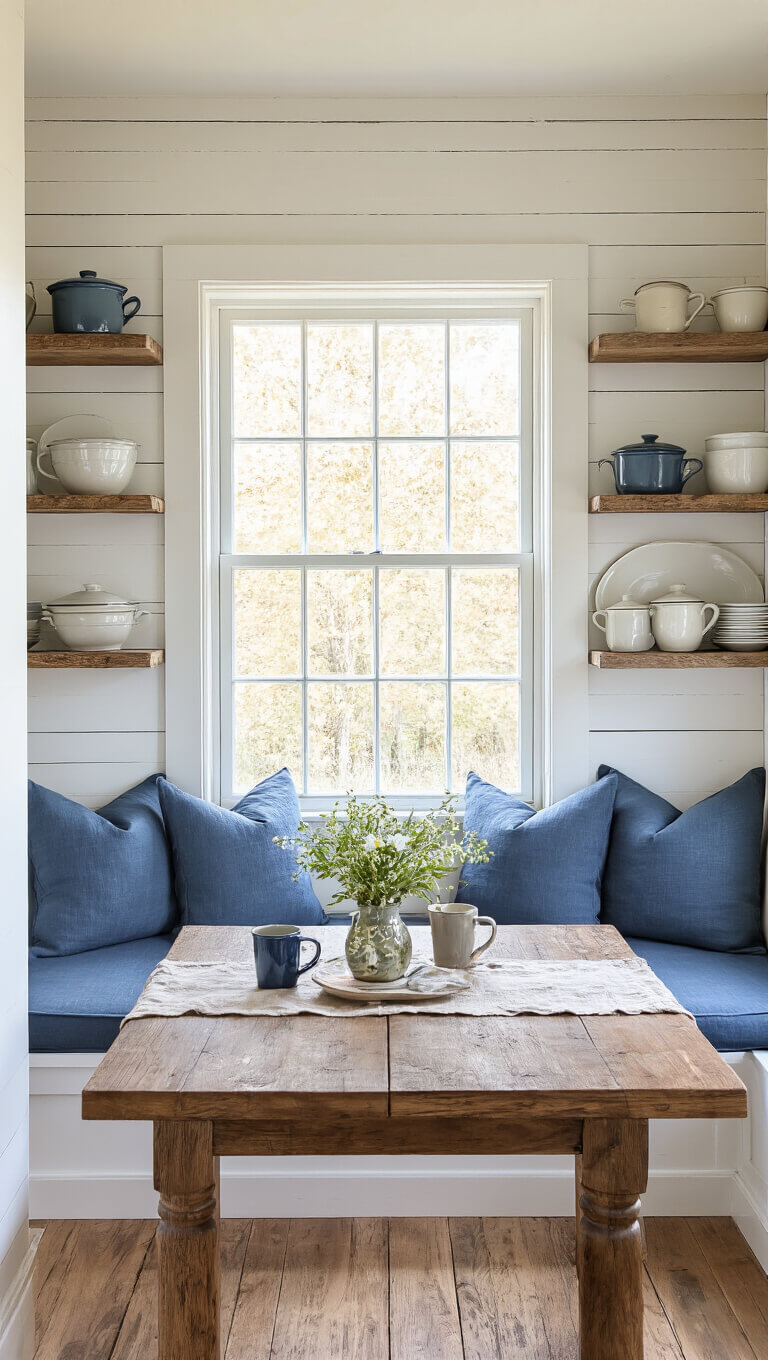
- Warm creams
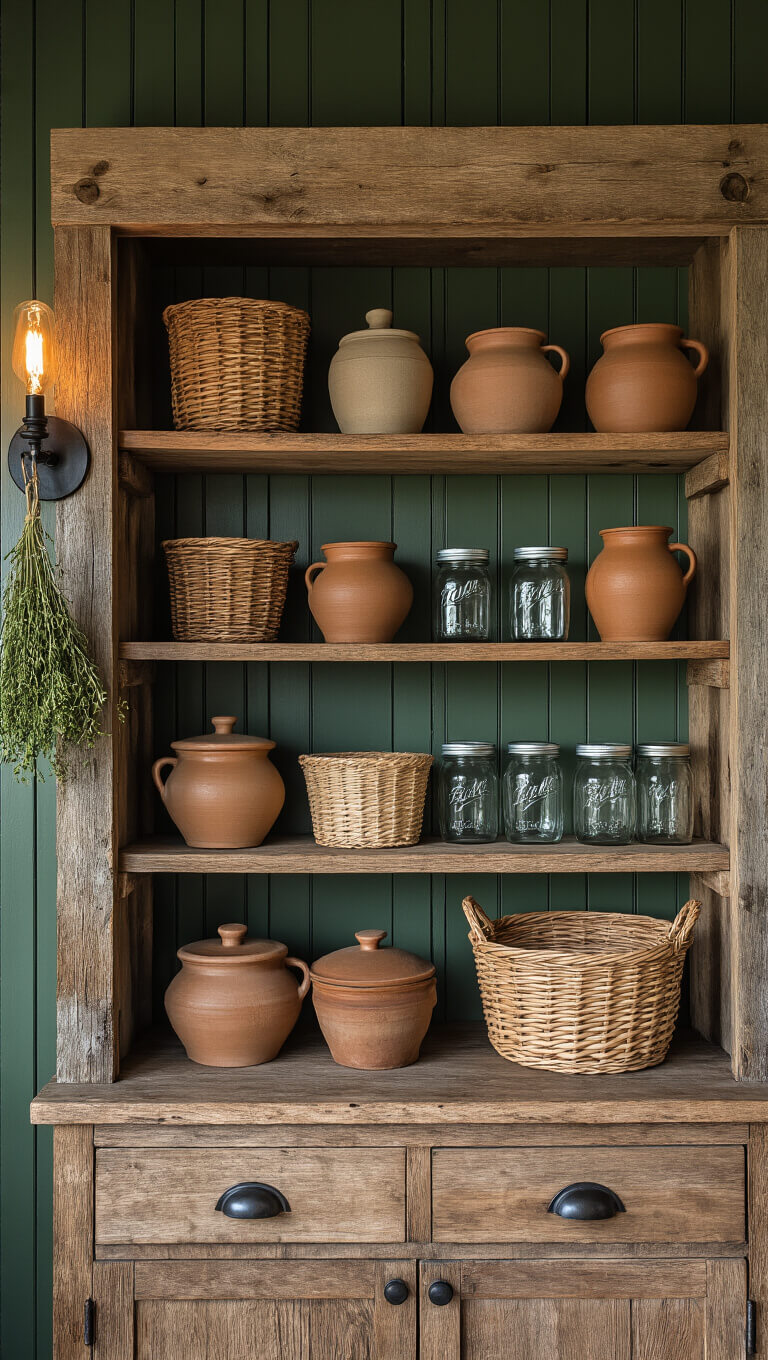
- Forest greens
- Muted reds
- Slate blues
Styling Like a Pro
When I’m setting up a shot, I follow these steps:
1. Clear the Clutter
Remove modern appliances and anything that breaks the rustic vibe.
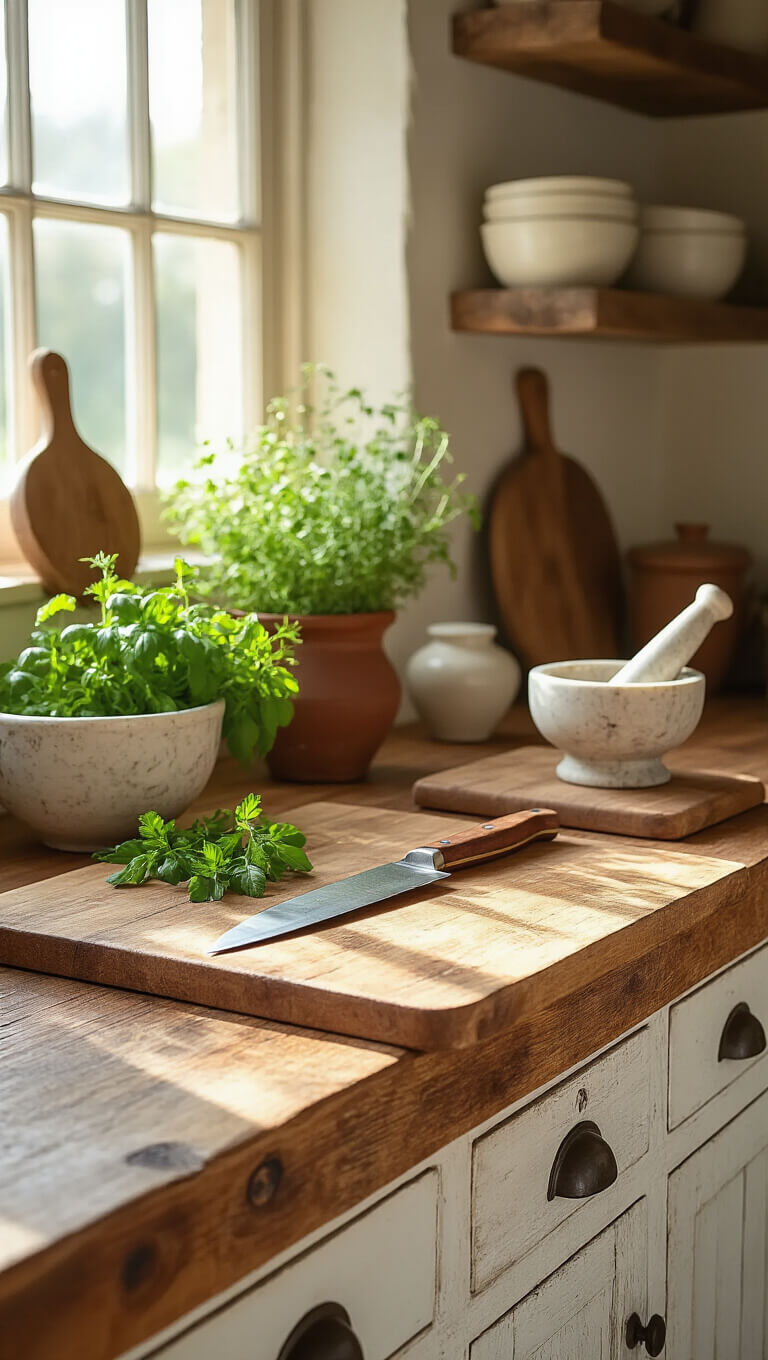
2. Layer Textures
- Start with big pieces (wooden cutting boards, copper pots)
- Add middle elements (ceramic crocks, woven baskets)
- Finish with small details (fresh herbs, vintage utensils)
3. Create Focal Points
Position key elements using the rule of thirds – trust me, it works every time!
Lighting Secrets
Natural light is your best friend here. I always:
- Shoot during golden hour when possible
- Use soft, diffused light
- Avoid harsh shadows that can kill the cozy vibe
Common Mistakes to Avoid
Don’t fall into these traps:
- Over-staging (rustic should look lived-in)
- Using too many modern elements
- Forgetting about texture variety
- Making it too perfect (some imperfection is charming!)
Budget-Friendly Tips
You don’t need to break the bank:
- Scout thrift stores for vintage pieces
- DIY some elements (like open shelving)
- Focus on key statement pieces first
- Mix high and low-end items
Remember: Rustic style is forgiving – it’s meant to look collected over time, not bought all at once.
The Final Touch
Always end with what I call the “cozy factor“:
- A steaming cup of coffee
- Fresh-baked bread
- Herbs in vintage containers
- Warm lighting
And there you have it! With these tips, you’ll be creating stunning rustic kitchen spaces that look amazing both in person and on camera.
Got questions? Drop them below – I love helping fellow rustic enthusiasts create their dream spaces!