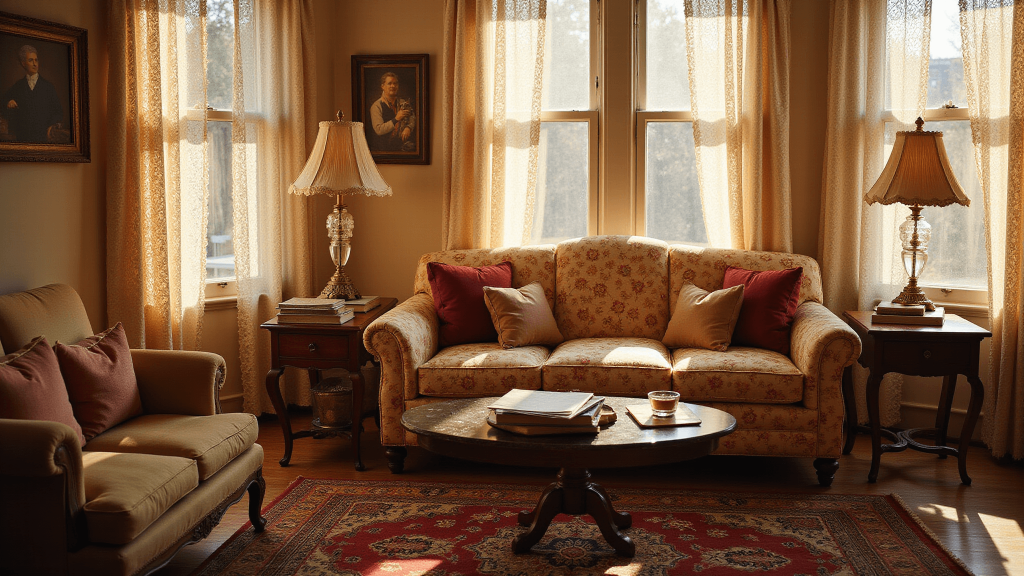
How I Created a Spellbinding Halloween Front Porch (That My Neighbors Can’t Stop Talking About)
I set a client’s porch with one carved pumpkin and a warm lantern, and the entry finally felt like the season. Halloween decor front porch works when the few pieces are real and the light is soft, so the space reads as welcoming instead of loud.
I’ve spent years perfecting my technique, and I’m about to spill all my secrets.
Let’s cut straight to the chase – here’s everything you need to know:
The Basics (What You’ll Need)
- Time investment: 2-4 hours for setup
- Budget range: $50-500 (I’ll show you both budget and luxe options)
- Space needed: Works for any porch size, but I’m using an 8×12 ft example
Step 1: Laying the Foundation
First things first – clear everything off your porch.
Trust me, you need a blank canvas.
Start with these base elements:
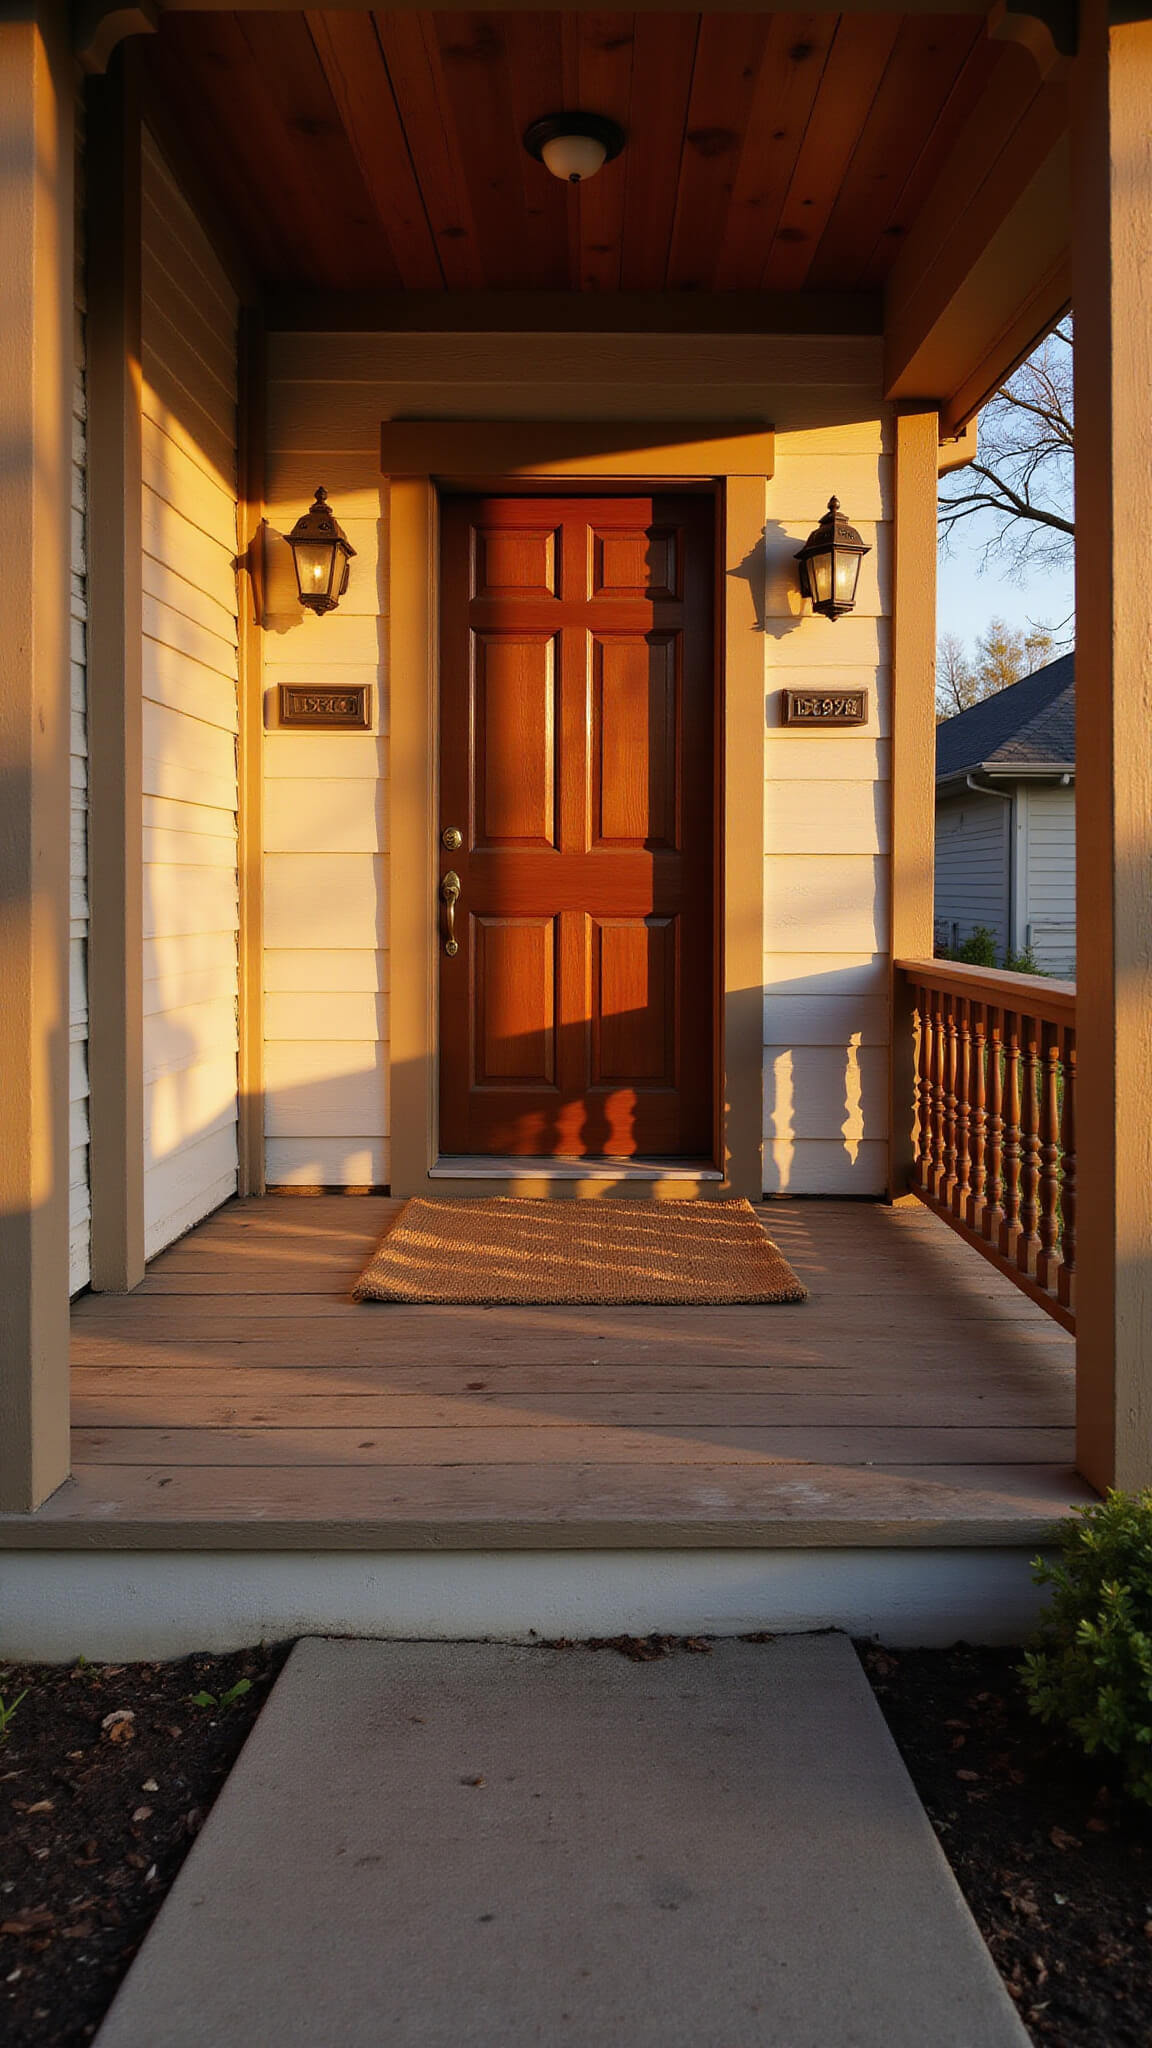
- A plain doormat (we’ll spookify it)
- Basic lighting fixtures
- Any existing furniture (don’t remove these yet)
The Game-Changing Focal Point
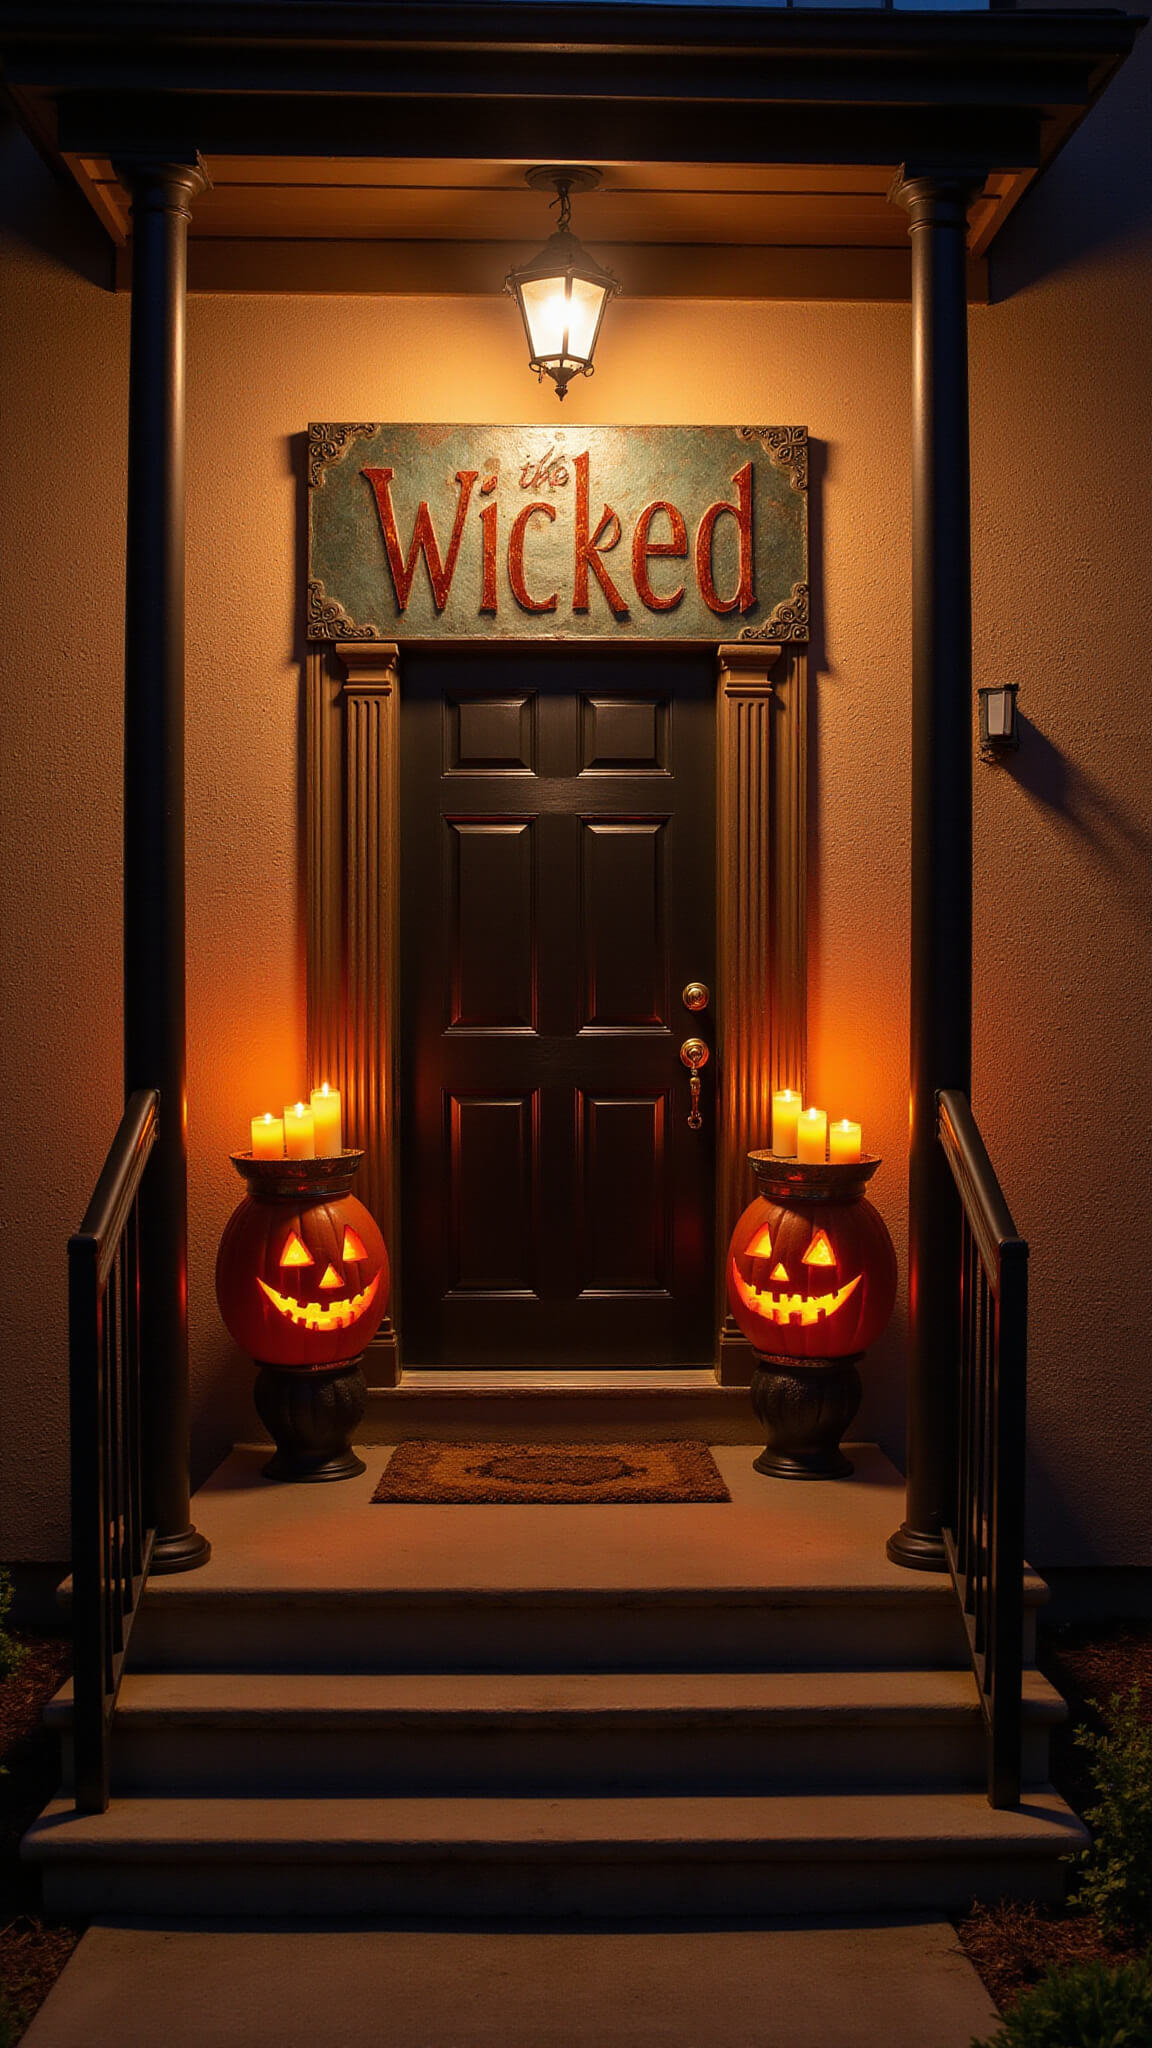
Here’s my secret weapon – create ONE show-stopping element.
For me, it’s a massive illuminated “Wicked” sign flanked by oversized jack-o’-lanterns.
Pro tip: Position your focal point at eye level for maximum impact.

Layer Like a Pro
Think in terms of height levels:
- Ground level: Hay bales, pumpkin clusters
- Mid-level: Lanterns, potted mums
- Eye level: Your focal piece
- Above: Hanging elements like bats or ghostly drapes
Lighting Magic (This Changes Everything)
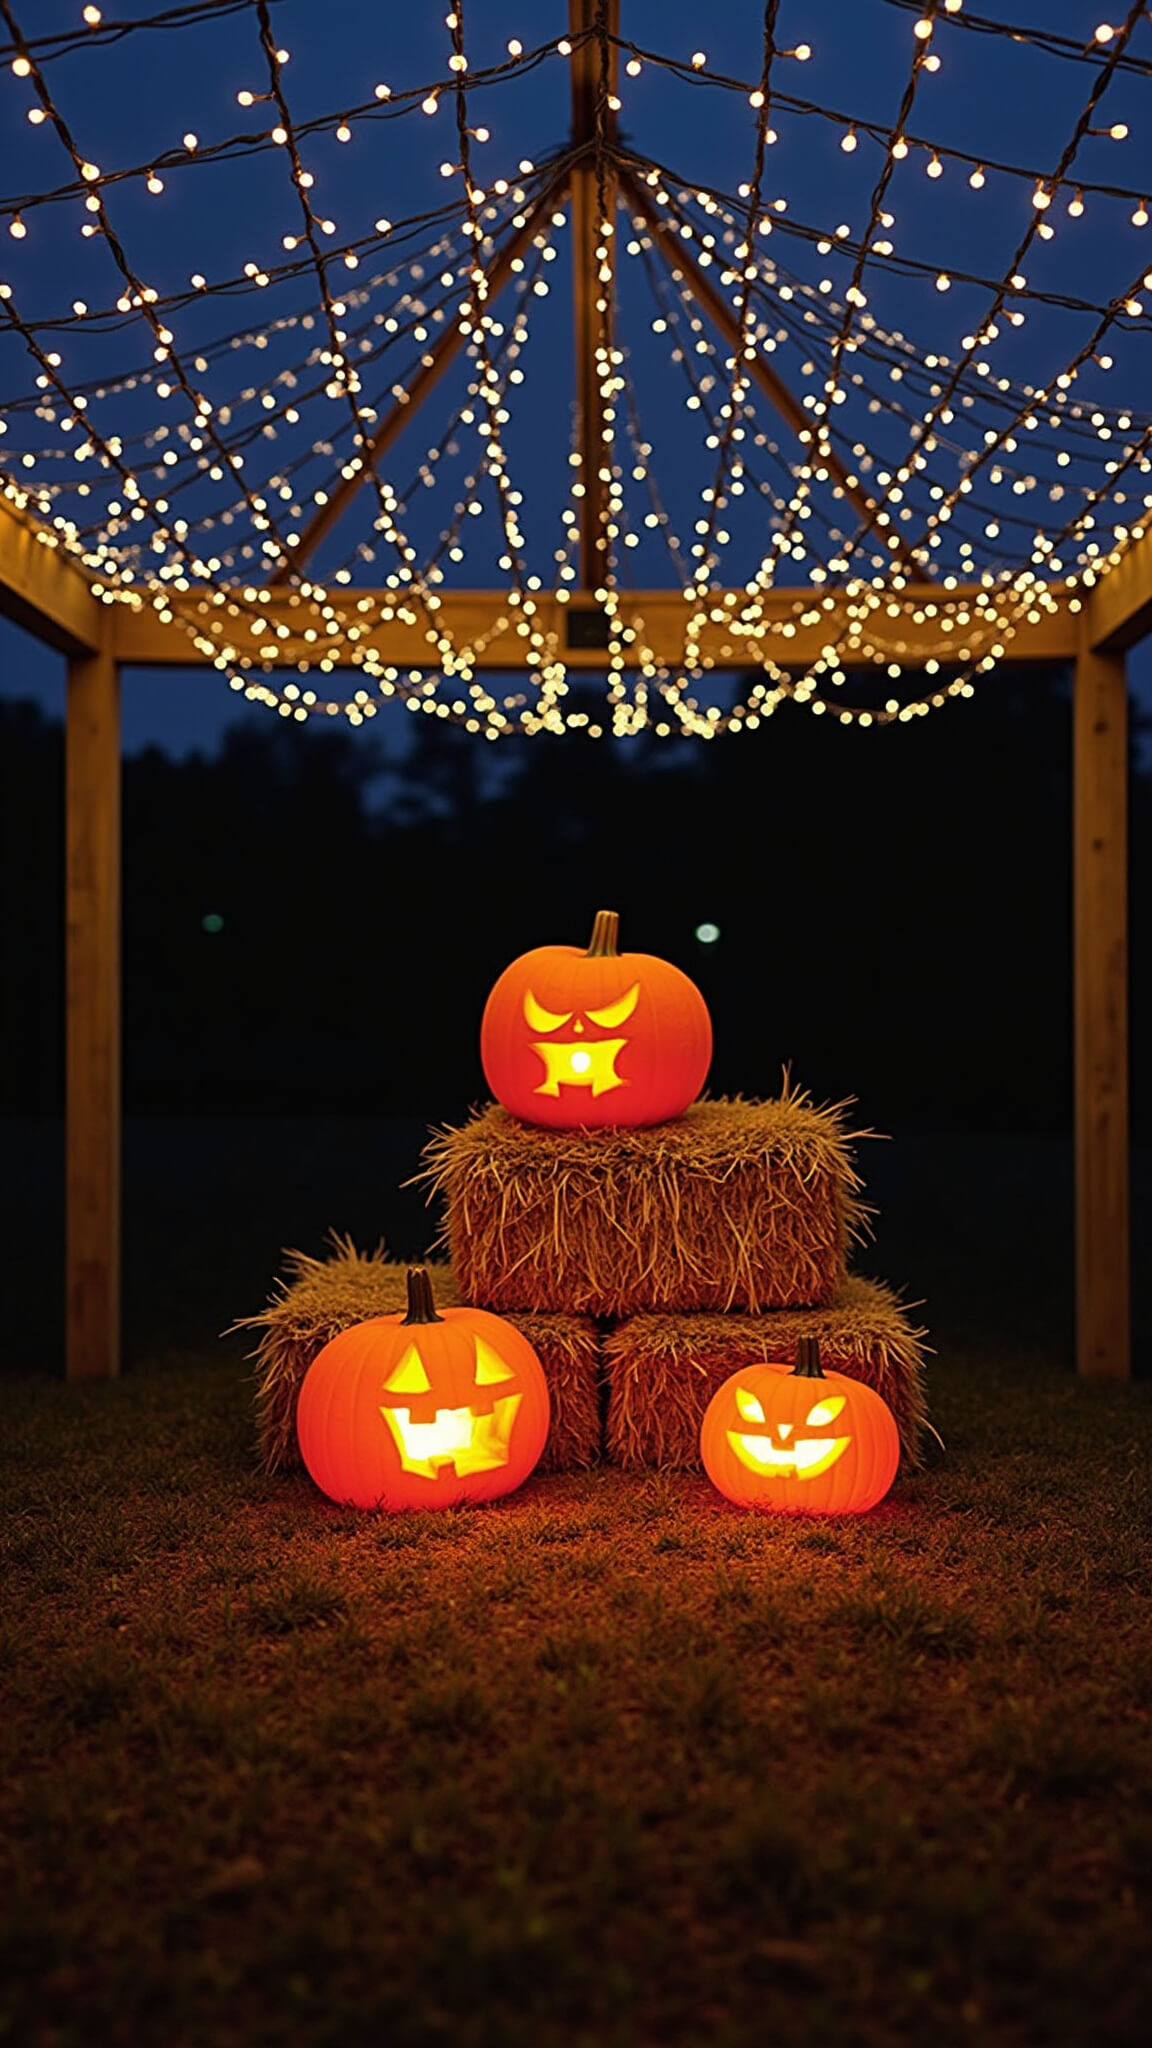
I learned this the hard way – lighting makes or breaks your display.
Save this article
Enter your email and we'll send it straight to your inbox.
My foolproof formula:
- String lights in warm white
- Uplighting for dramatic shadows
- Battery-operated candles inside pumpkins
- One spotlight on your focal point

Color Theory That Works
Stick to this palette:
- Primary: Orange and black
- Accents: Purple or green (not both)
- Metallic touches: Copper or silver
Budget-Friendly Secrets
Want to know how I created this look on a budget?
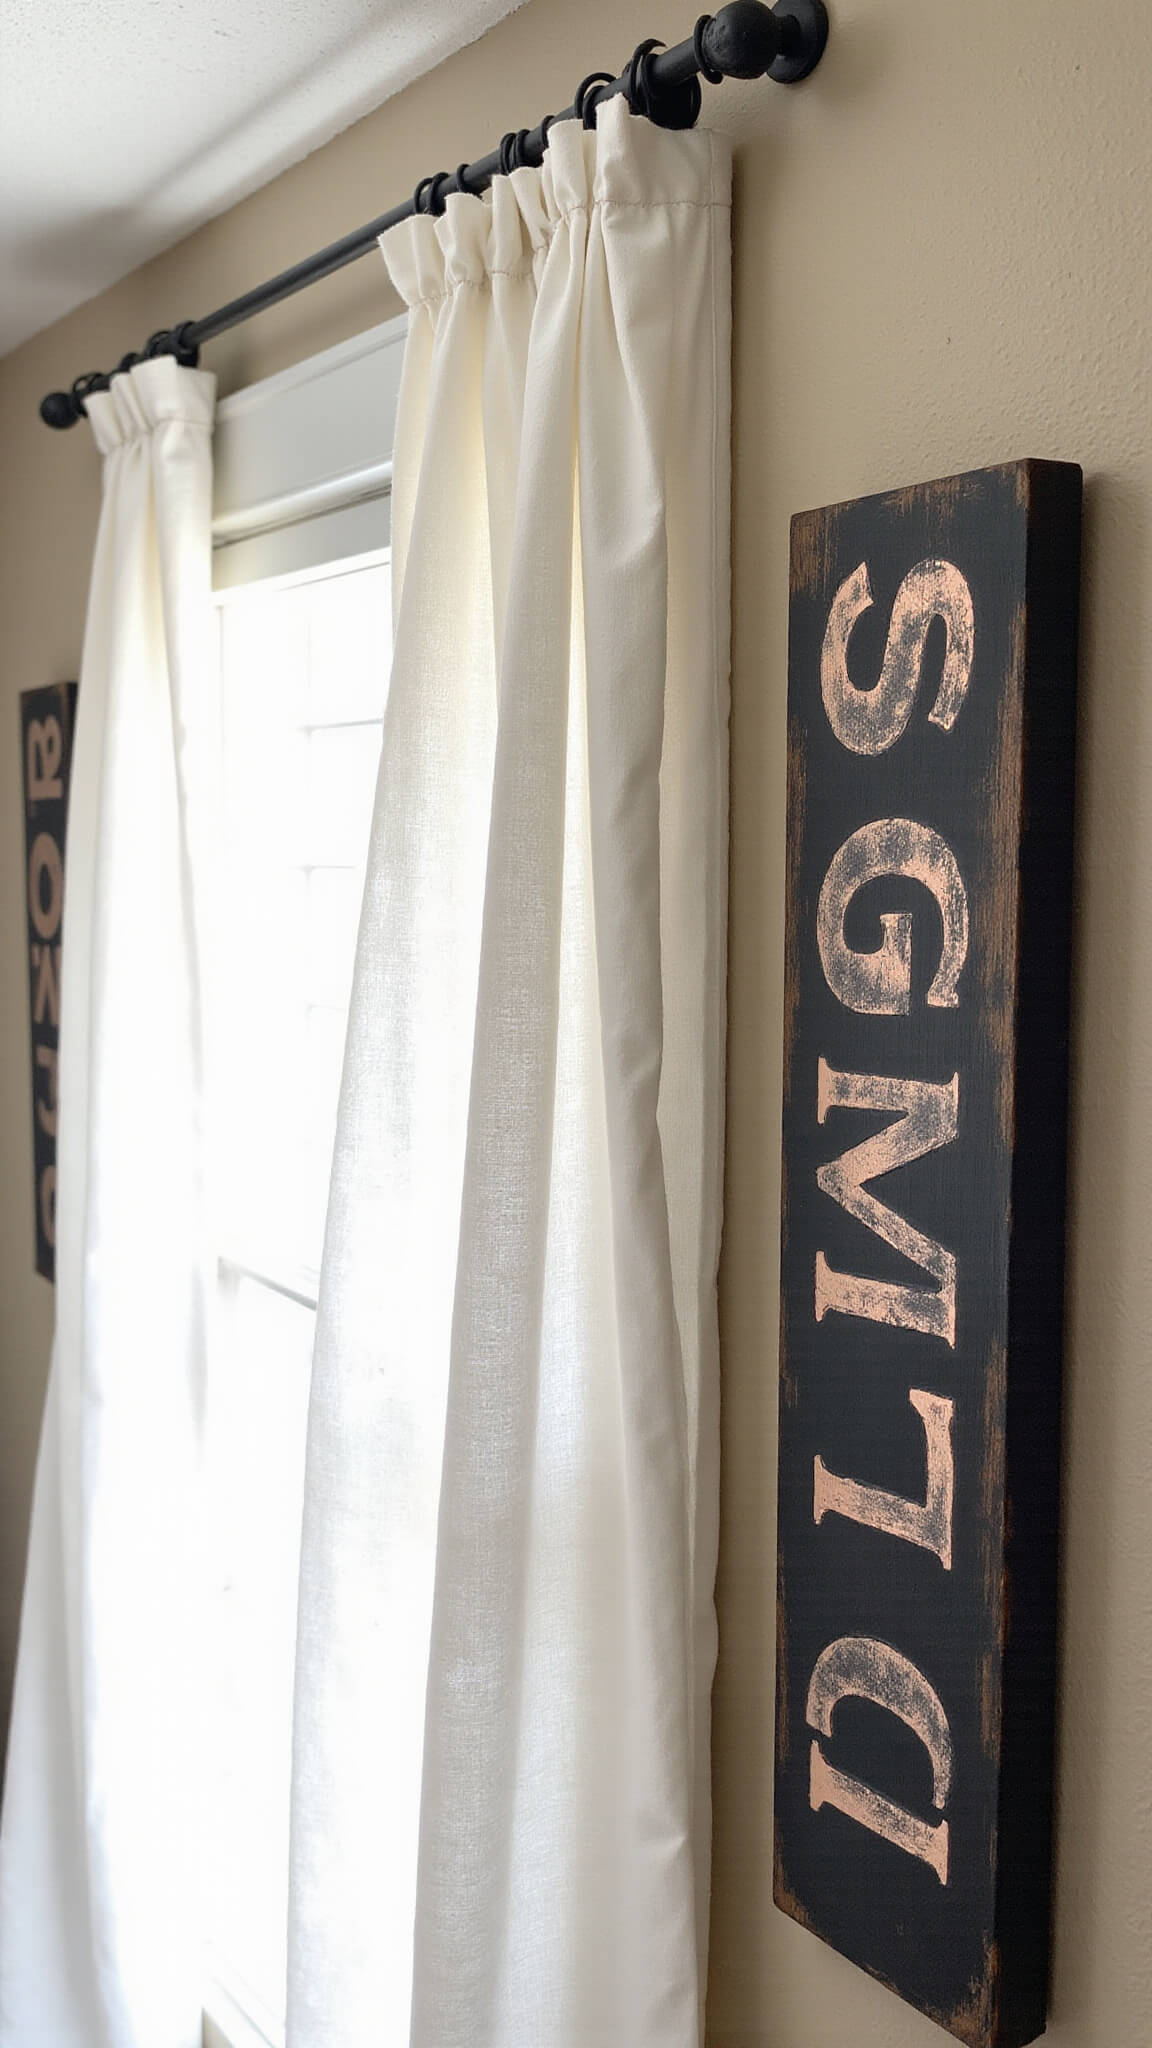
- Dollar store wooden signs (spray painted black)
- DIY ghost drapes from thrifted sheets
- Bulk-buy artificial pumpkins (use yearly)
- Natural elements like corn stalks (usually free from local farms)
The Finishing Touches
These small details make it magazine-worthy:
- Varying textures (burlap, velvet, metal)
- Odd-numbered groupings
- Strategic empty spaces
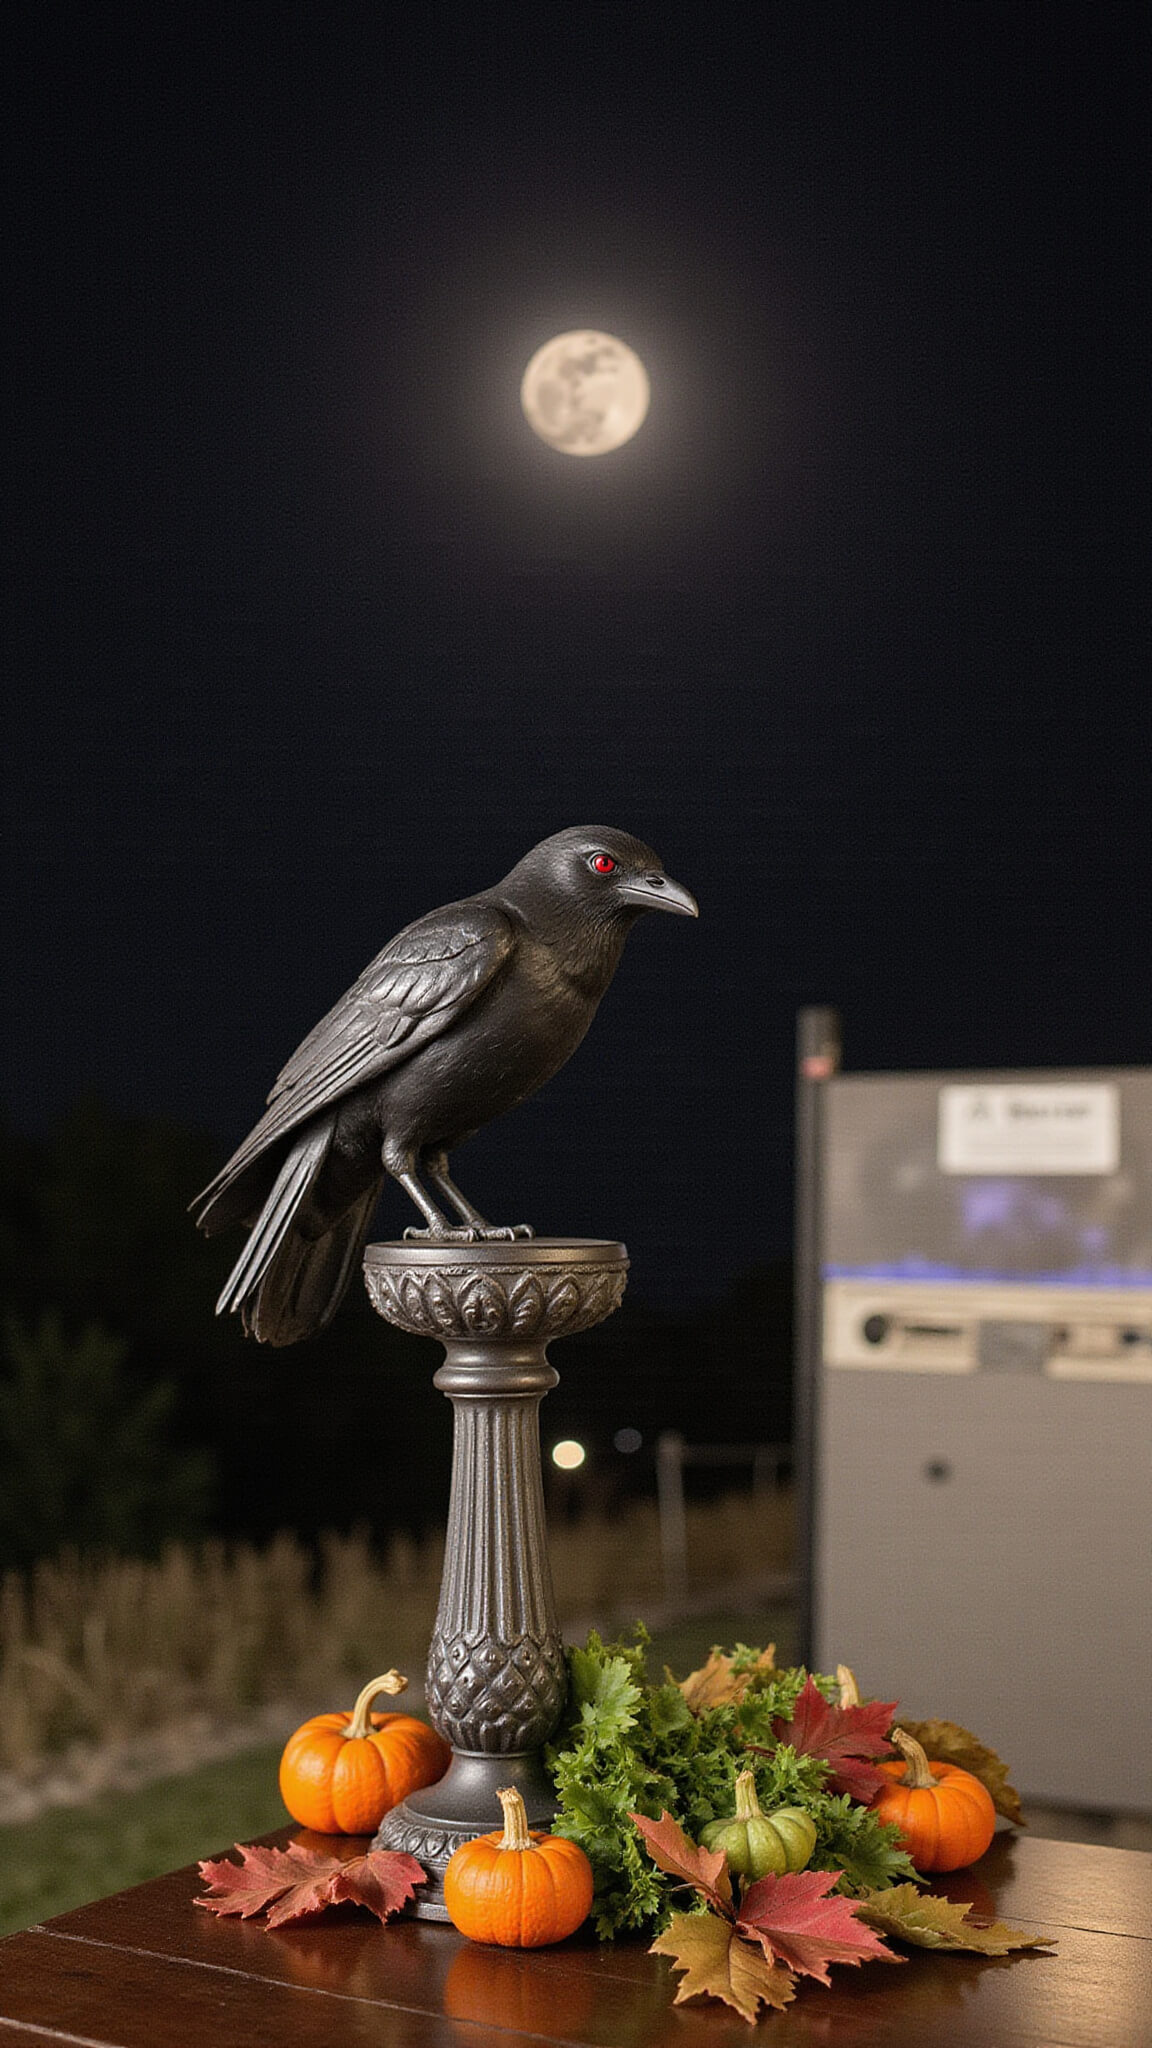
- One animated element (I use a talking raven)
Common Mistakes to Avoid
- Over-cluttering (less is more)
- Poor lighting placement
- Mixing too many themes
- Forgetting about daytime appeal
Remember, your Halloween porch should look amazing 24/7, not just at night.
Want to really lift your display?
Add something interactive for trick-or-treaters.
I installed a motion-sensor that triggers spooky sounds – the kids go crazy for it.
Final Pro Tips:
- Take photos at dusk for the best lighting
- Update elements weekly to keep it fresh
- Consider your home’s architecture
- Weather-proof everything
There you have it – everything I’ve learned about creating an unforgettable Halloween porch.
Now it’s your turn to create some magic.
Keep the palette to orange and white and skip the clutter. Halloween decor front porch feels right when the one lantern you choose actually reaches the step where people arrive.
Save this article
We'll email you the link so you can come back to it.