The Basics: What You Need to Know
First things first – IKEA cabinets come in two main types:
- Base cabinets (the bottom ones)
- Wall cabinets (the top ones)
Here’s what makes them special:
- Soft-close hinges come standard
- Most have a 25-year warranty
- They’re surprisingly sturdy (I’ve installed hundreds)
- Modular design means endless possibilities
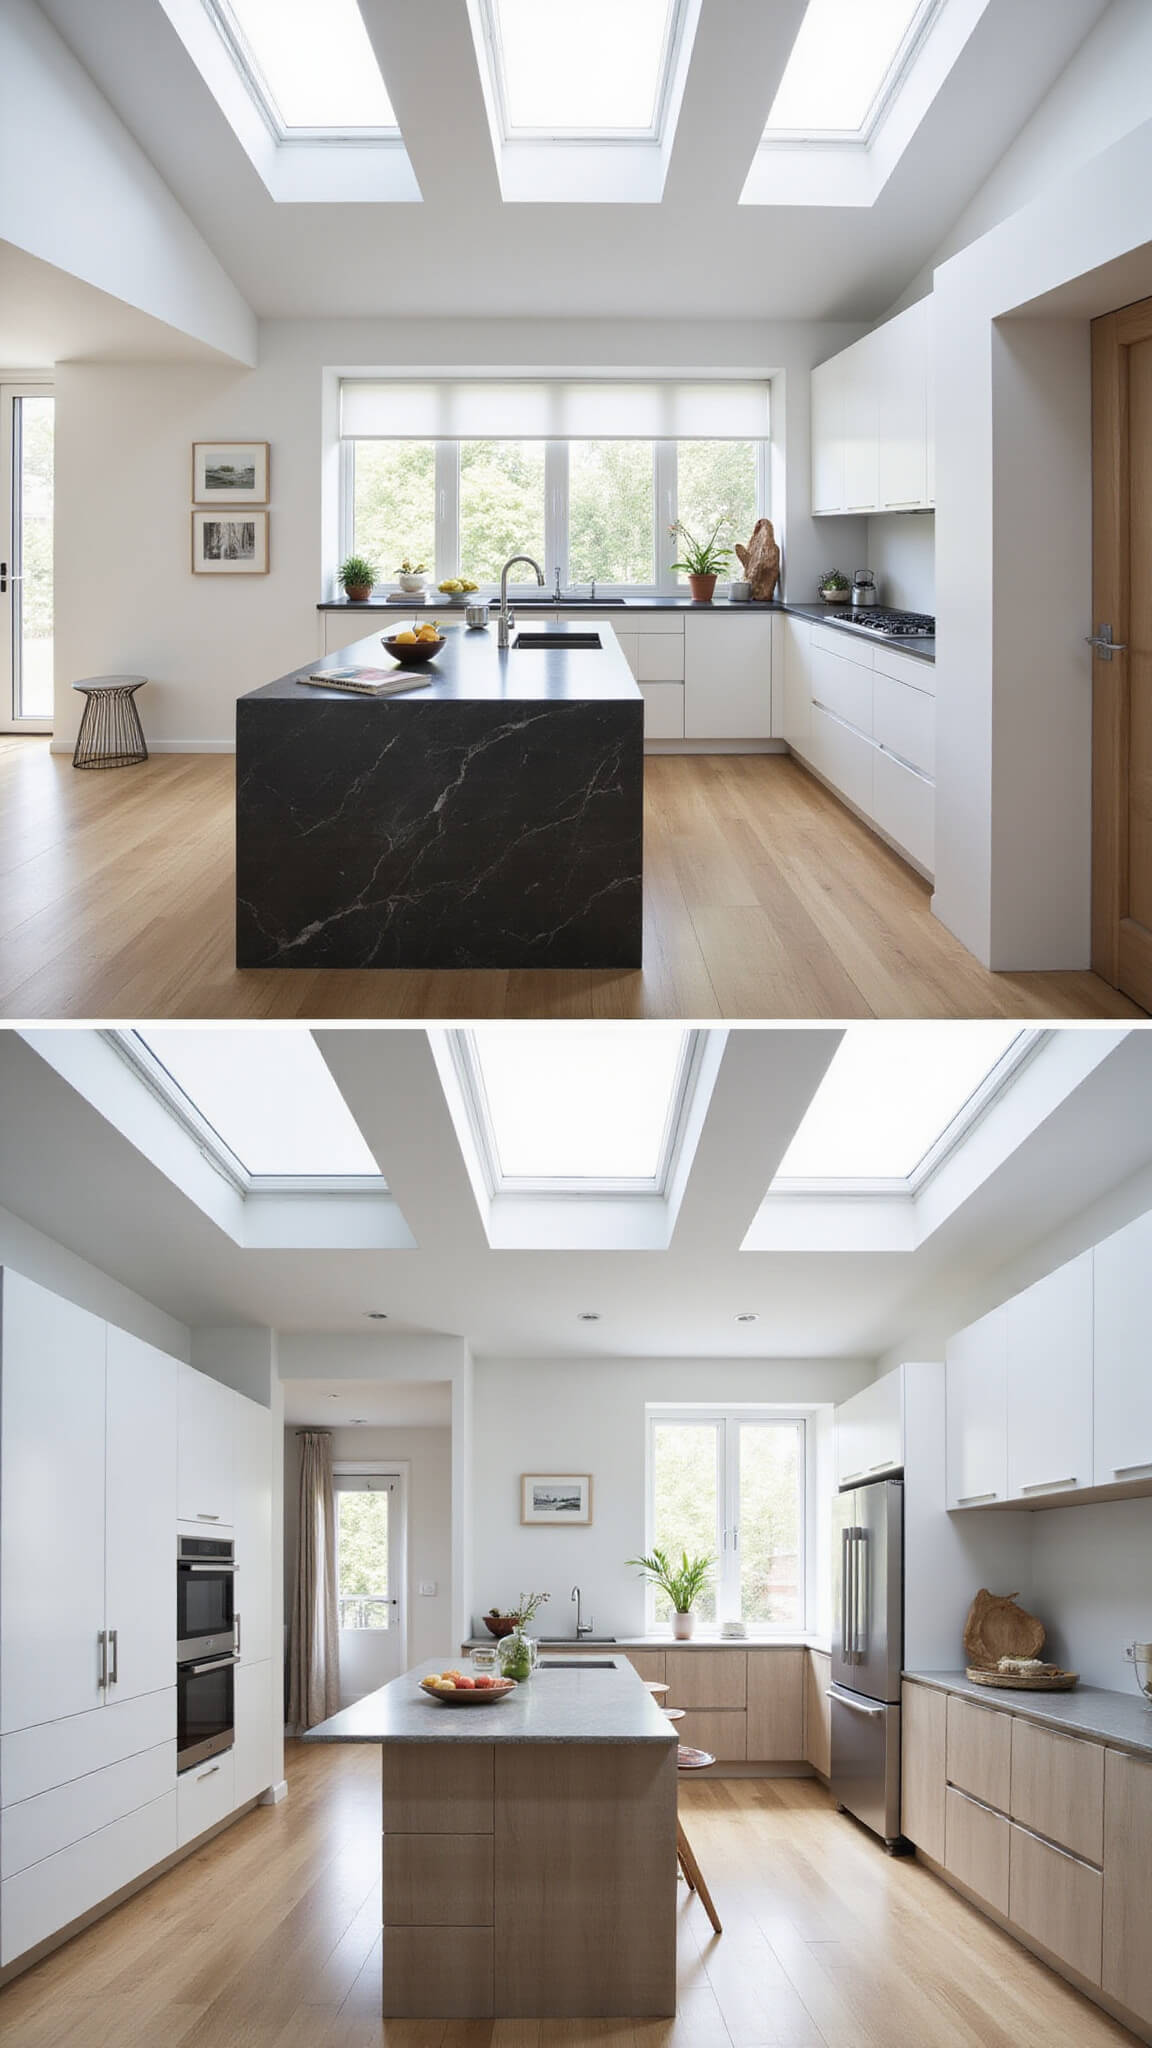
Planning Your Layout (Trust Me On This One)
I learned this the hard way – measure twice, order once. Here’s my foolproof process:
- Sketch your kitchen layout
- List must-have cabinets
- Download IKEA’s kitchen planner
- Play around with configurations
- Double-check your measurements
Pro Tip: Leave at least 42 inches of walkway space between cabinets. Your future self will thank you.
Popular IKEA Cabinet Styles I Swear By
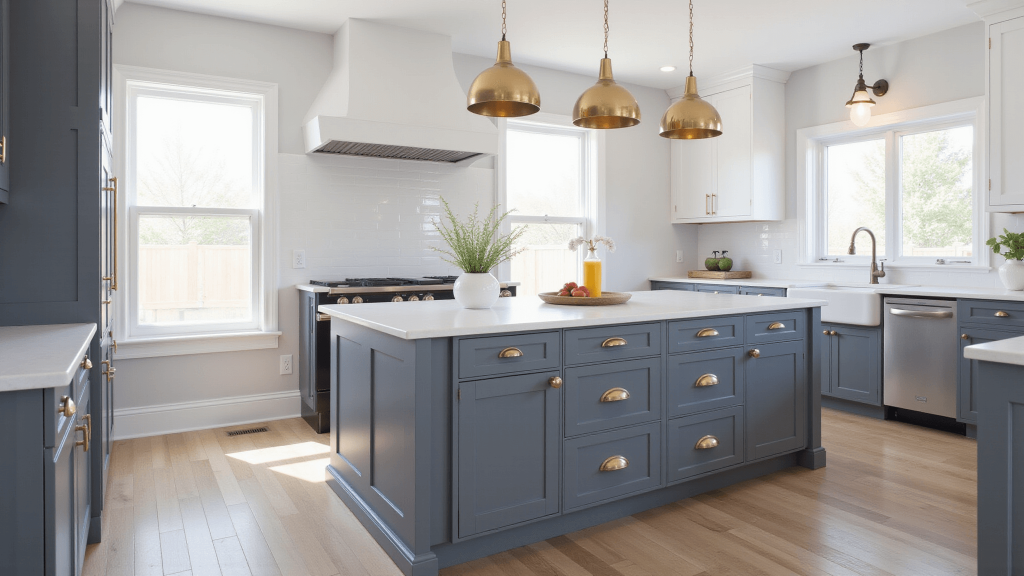
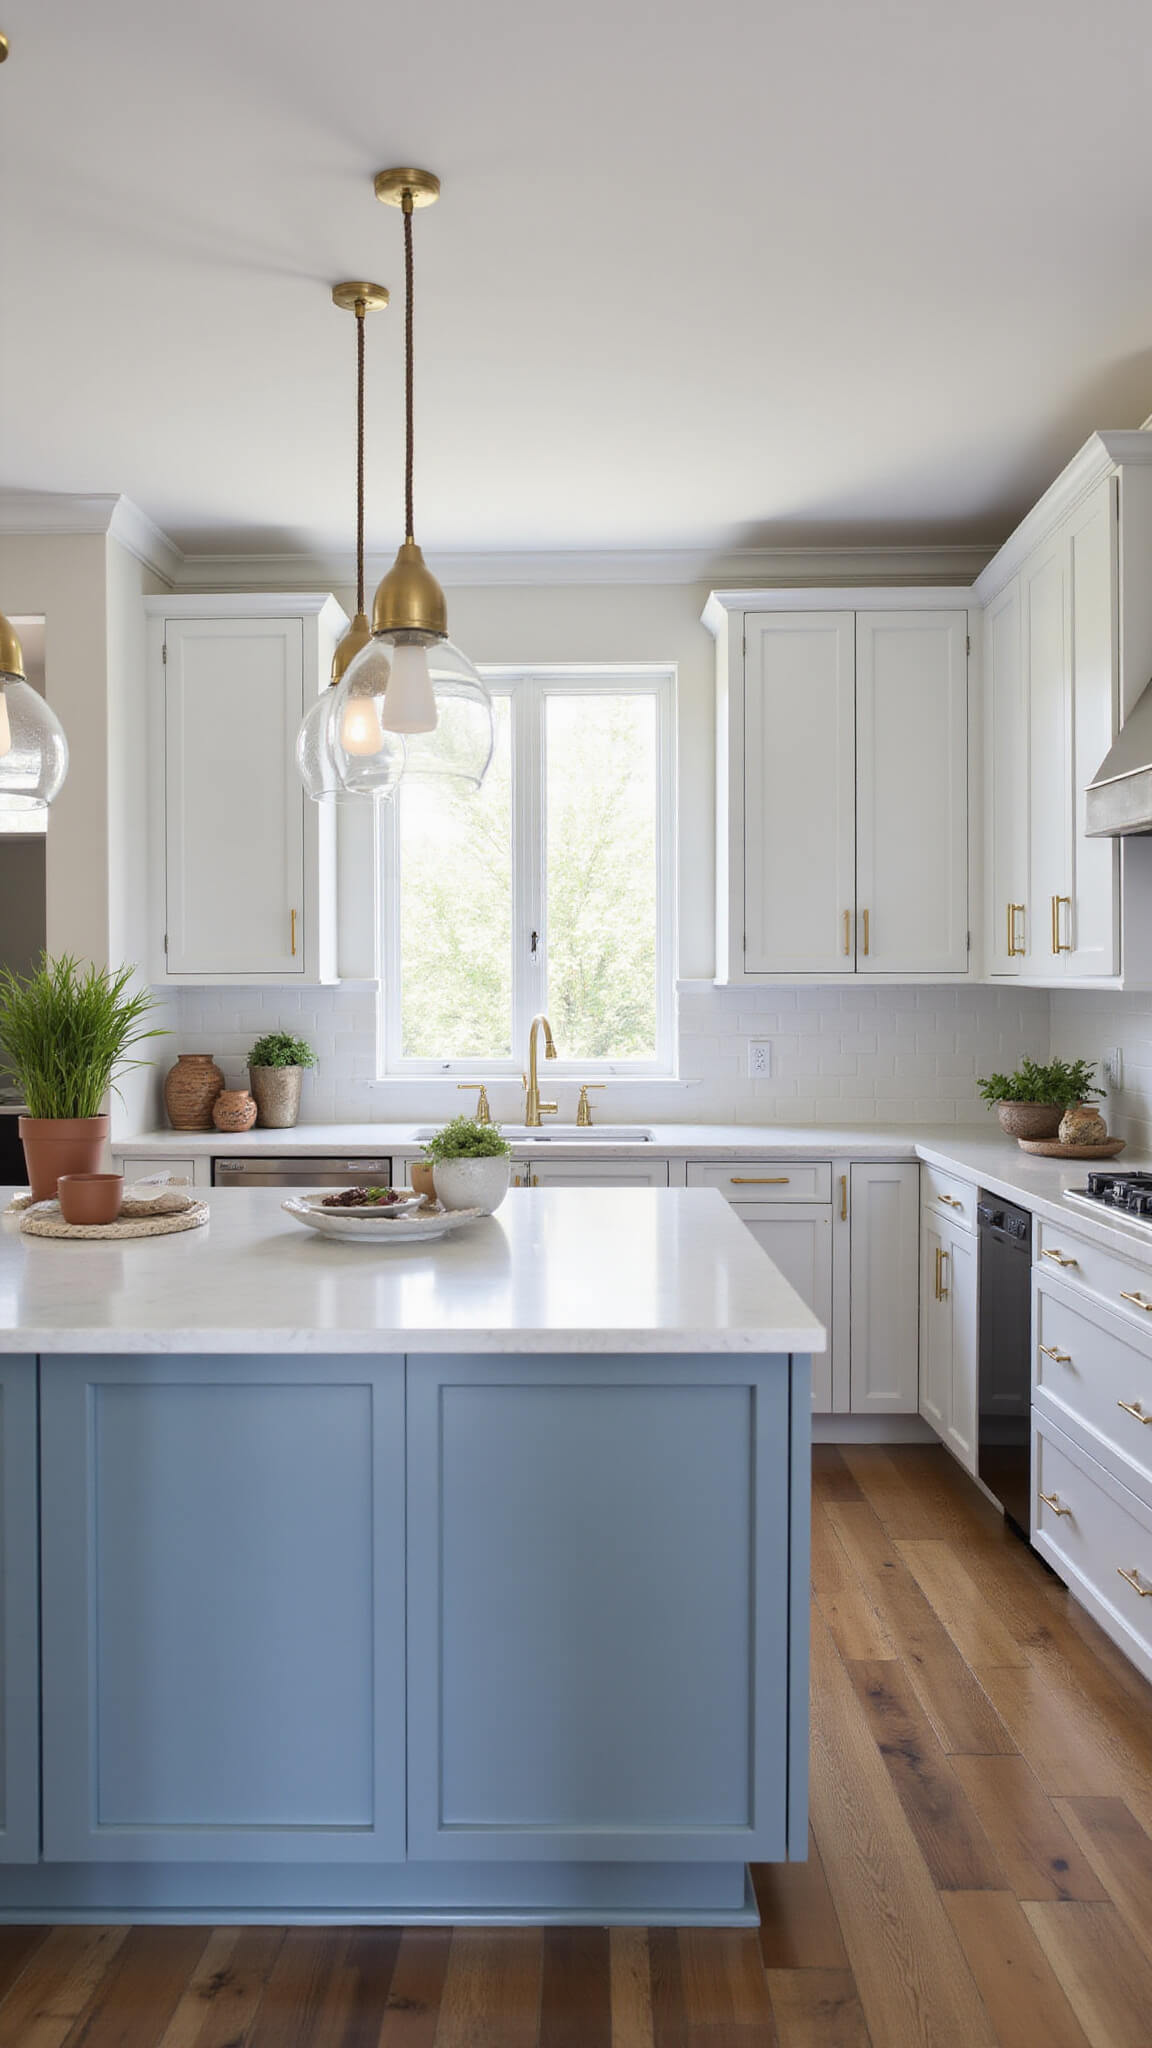
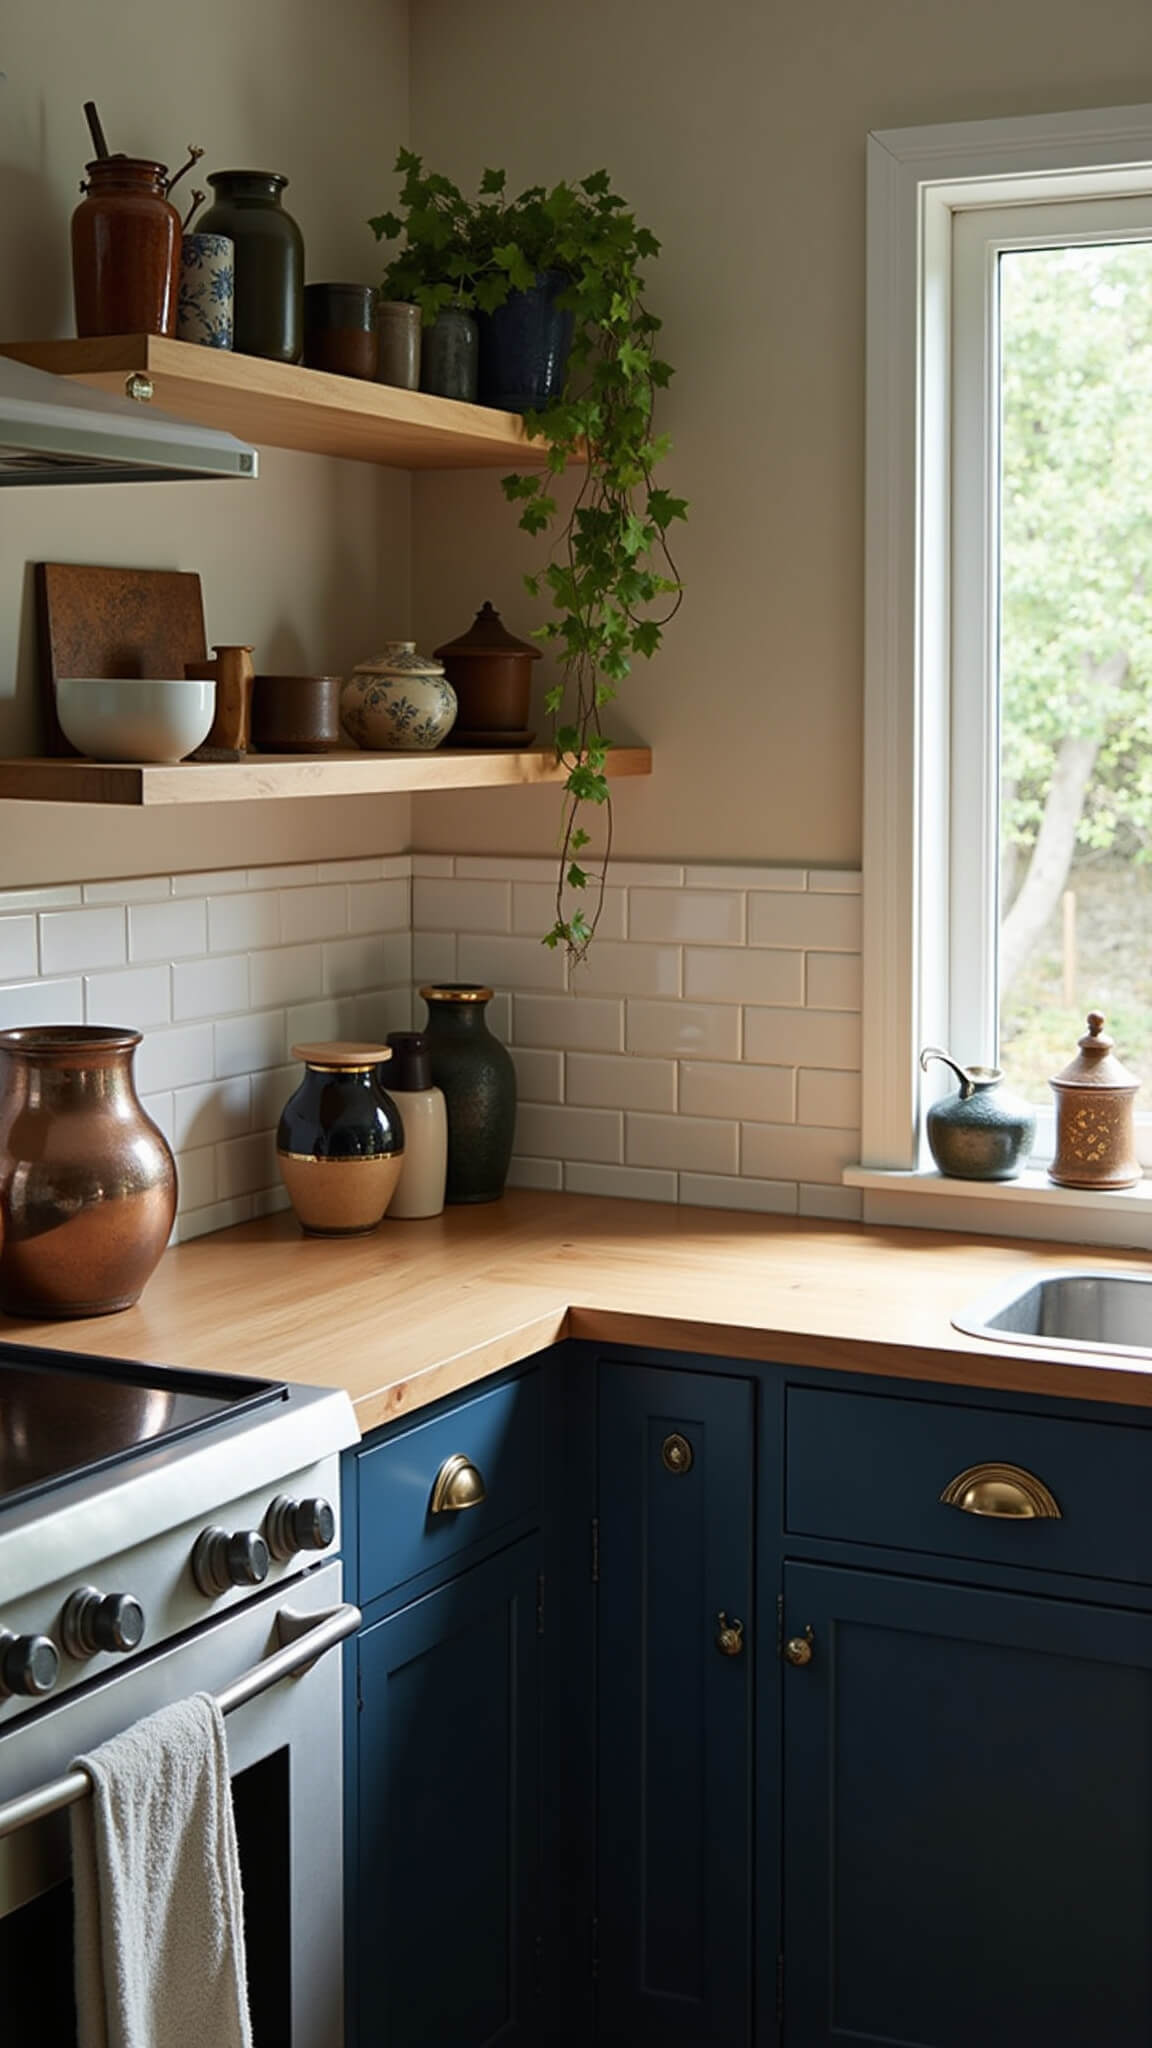
AXSTAD (Modern Classic)
- Matte blue-gray finish
- Timeless shaker style
- Works in both modern and traditional kitchens
SEKTION (The Customizable One)
- Basic framework
- Endless front options
- Best for mixing and matching
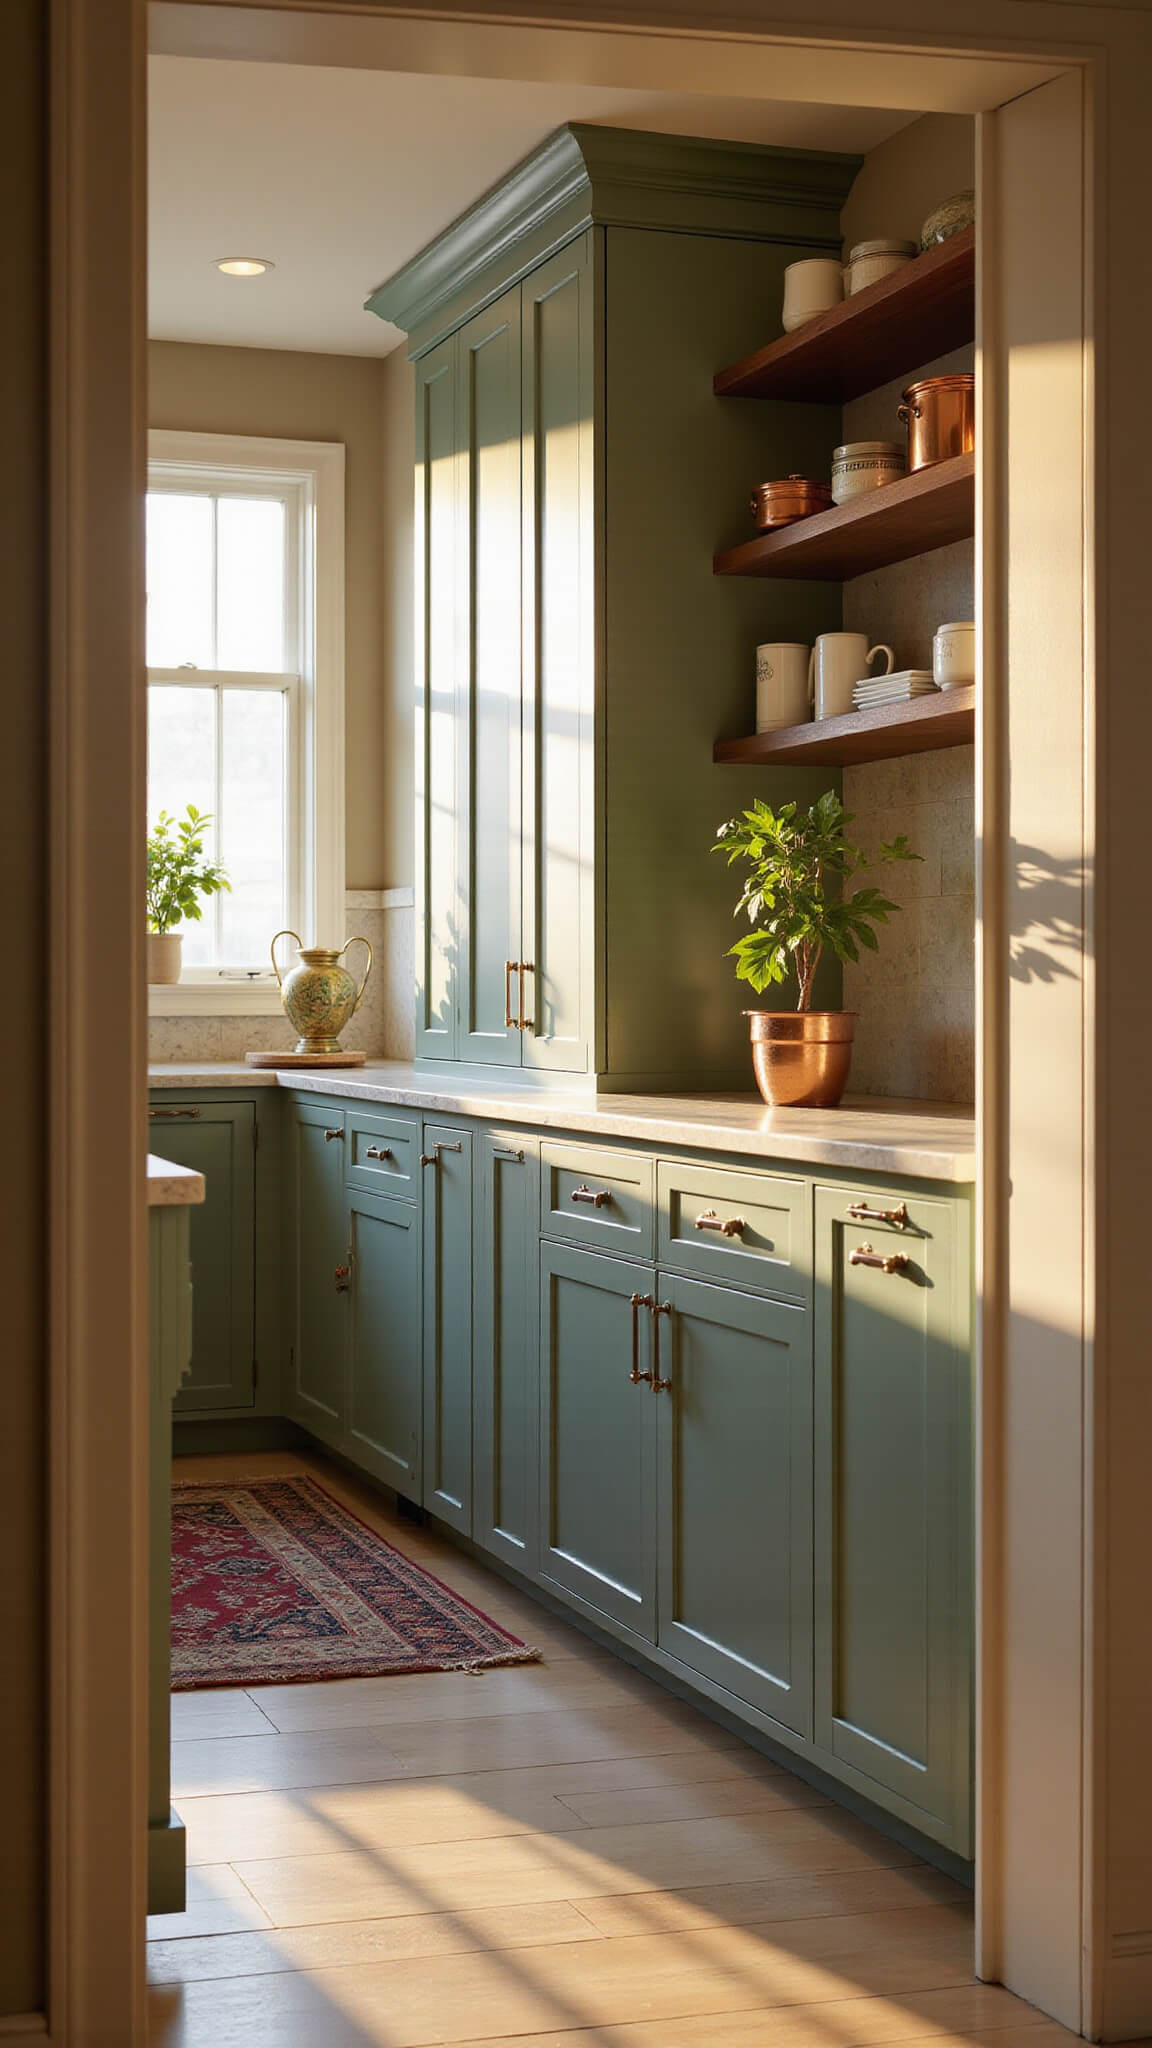
Making Them Look Custom (My Secret Sauce)
Here’s how I elevate IKEA cabinets to look high-end:
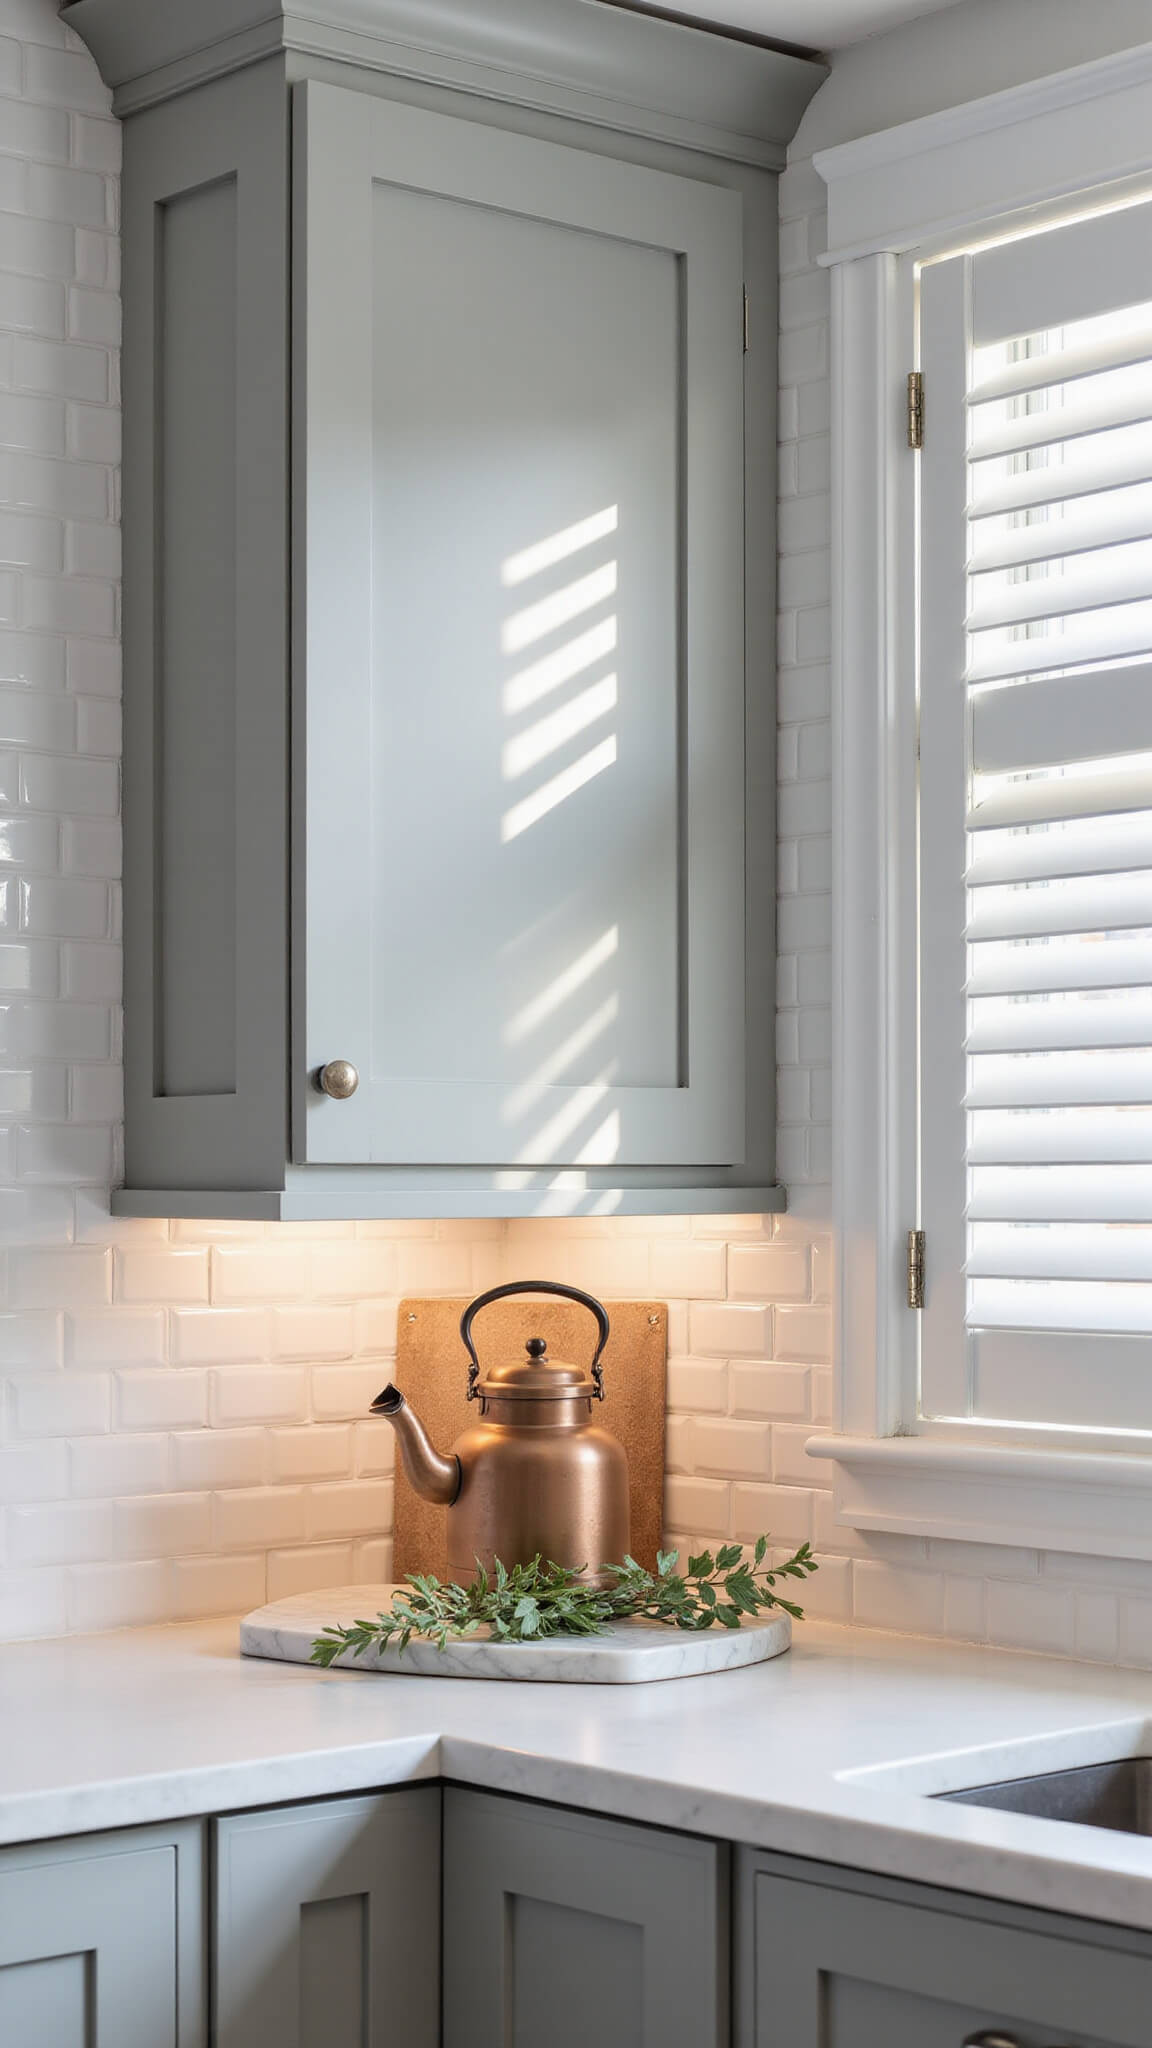
- Add crown molding at the top
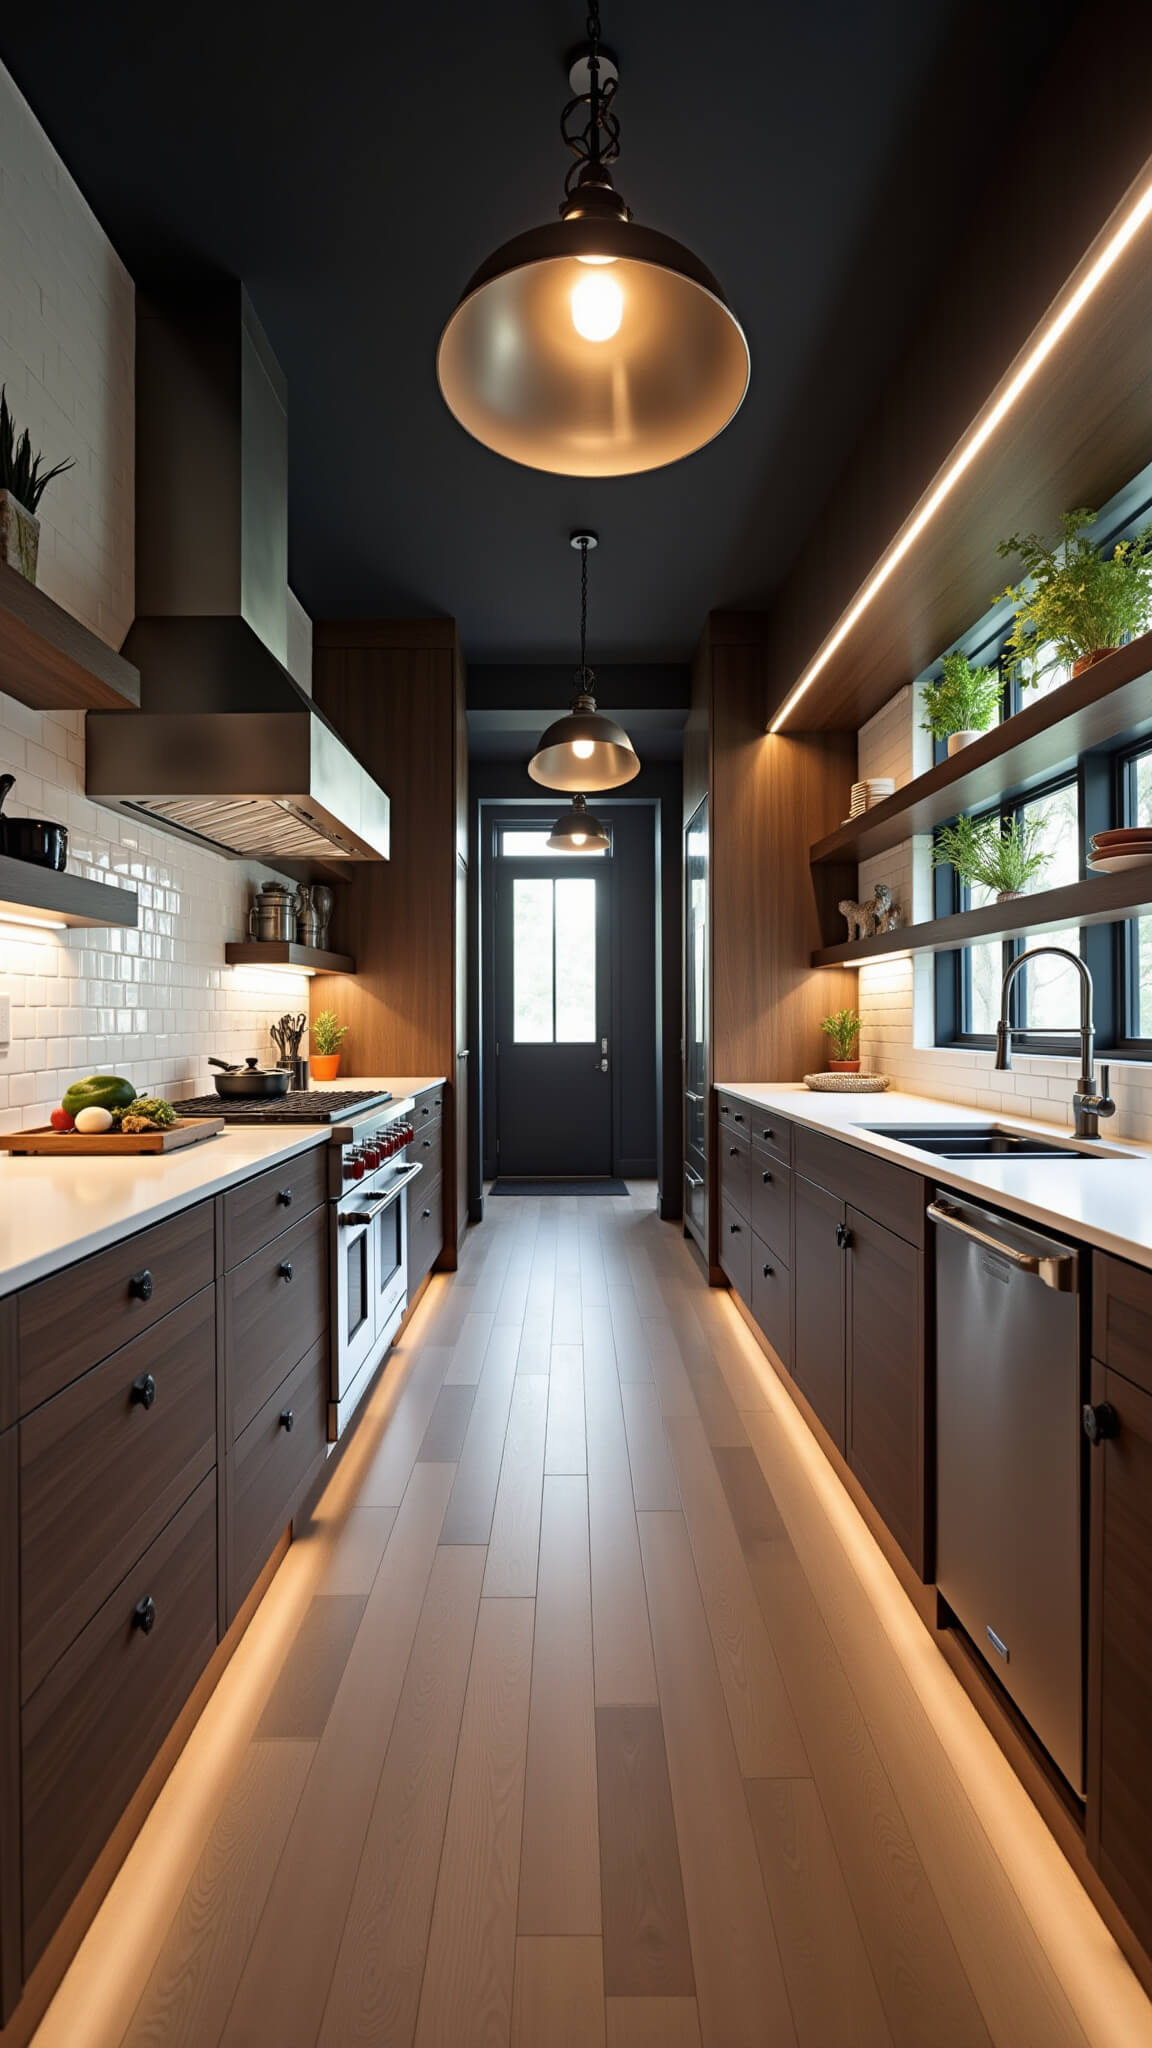
- Install under-cabinet lighting
- Upgrade the hardware
- Use filler pieces for a built-in look
Common Mistakes (That I’ve Made So You Don’t Have To)
- Skipping the planning phase
- Forgetting about toe kicks
- Not ordering extra hinges
- Overlooking lighting plans
Budget Breakdown
- Base cabinets: $200-400 each
- Wall cabinets: $100-300 each
- Hardware: $3-20 per piece
- Installation: DIY or $2000-4000 professional

My Final Tips
- Order samples first
- Always get extra hardware
- Consider delivery costs
- Schedule installation help early
Remember, your kitchen doesn’t need to cost a fortune to look expensive. It’s all about smart choices and attention to detail.
Need more specific advice? Drop me a comment below – I answer every single one personally.
Next week: How to organize your new IKEA kitchen like a pro chef