The Ultimate Guide to Shaker Style Cabinets: Everything I Learned After Installing Hundreds
Hey there! As someone who’s installed and styled more Shaker cabinets than I can count, I’m excited to share everything I know about these timeless beauties.
Why You’ll Love Shaker Cabinets
I remember my first Shaker cabinet installation like it was yesterday – I was terrified I’d mess it up. Now, after working with hundreds of kitchens, I can tell you these cabinets are practically foolproof.
The Magic of Shaker Style:
- Clean, simple lines that never go out of style
- Works with literally any decor (I’ve seen them rock everything from ultra-modern to farmhouse)
- Crazy durable (my own Shaker cabinets have survived 3 kids and a golden retriever)
Cost Breakdown (What Nobody Tells You):
- Budget-friendly RTA (Ready-to-Assemble): $1,800-$2,500
- Mid-range pre-assembled: $2,500-$4,000
- Premium solid wood: $4,000-$5,000+
Pro tip: Don’t let anyone tell you RTA means cheap. Some of my best-looking installs were RTA.
Choosing Your Perfect Shaker Cabinet
Here’s what actually matters:
Material Options:
- Solid wood (most expensive but lasts forever)
- MDF with wood veneer (my go-to for painted finishes)
- Thermofoil (budget-friendly but can peel in humid areas)
Popular Colors That Won’t Make You Cringe Later:
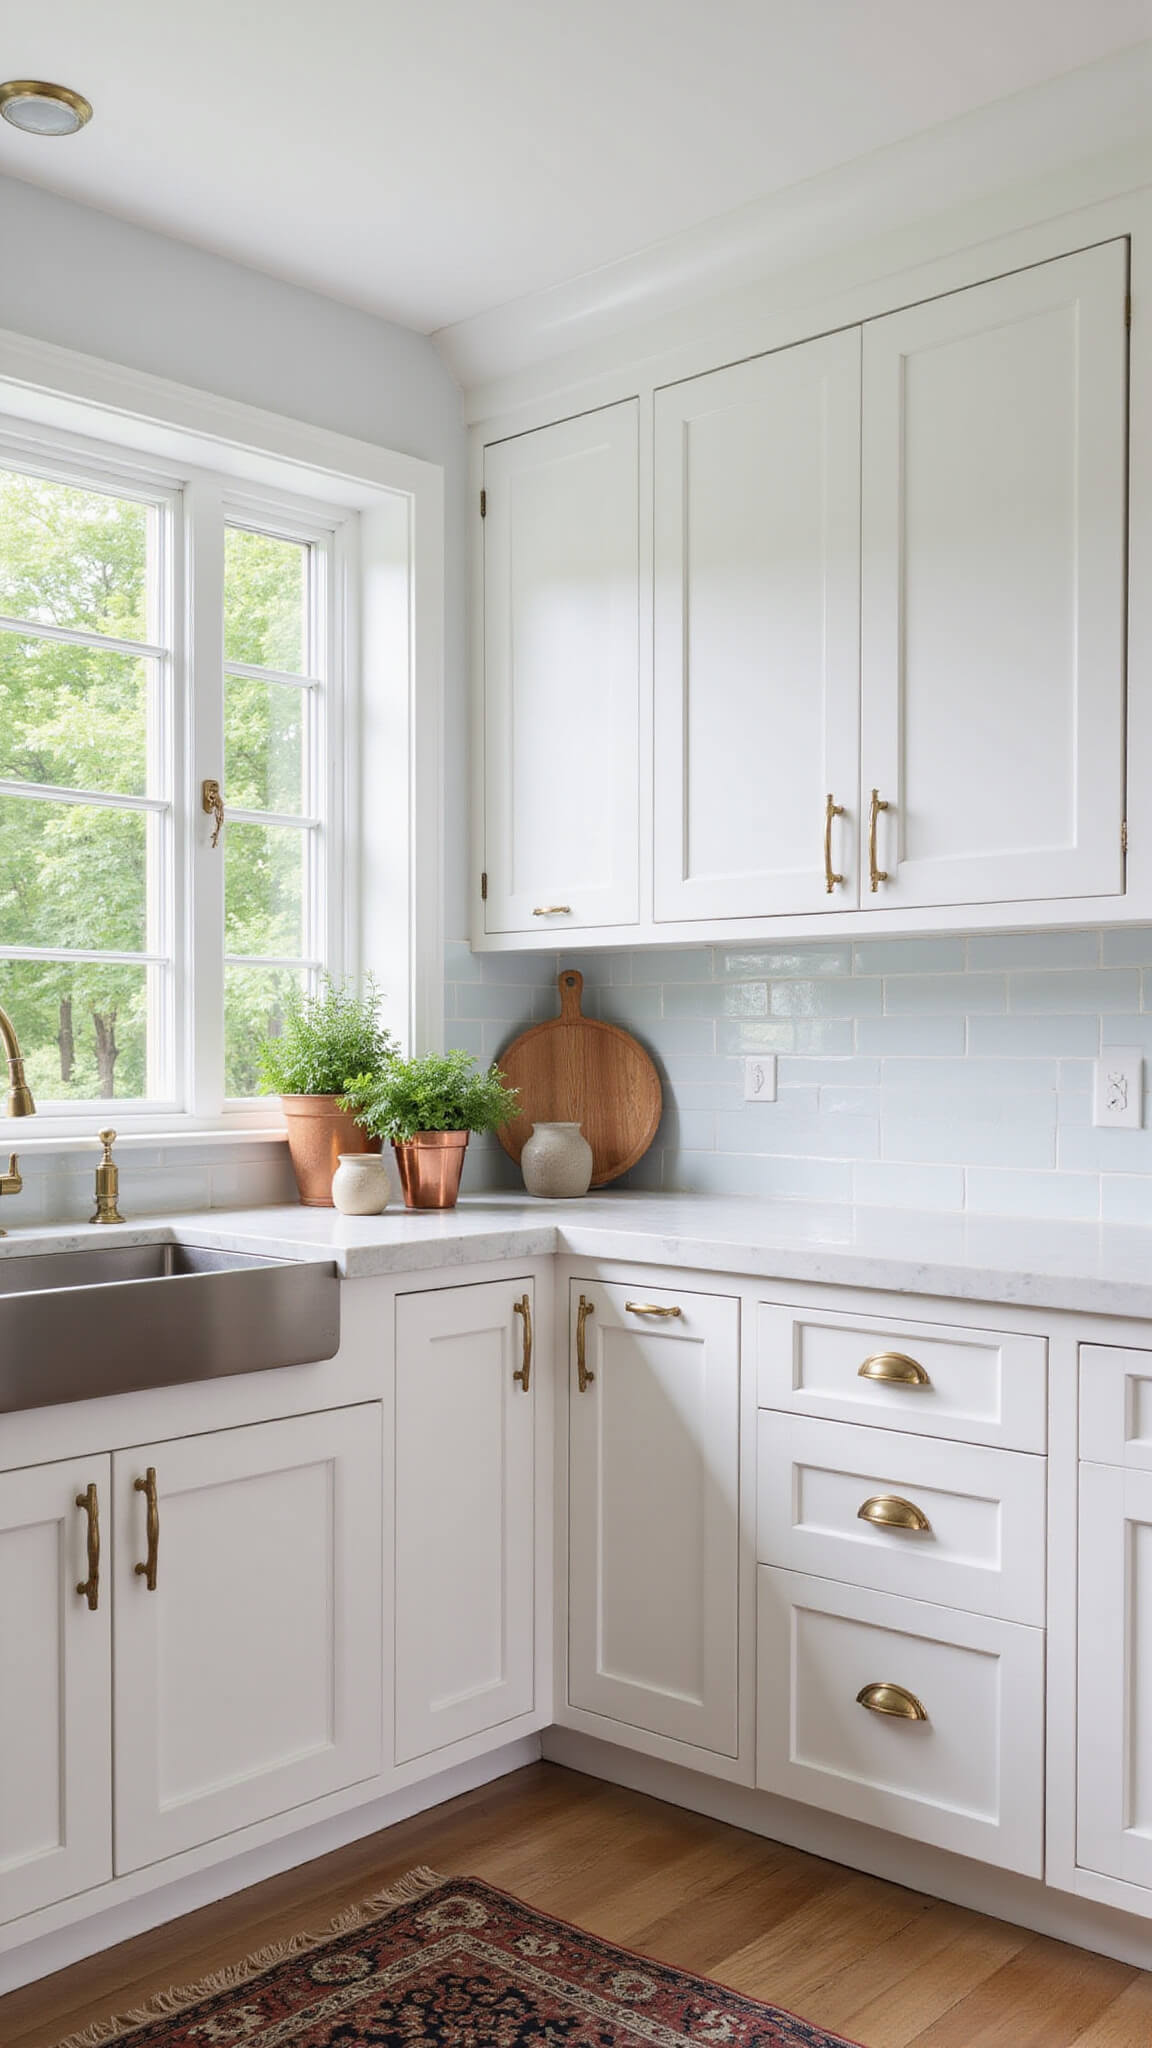
- Classic white (still #1 after all these years)
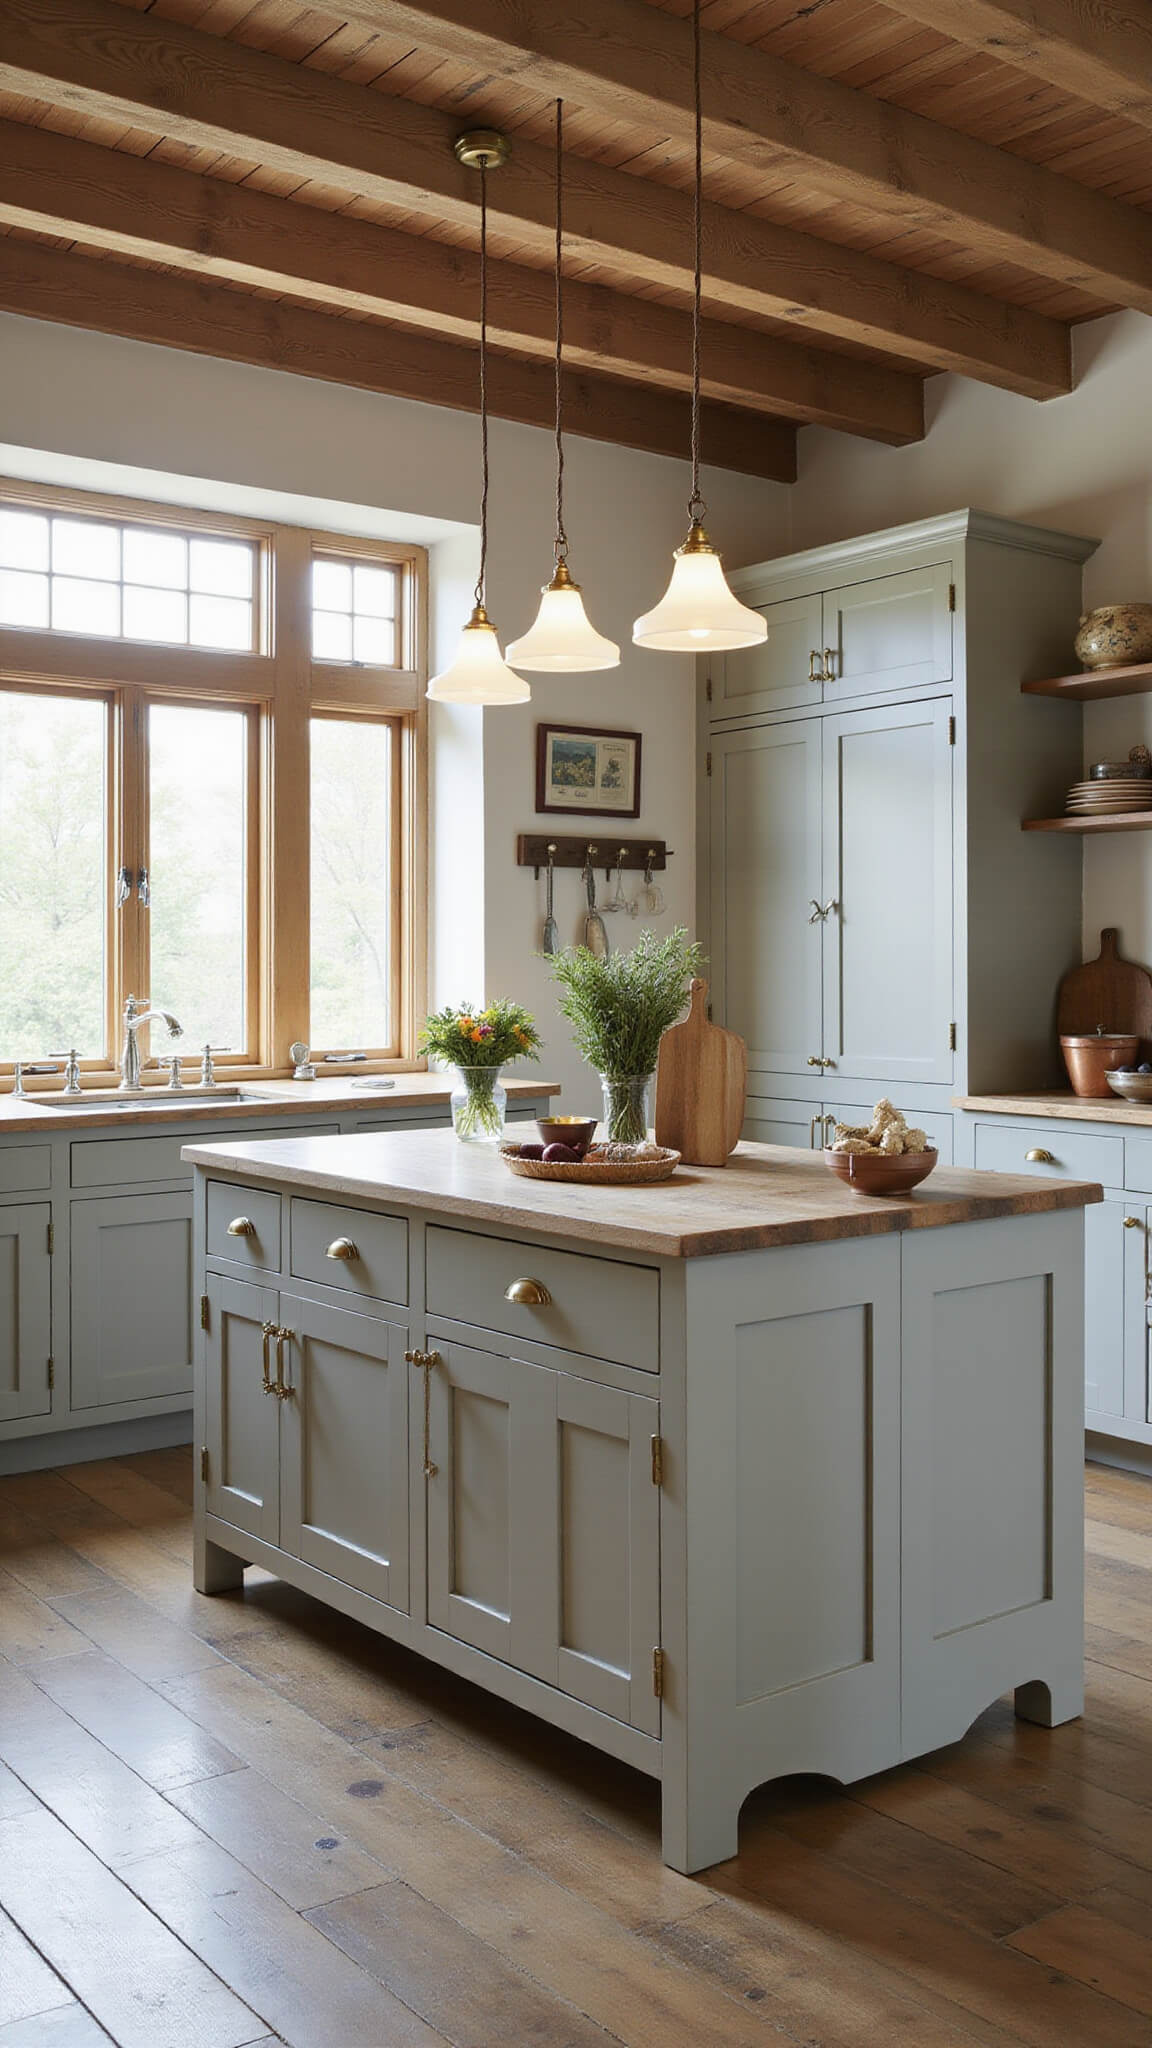
- Warm gray (my personal favorite)
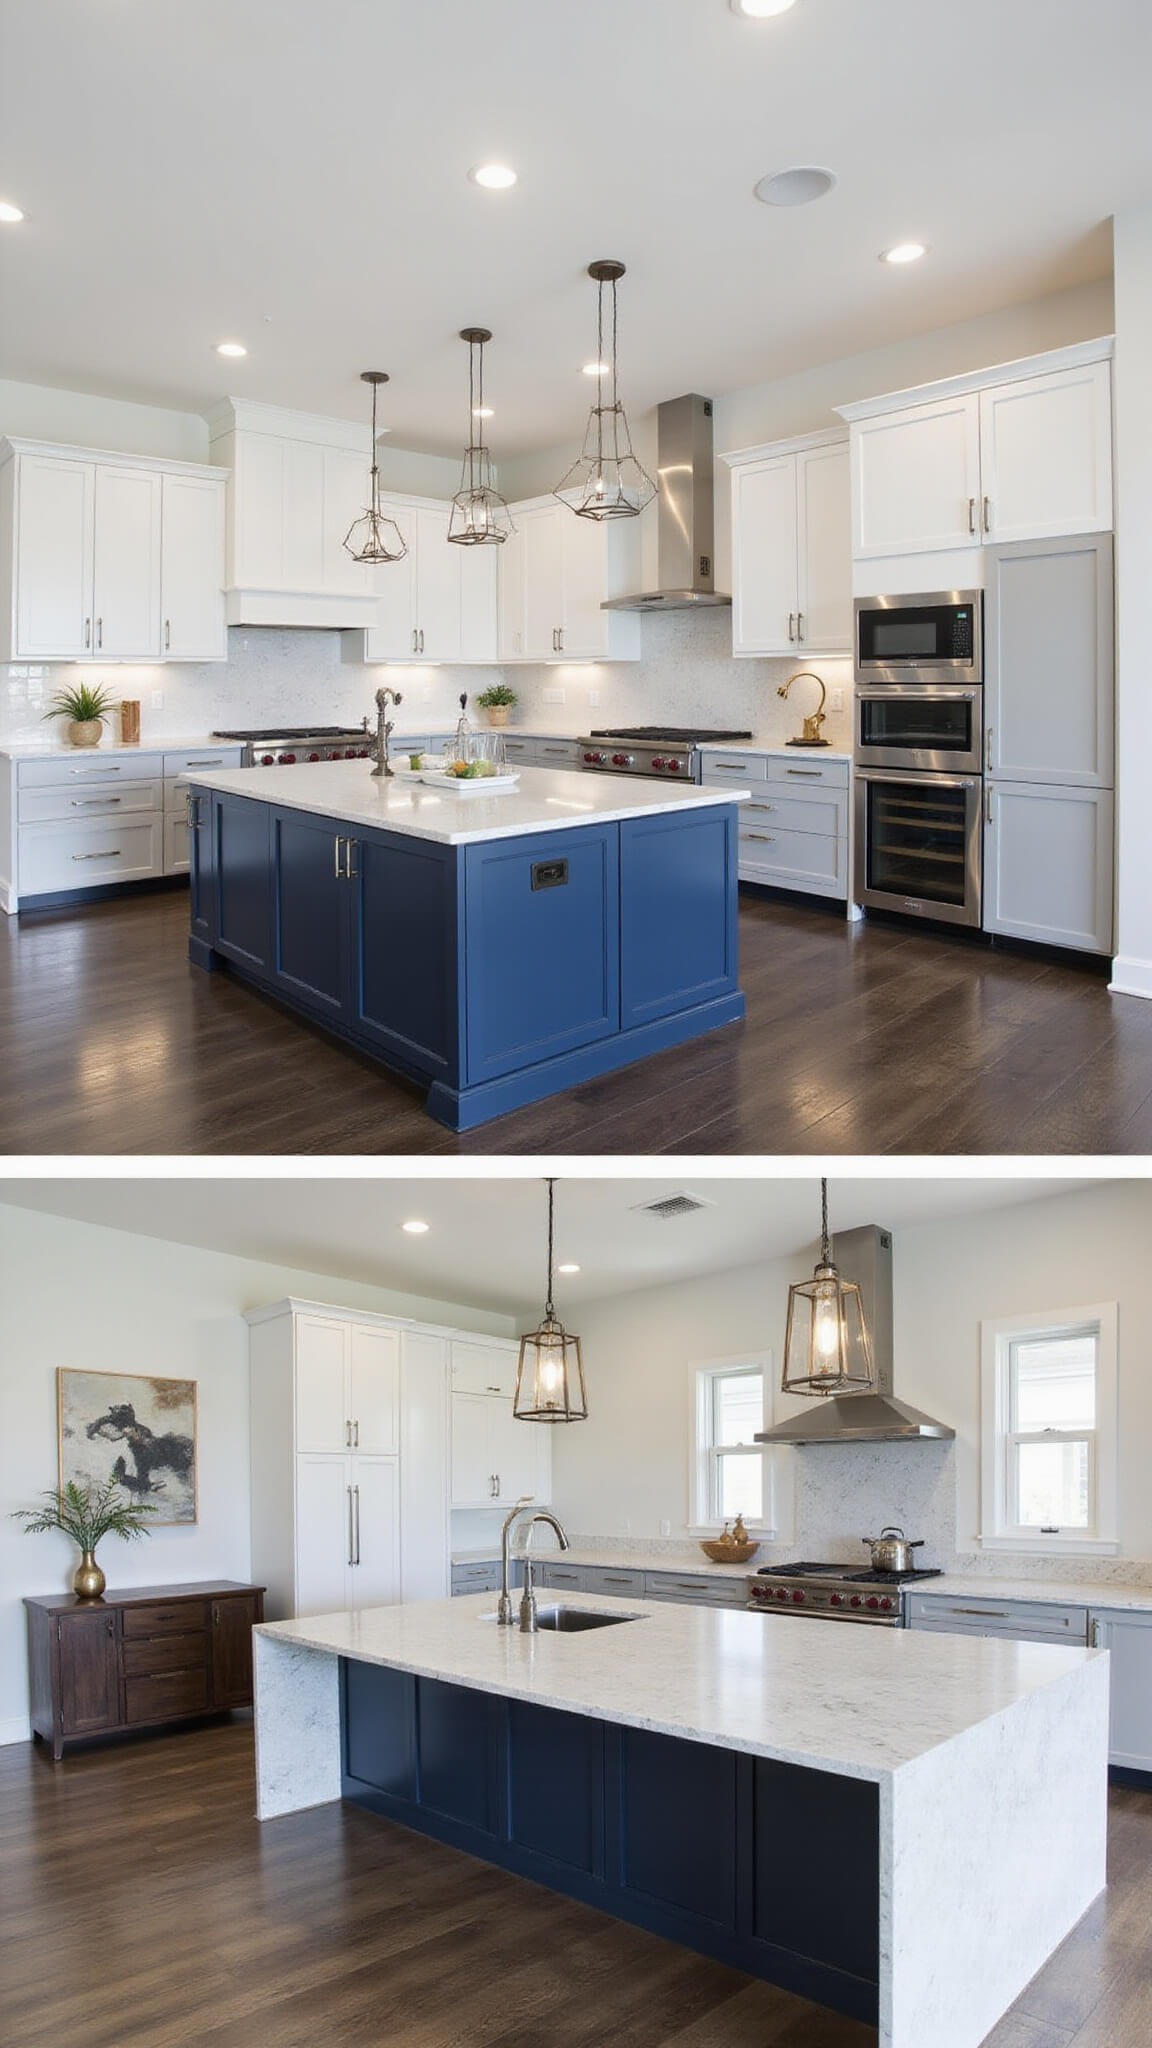
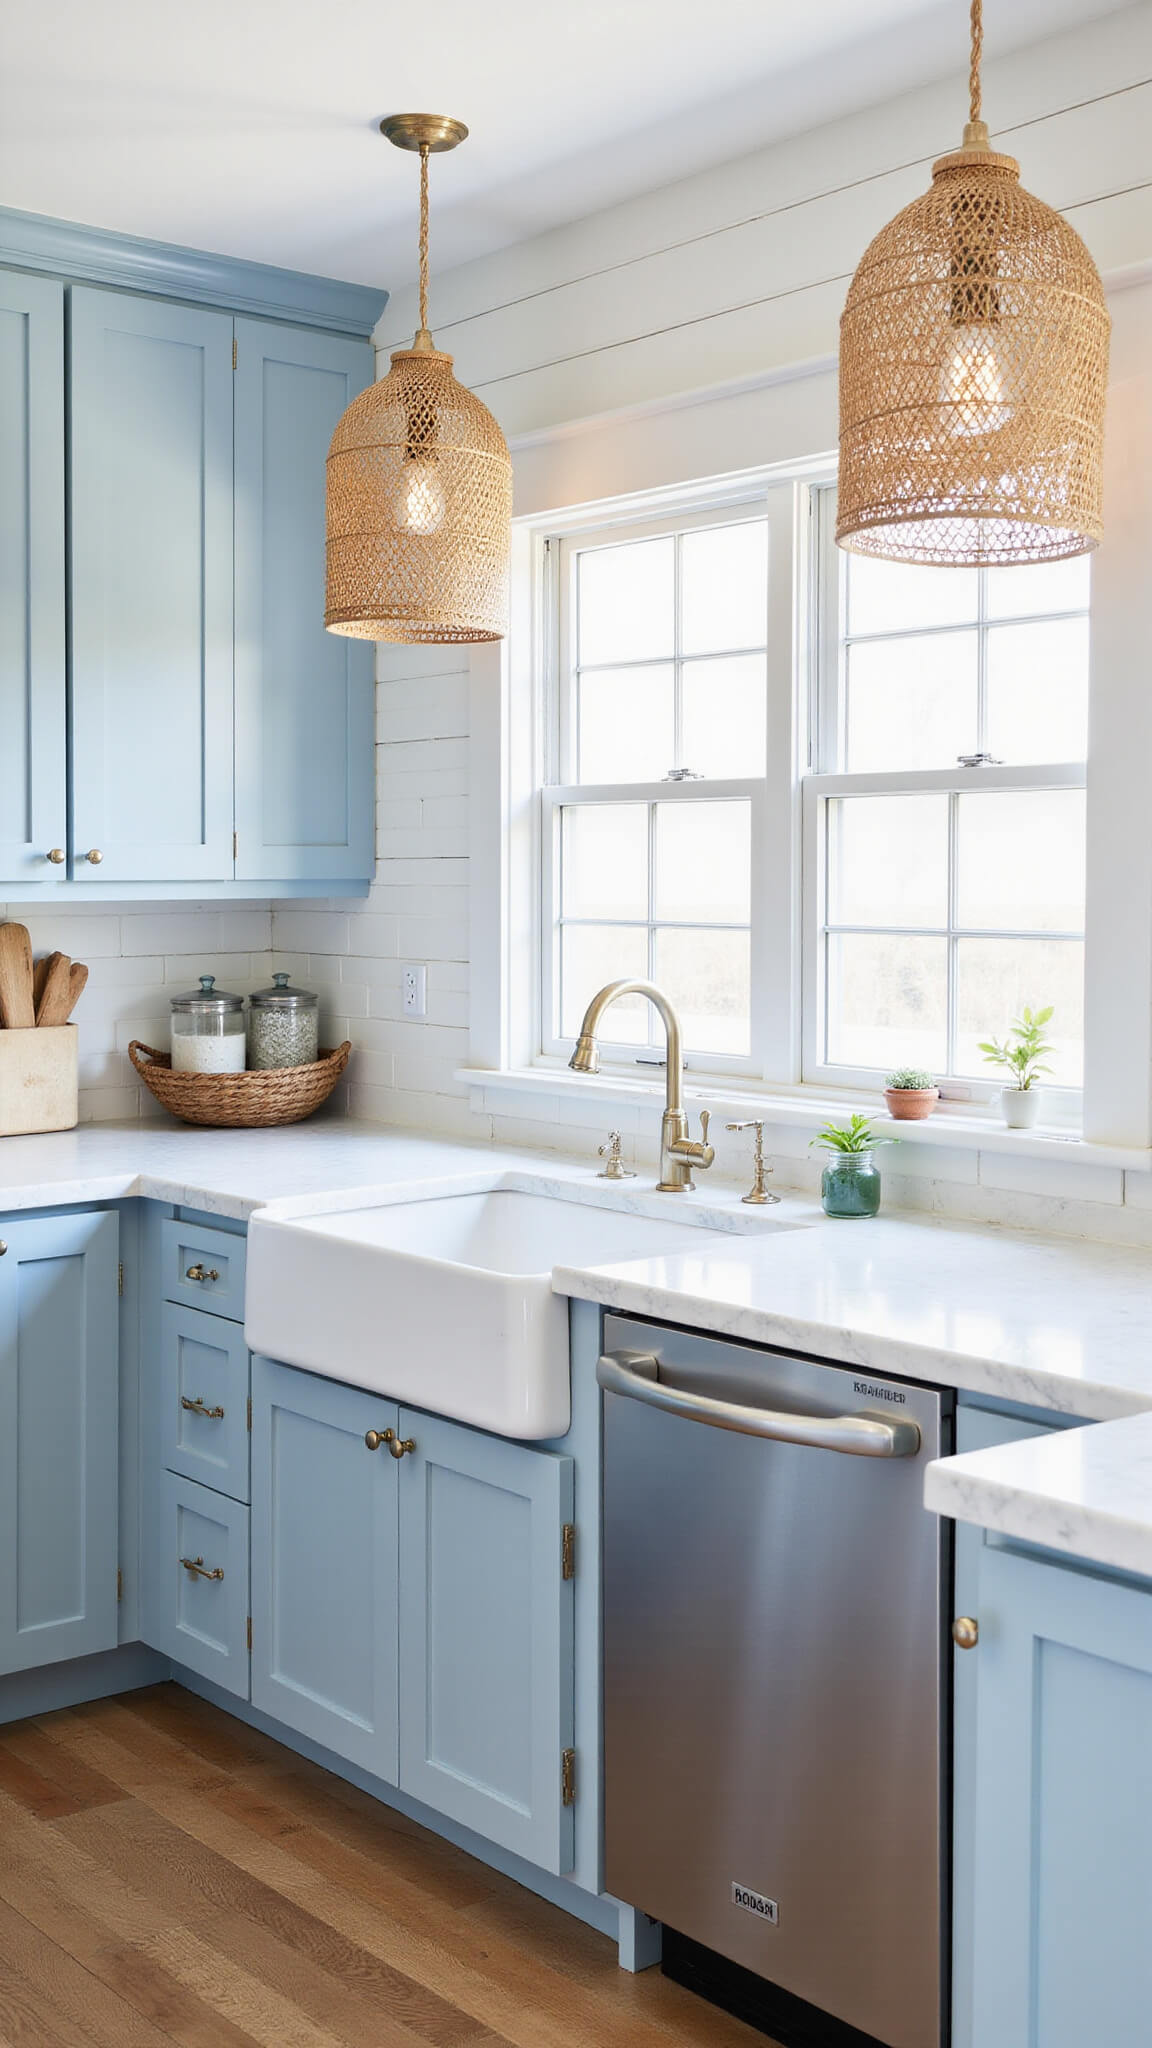
- Navy blue (surprisingly versatile)
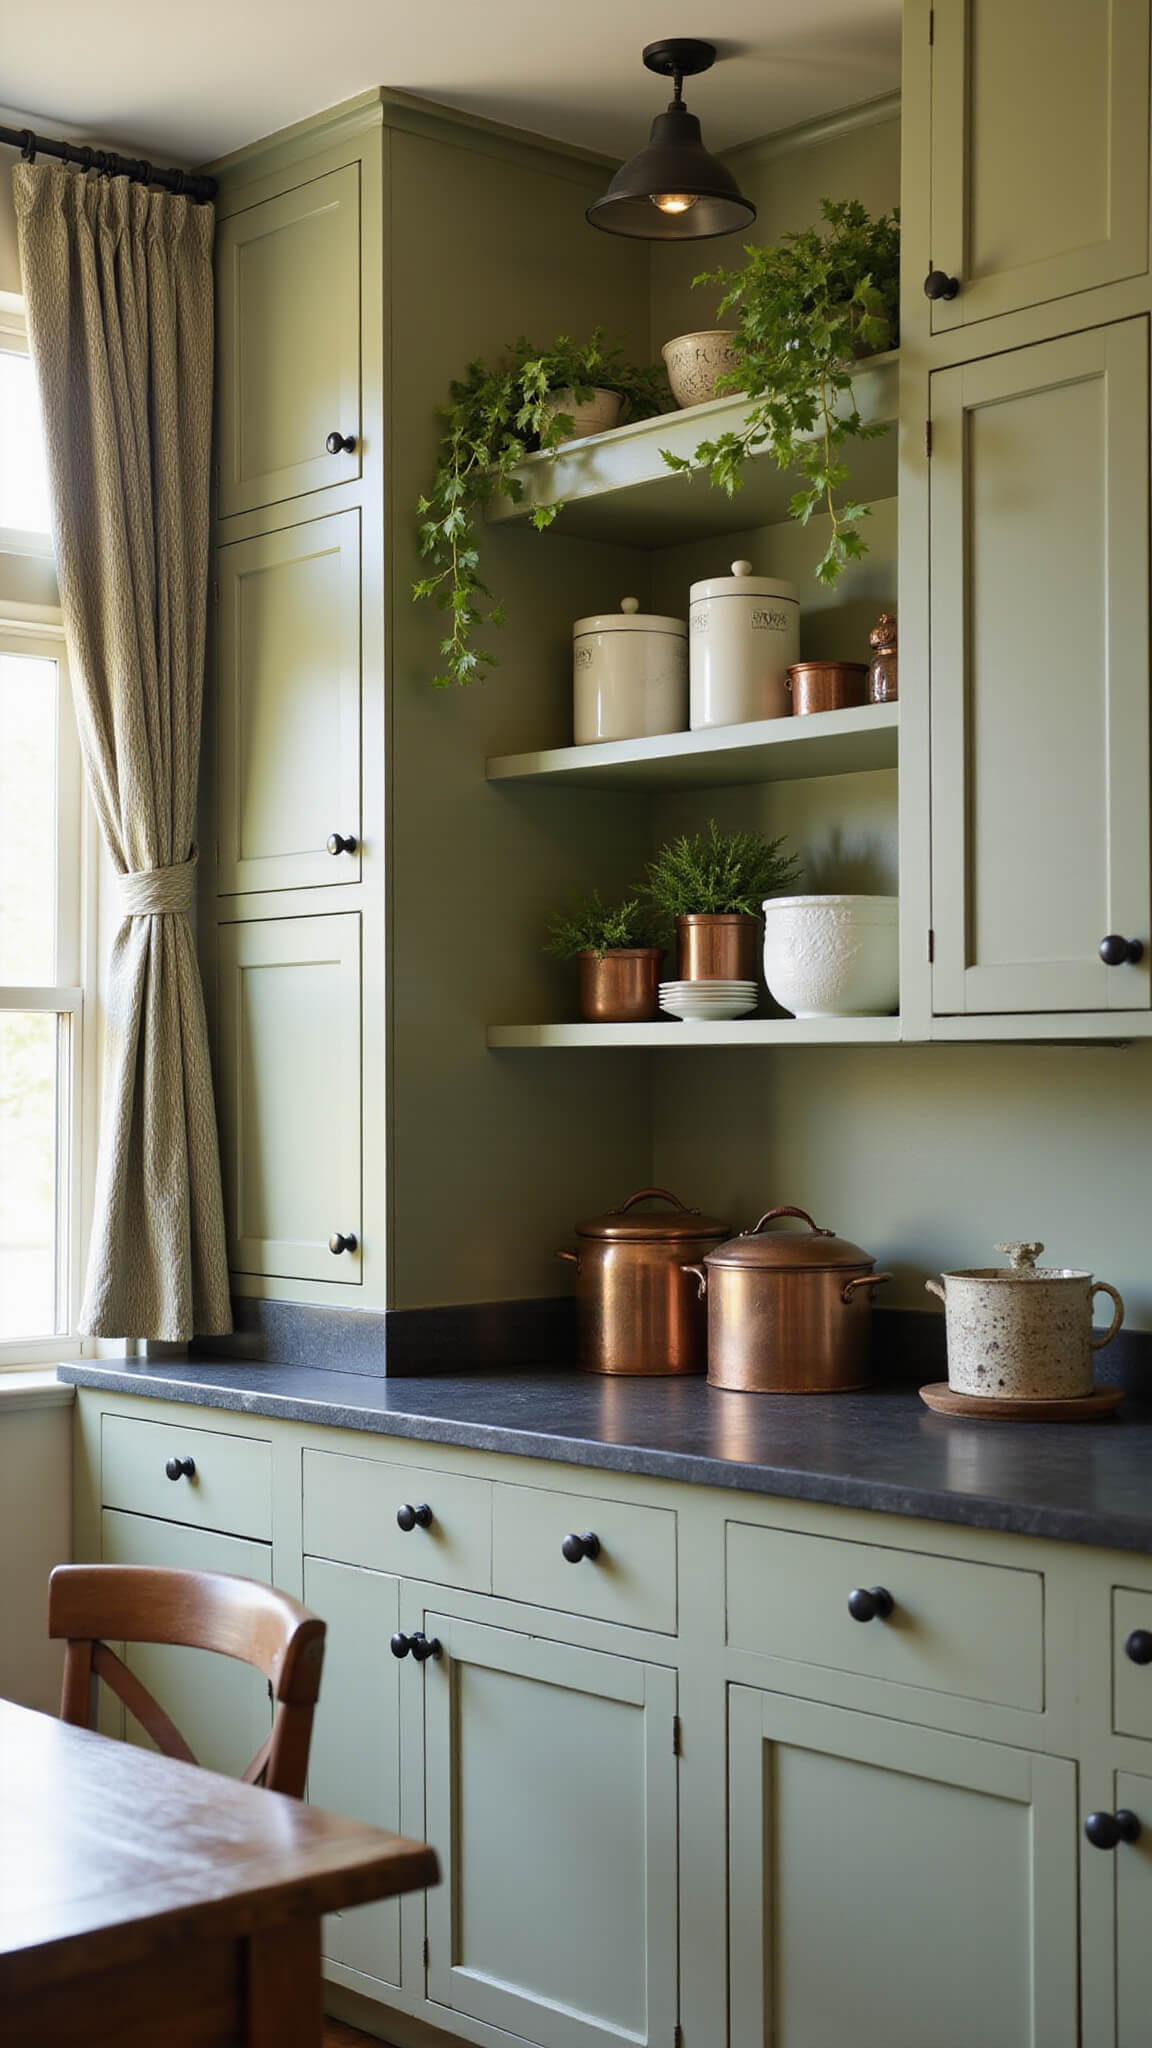
- Sage green (trending but timeless)
Hardware That Works:
- Brushed nickel pulls (can’t go wrong)
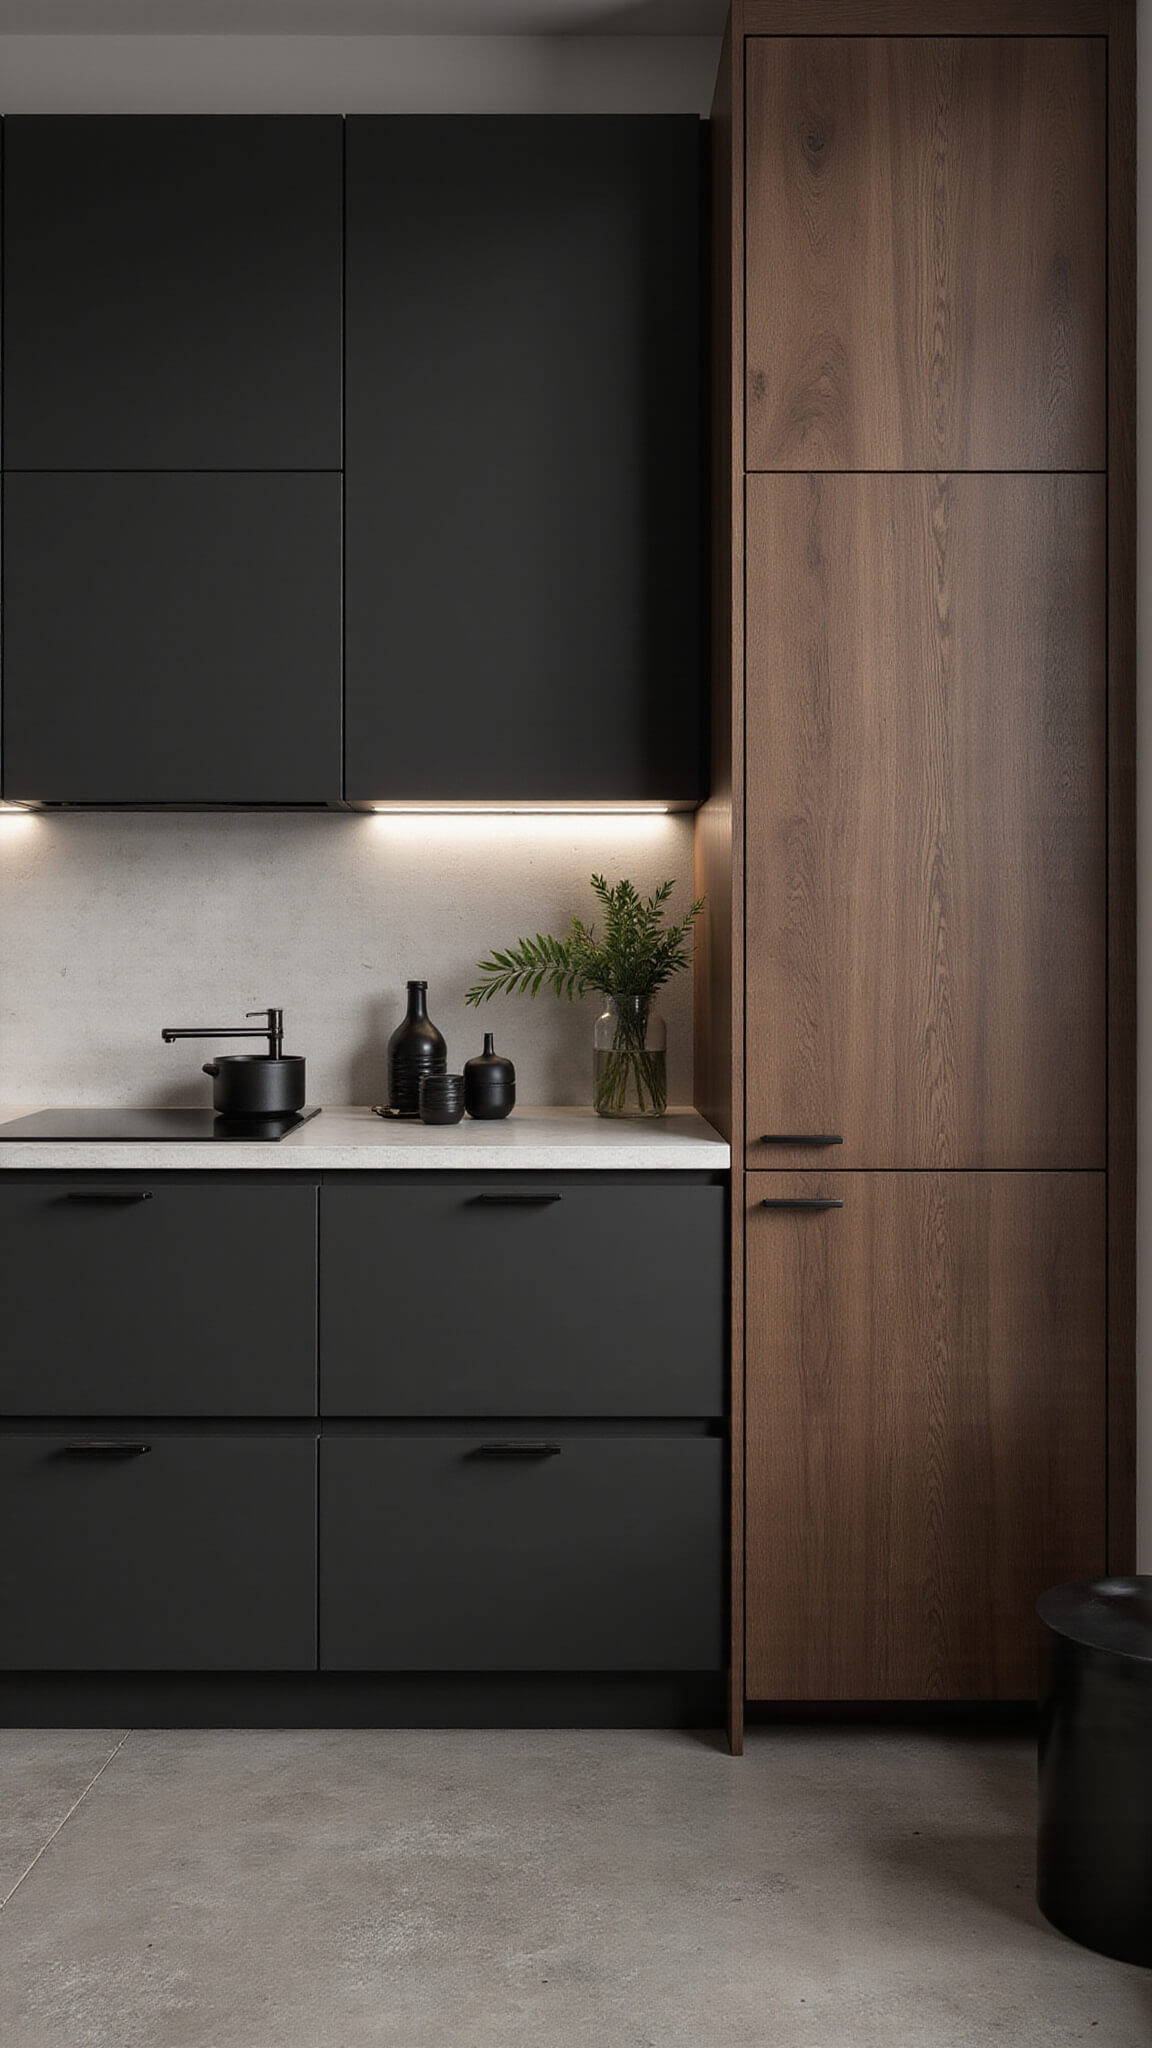
- Matte black (modern vibe)
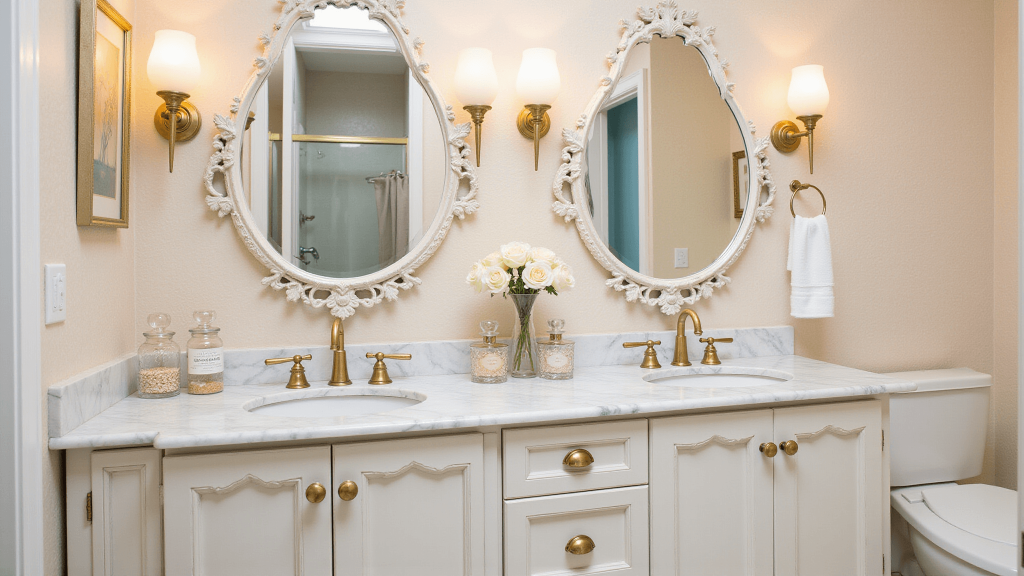
- Aged brass (adds warmth)
Installation Tips (From My Mistakes)
Trust me, I’ve made every mistake possible. Here’s what I learned:
Critical Steps:
- Level everything obsessively
- Use a cabinet jack (your back will thank me)
- Install upper cabinets first
- Always pre-drill your holes
Common Mistakes to Avoid:
- Skipping the wall prep (biggest regret ever)
- Rushing the leveling process
- Forgetting about door clearance
- Using cheap hardware (it shows)
Styling Your Shaker Cabinets
Less is more – I learned this the hard way after over-styling countless photo shoots.
Best Styling Combos:
- Light counters + dark hardware
- White cabinets + wooden accents
- Two-tone cabinets (uppers/lowers)

Real-Life Durability Tips:
- Use cabinet bumpers (they’re lifesavers)
- Clean with mild soap only
- Touch up paint every 2-3 years
- Tighten hardware seasonally
The Bottom Line
After years in the business, I can honestly say Shaker cabinets are the most versatile, practical choice for most homes. They’re like the perfect little black dress of kitchen design – they never let you down.
Got questions? Drop them below. I’ve probably made every mistake you’re worried about and lived to tell the tale!