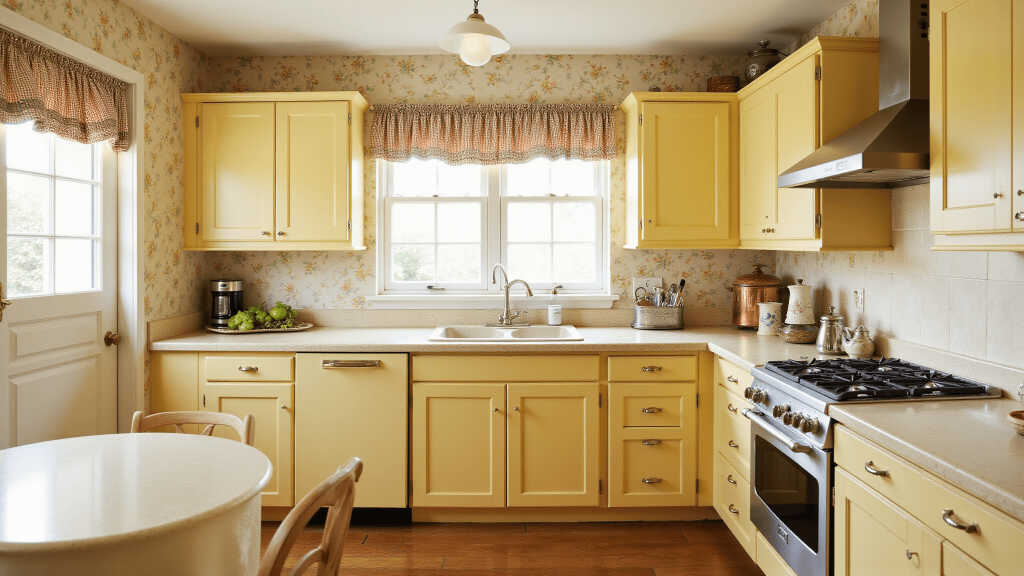
Transform Your Kitchen with Stained Wood Cabinets: A Real Home Decorator’s Guide
Hey there! I’m Sarah, an interior decorator with 15 years of experience transforming kitchens from dull to dramatic. Today, I’m gonna walk you through everything you need to know about stained wood kitchen cabinets.
The Heart of Your Kitchen Makeover
Listen, I get it. Kitchen renovations can be overwhelming. When I first started working with stained wood cabinets, I made every mistake in the book. But now? I’ve got it down to a science.
What You’ll Need:
- High-quality wood stain
- Sandpaper (120 and 220 grit)
- Clean rags
- Protective gear
- Paintbrush or foam applicator
- Wood cleaner
Budget Breakdown:
- Basic cabinet refresh: $3,000
- Mid-range upgrade: $4,500
- Premium renovation: $6,000
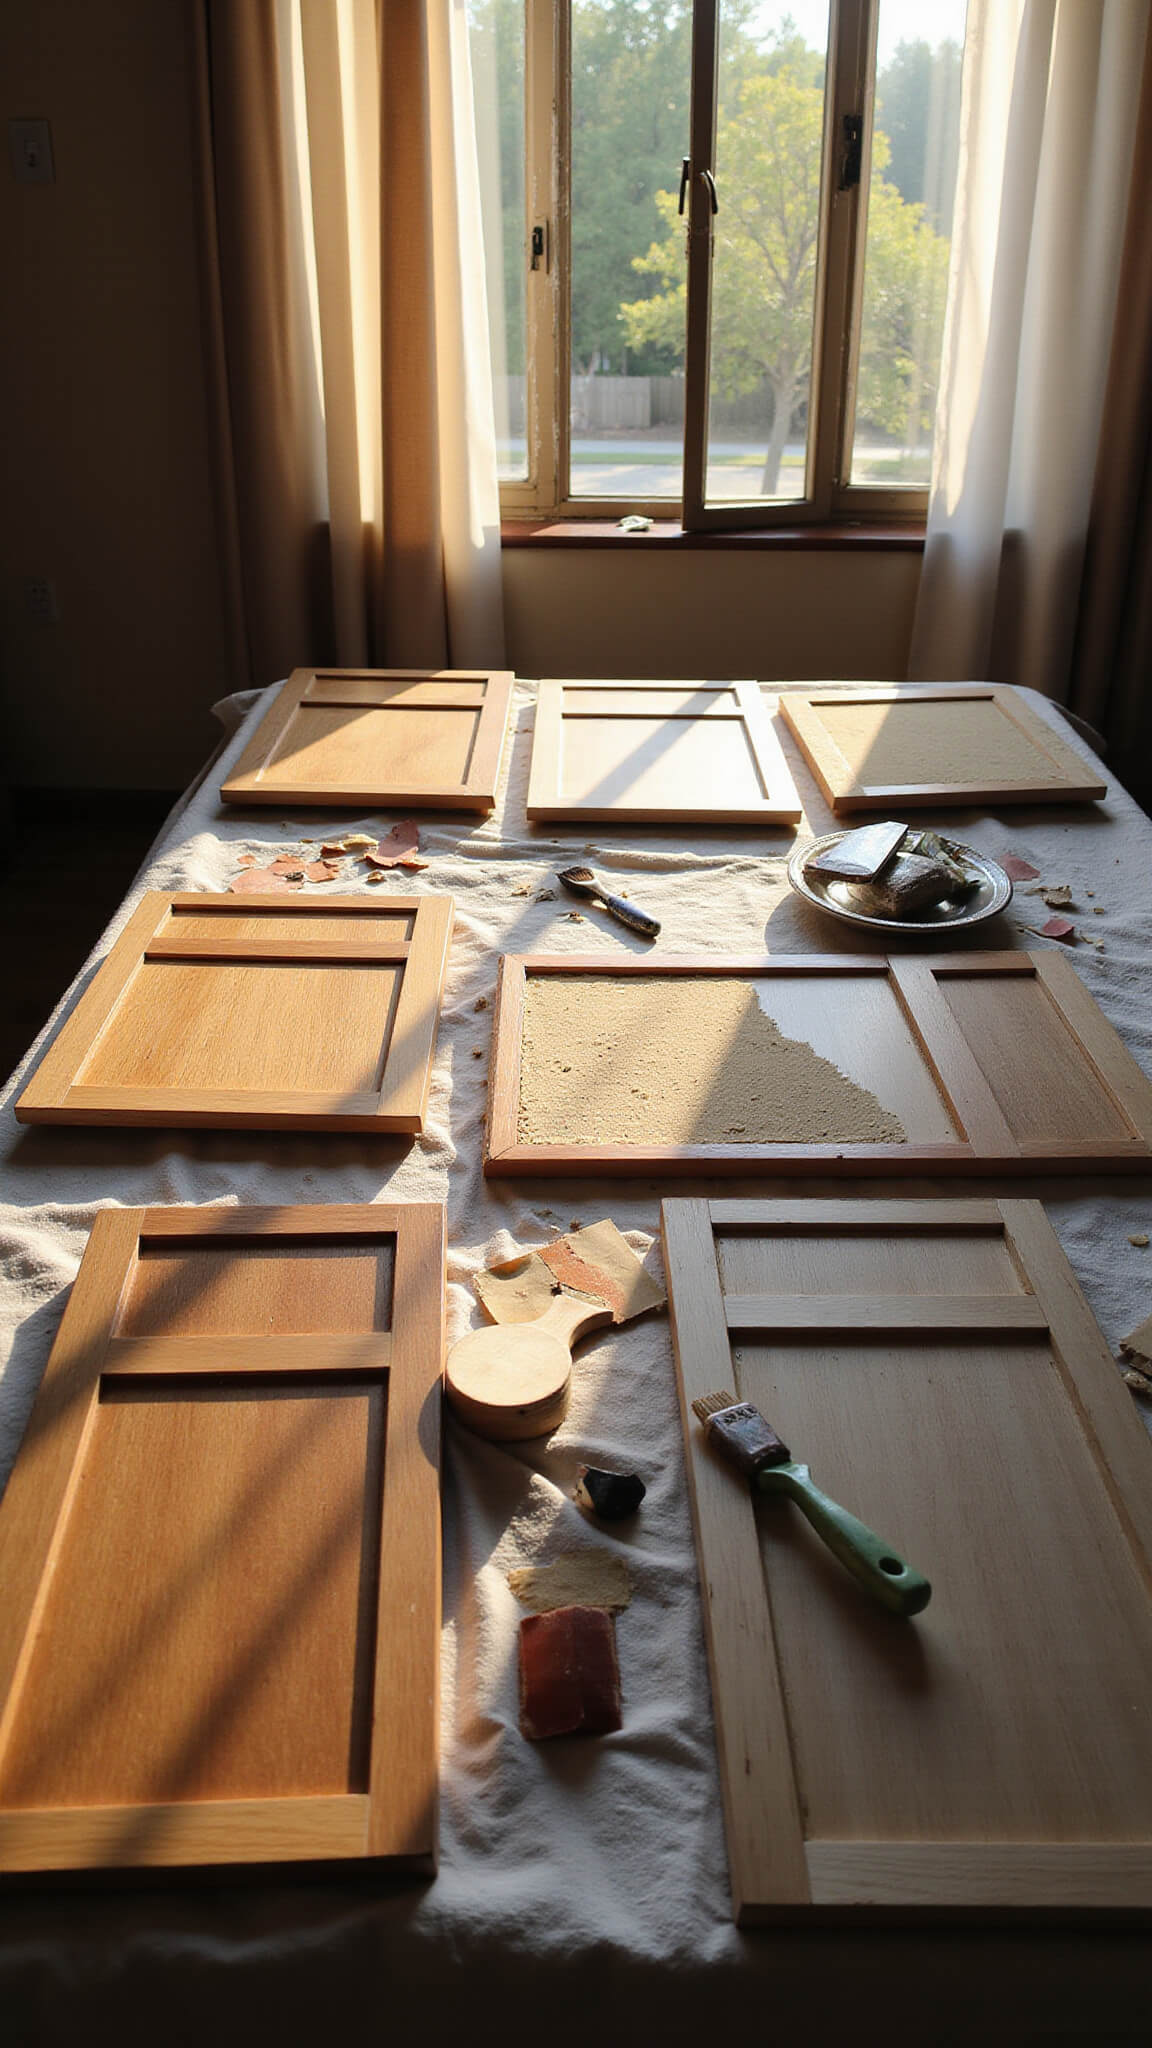
Getting Started: The Prep Work
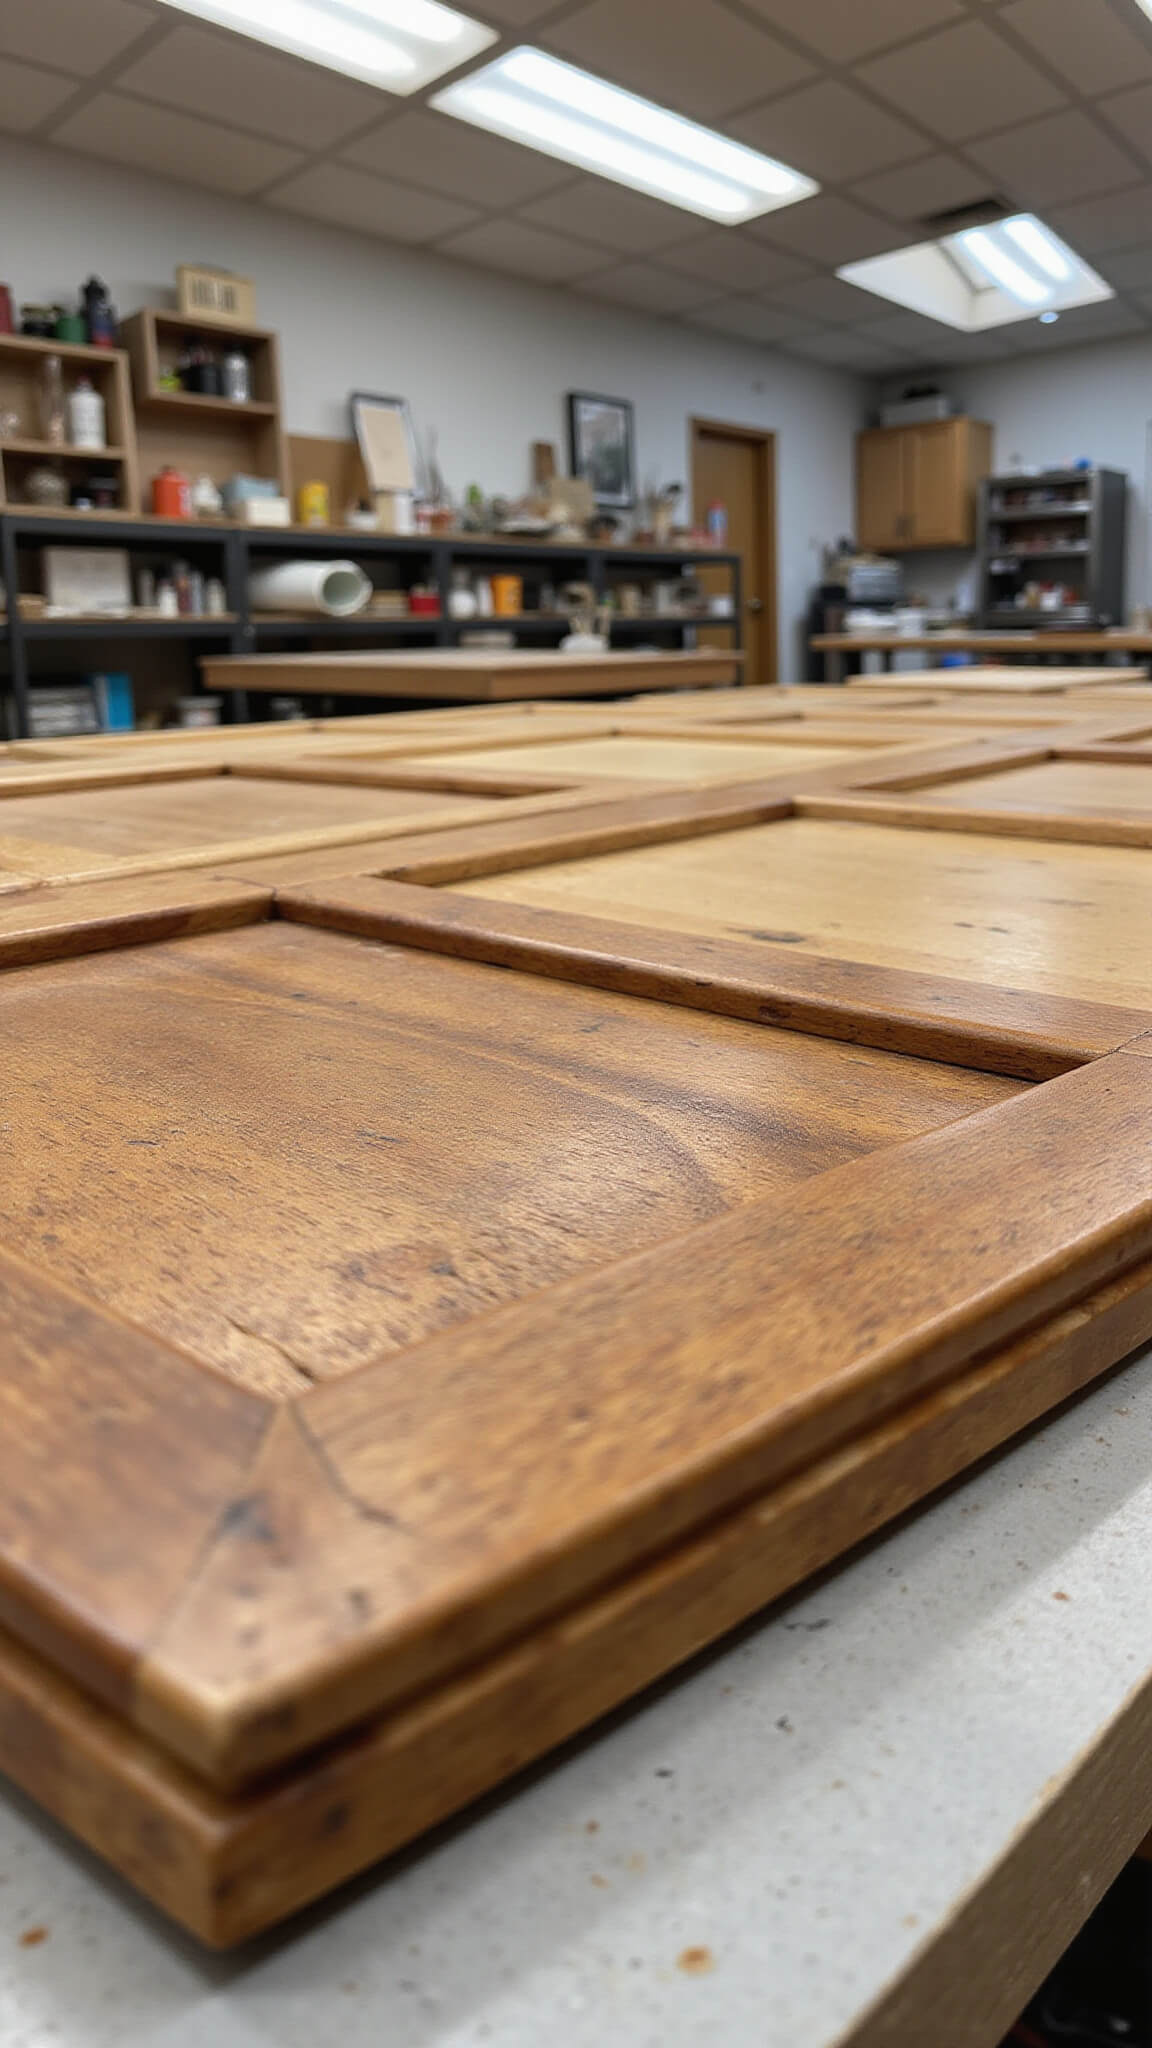
First things first – and trust me on this one – preparation is everything.
- Clear everything out
- Clean those cabinets thoroughly
- Sand the surfaces (don’t skip this!)
- Wipe away all dust
Pro Tip: I once rushed the prep work on a client’s kitchen. Big mistake. Had to redo the whole thing!
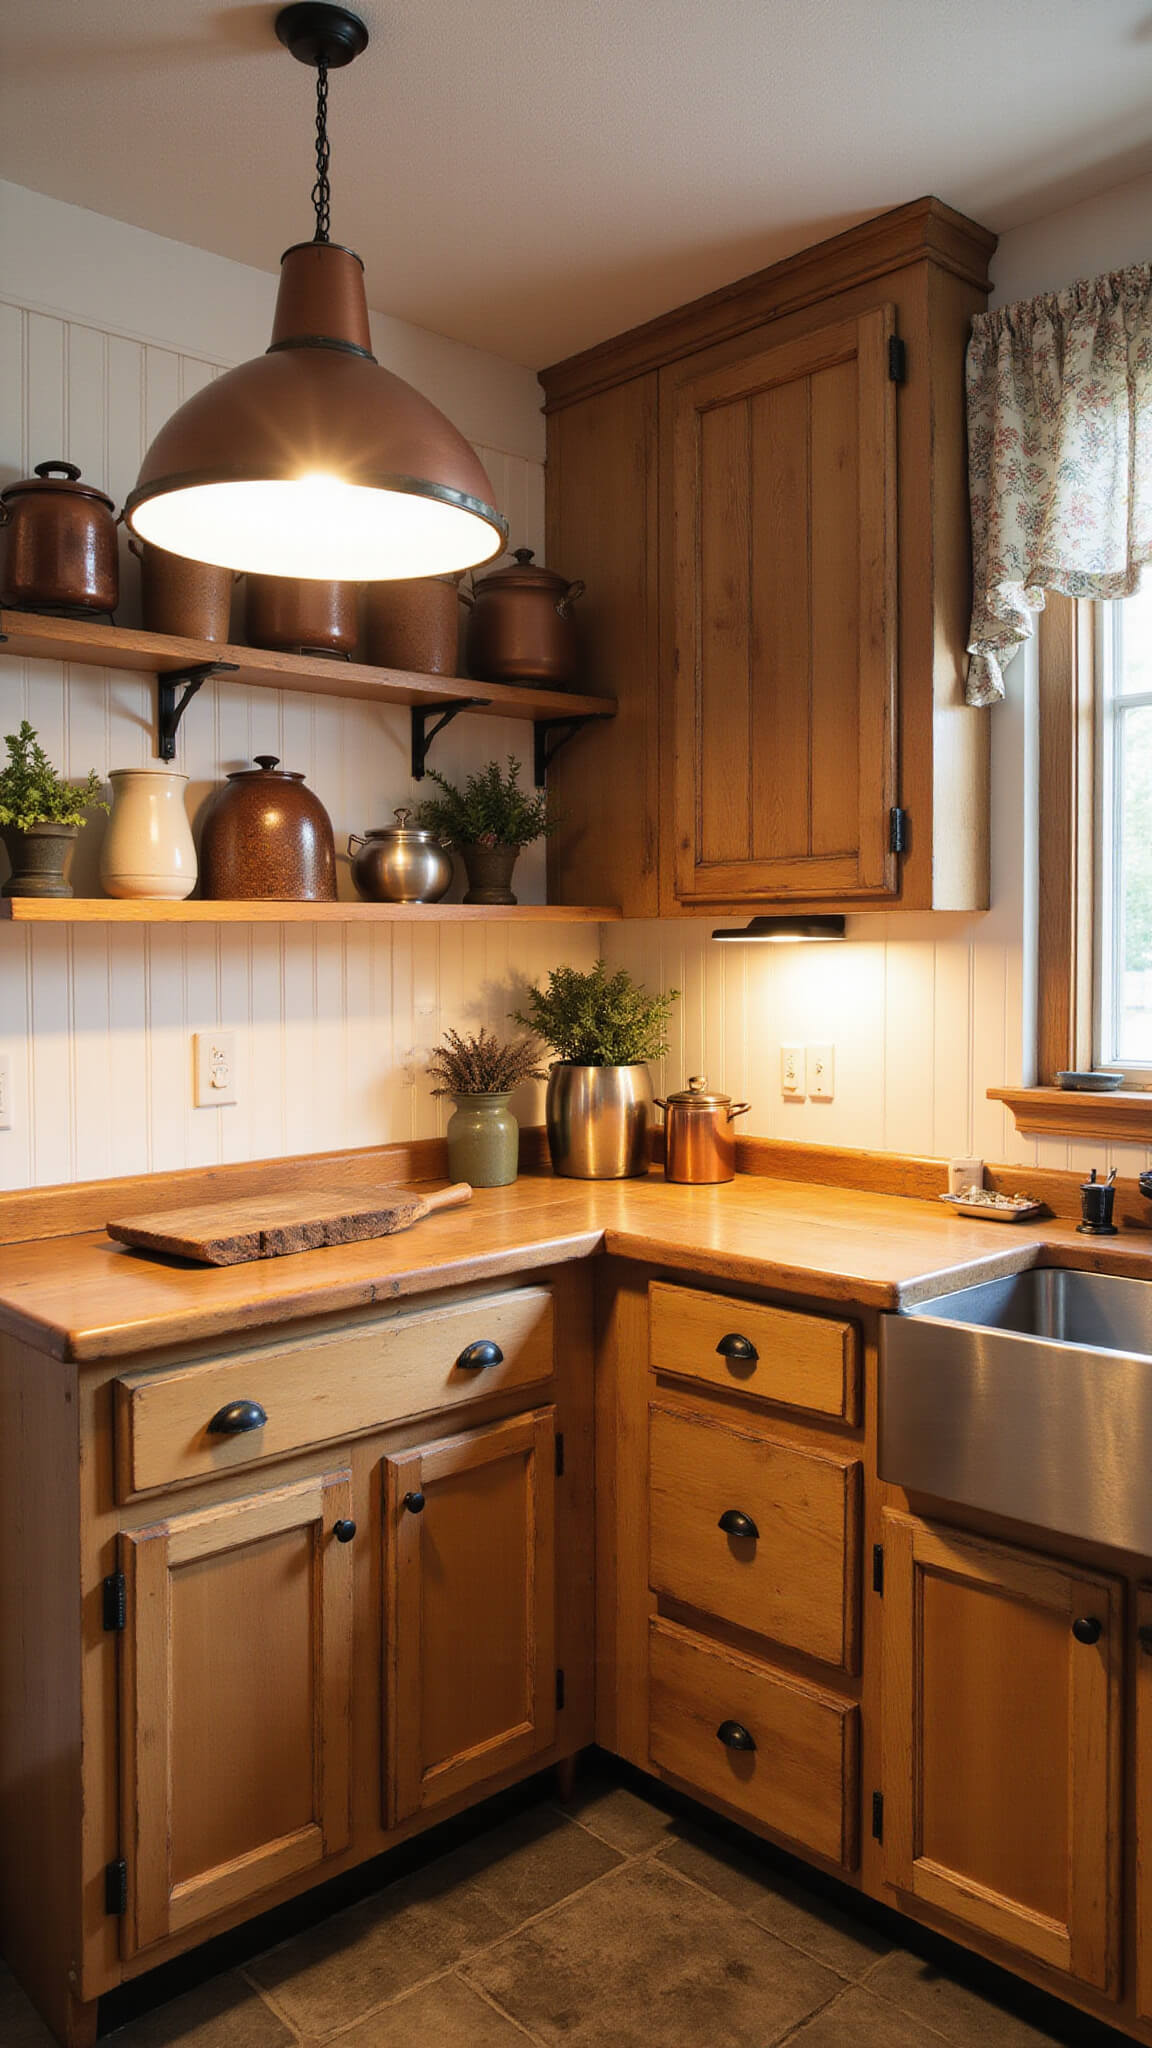
Choosing Your Stain
Here’s where it gets fun. Popular choices include:
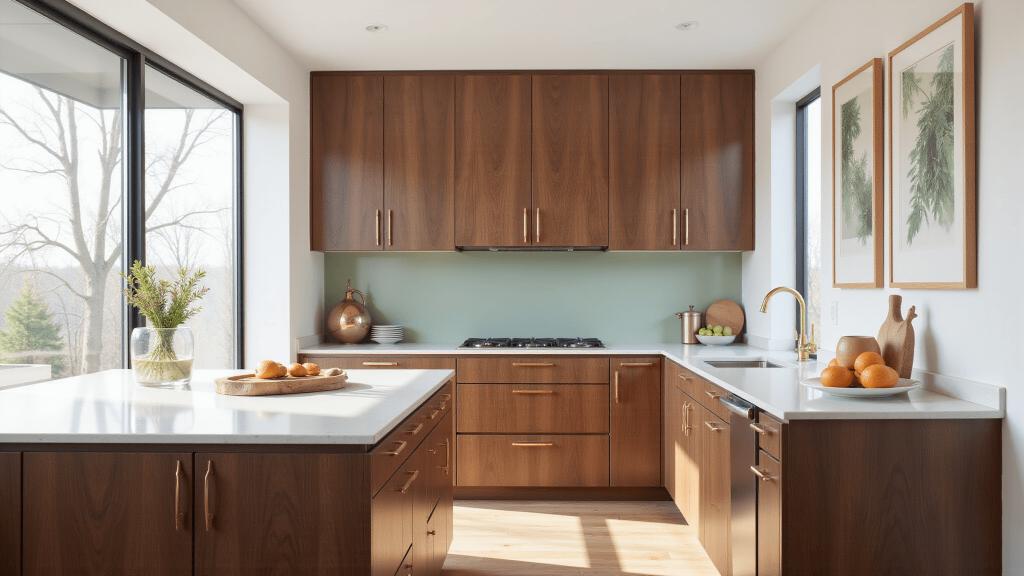
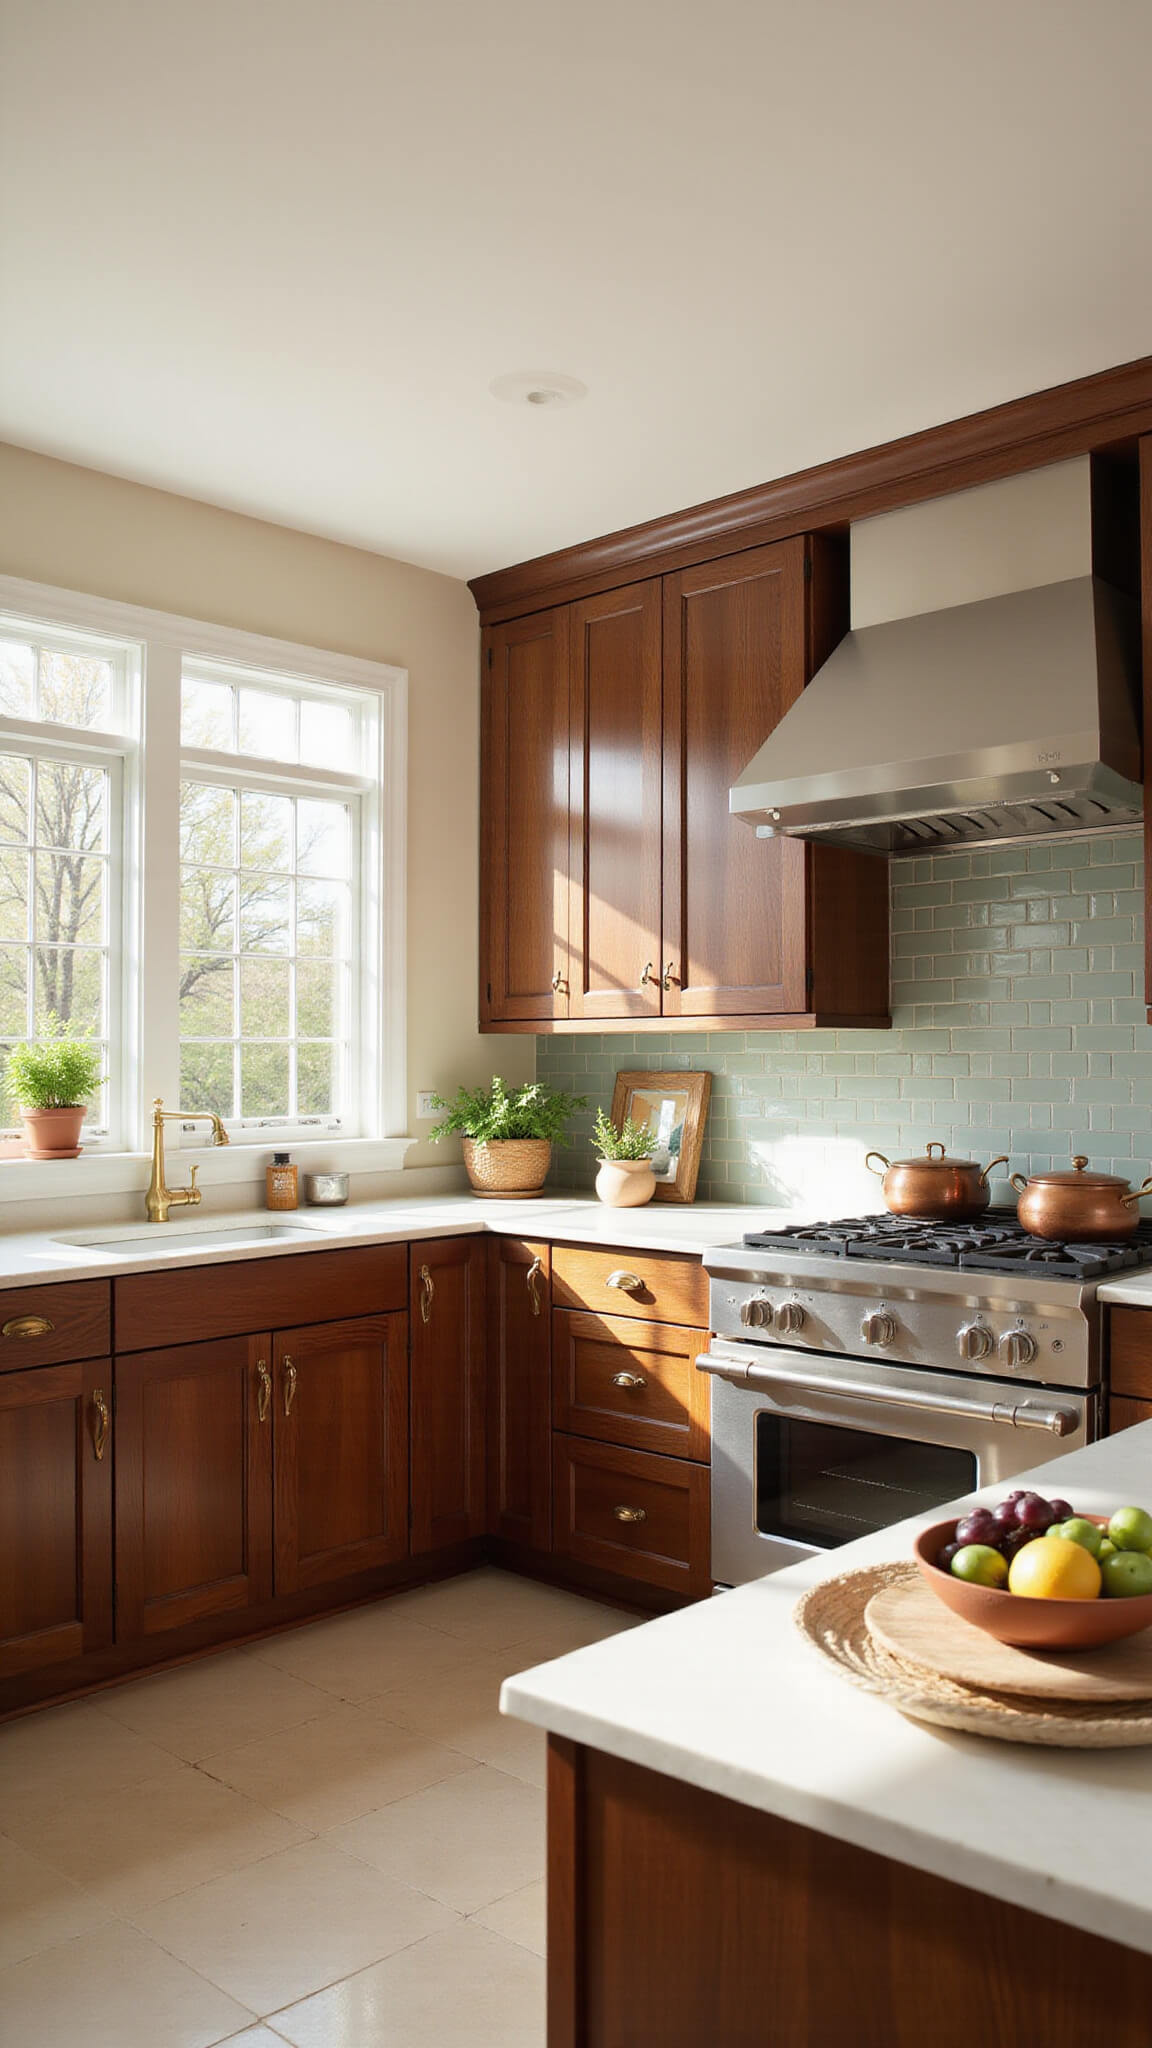
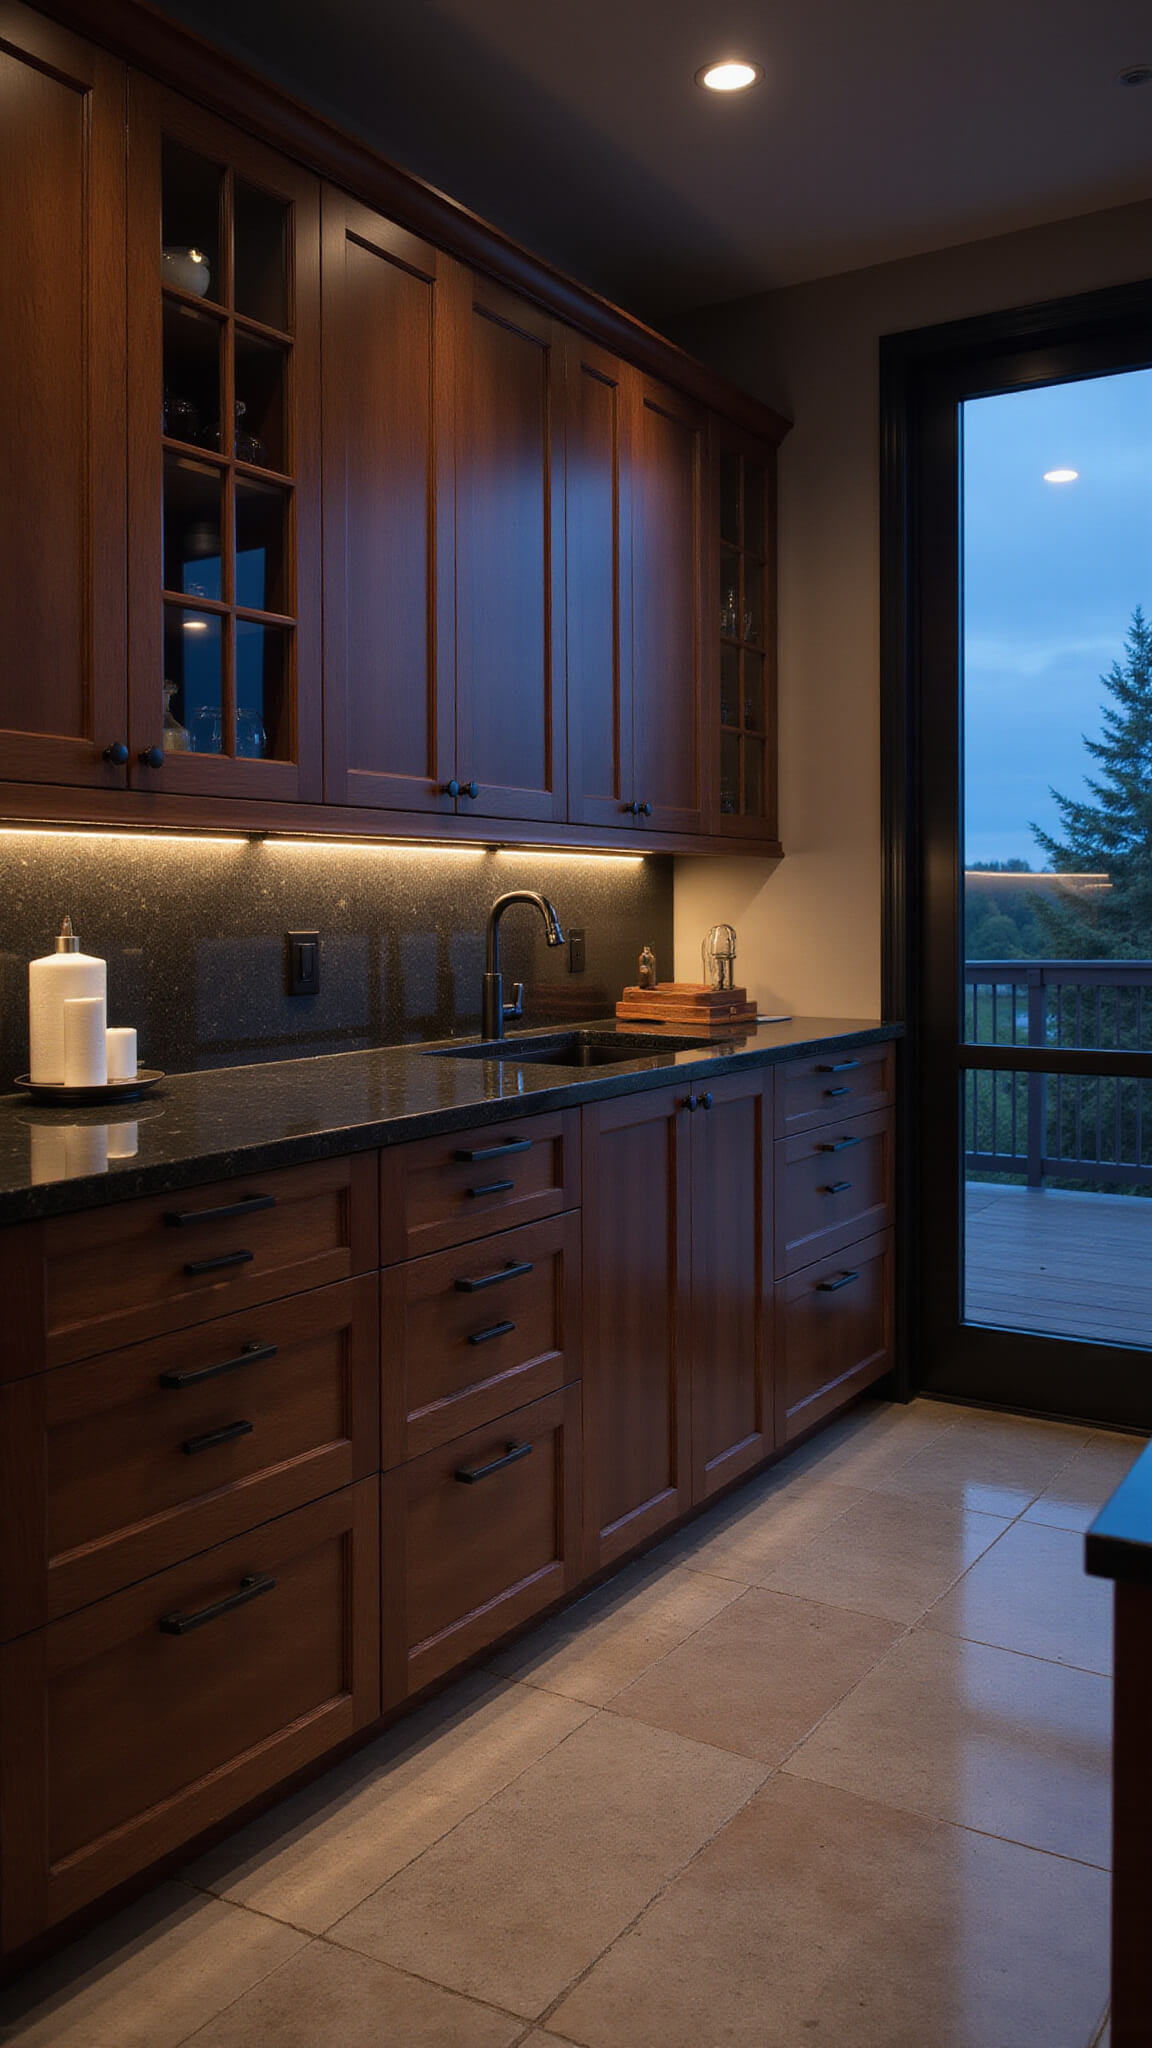
- Rich walnut (my personal favorite)
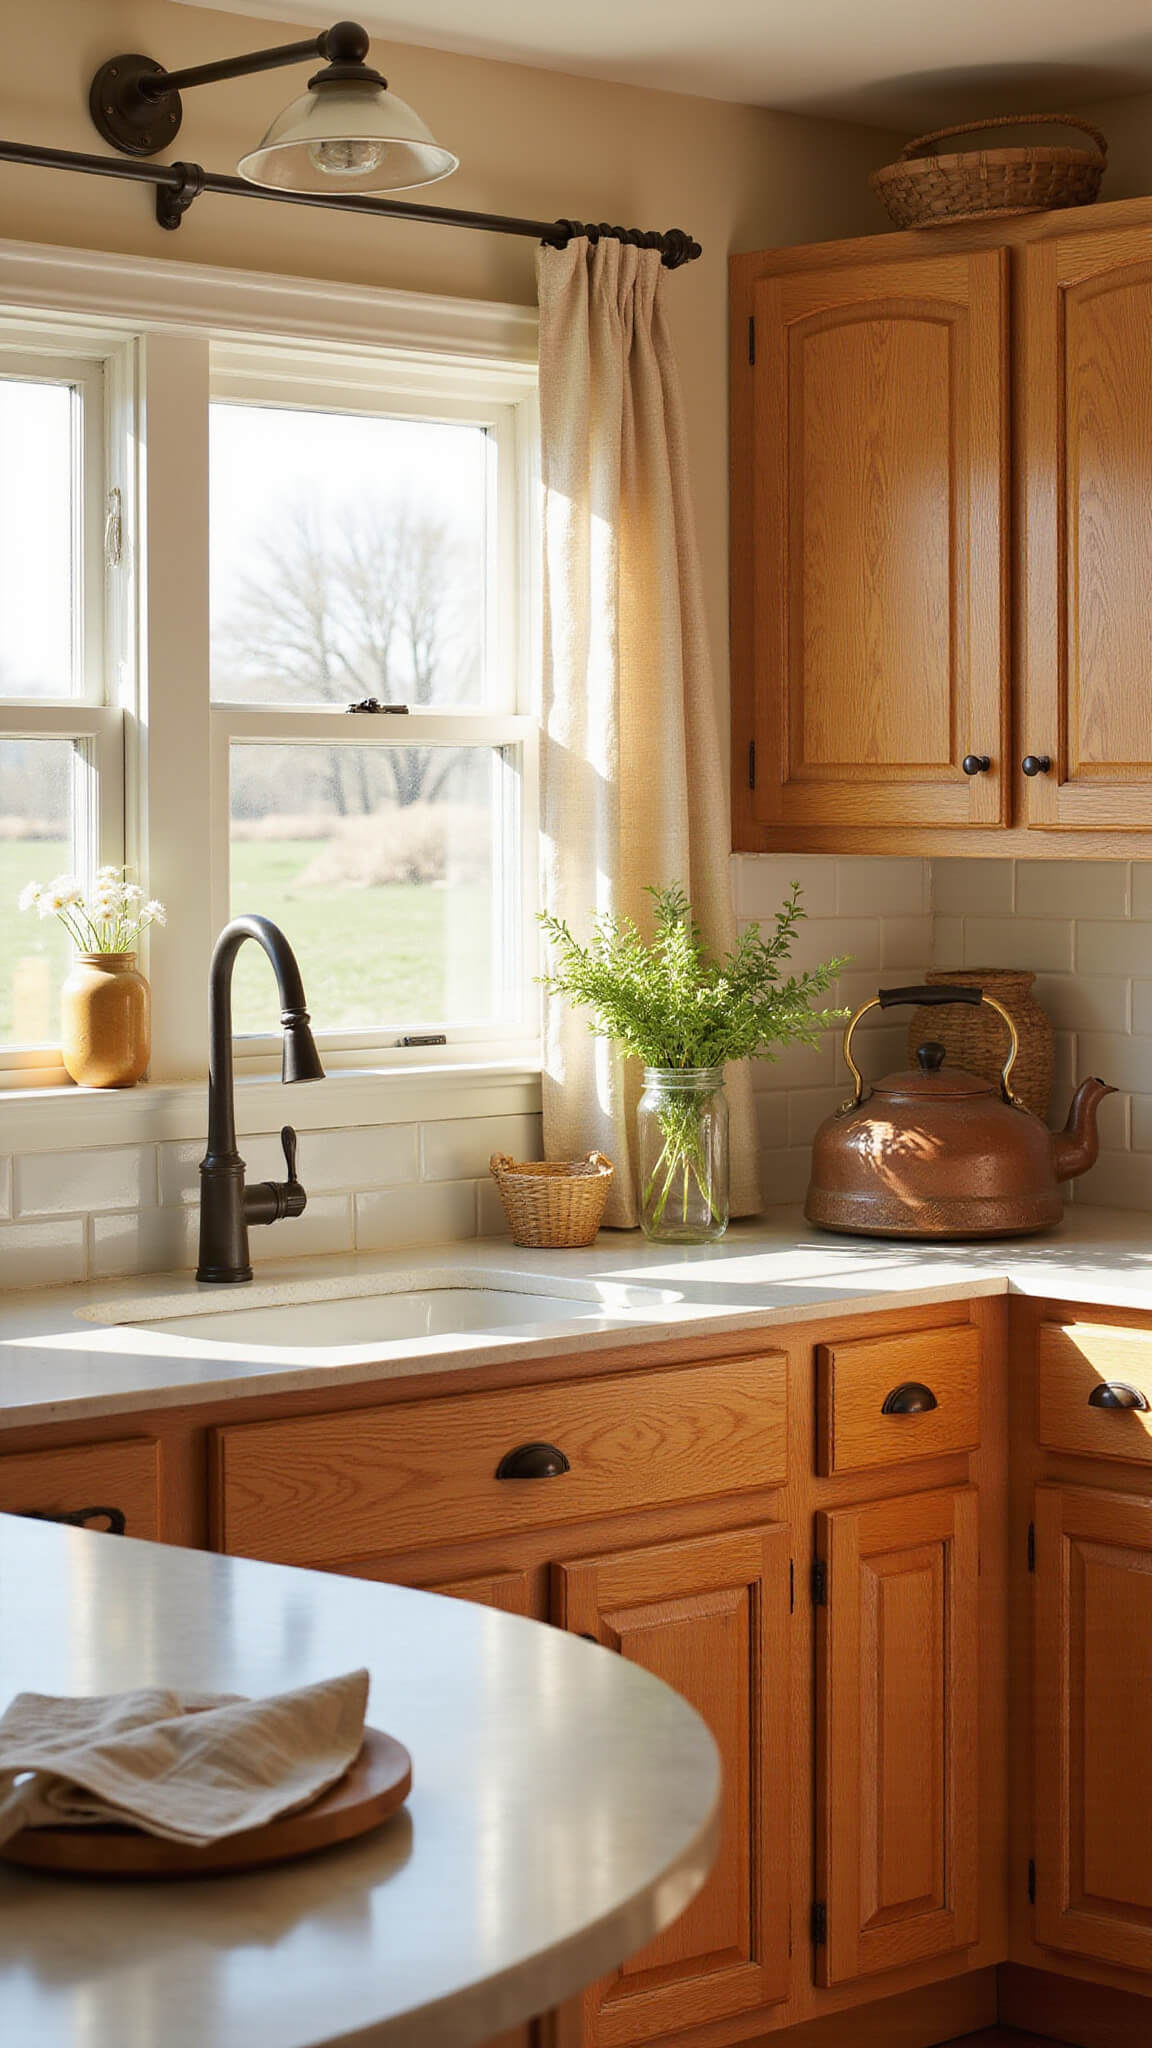
- Classic oak
- Deep mahogany
- Light pine
The Application Process
Step-by-Step:
- Test your stain on a hidden spot
- Apply in the direction of the wood grain
- Let each coat dry completely
- Sand lightly between coats
- Apply final protective coating
Styling Your New Cabinets
This is where your kitchen really comes to life:
- Add contrasting hardware
- Install under-cabinet lighting
- Style with complementary decor
- Consider a coordinating backsplash
Common Mistakes to Avoid:
- Rushing the drying time
- Skipping the wood conditioner
- Using the wrong type of stain
- Applying uneven coats
Final Tips
Remember:
- Natural light is your friend
- Keep the space clutter-free
- Mix textures for visual interest
- Consider seasonal updates
The whole project typically takes a weekend, but the results? They’ll last for years.
Got questions? Drop them below! I check comments daily and love helping fellow DIY enthusiasts create their dream kitchens.